



Neck Massager Cosmetic Inspection Checklist
A practical appearance-inspection guide for neck massager samples: record seams, surface marks, printing, color references and approval decisions.
 Meilan Tech 5 min read
A neck massager can match the feature list and still miss a brand’s expectations for finish. Before approving a sample, define how seams, scratches, printing and color will be judged—and keep a record that purchasing, quality and the supplier can all use.
For US wellness brands and wholesale buyers, the useful outcome is a repeatable appearance reference, not a general statement that the sample “looks good.” Start with the exact model and finish, review it under agreed conditions, and separate appearance approval from functional and safety checks.
1. Lock the sample version before judging the finish
Record the model, sample ID, color, surface finish, artwork revision and date received. Identify whether the unit is an early development sample, a branding sample or the intended production reference. An early sample with temporary printing should not silently become the final appearance standard.
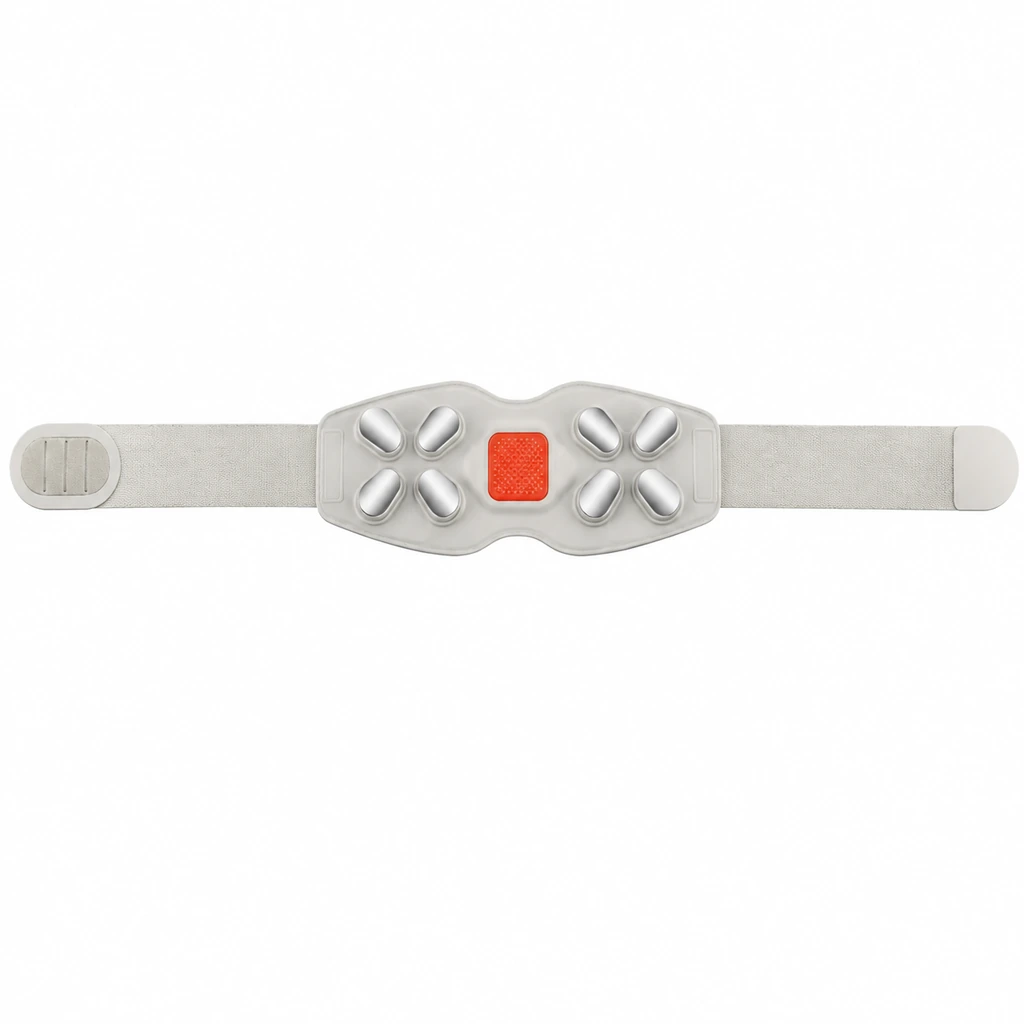
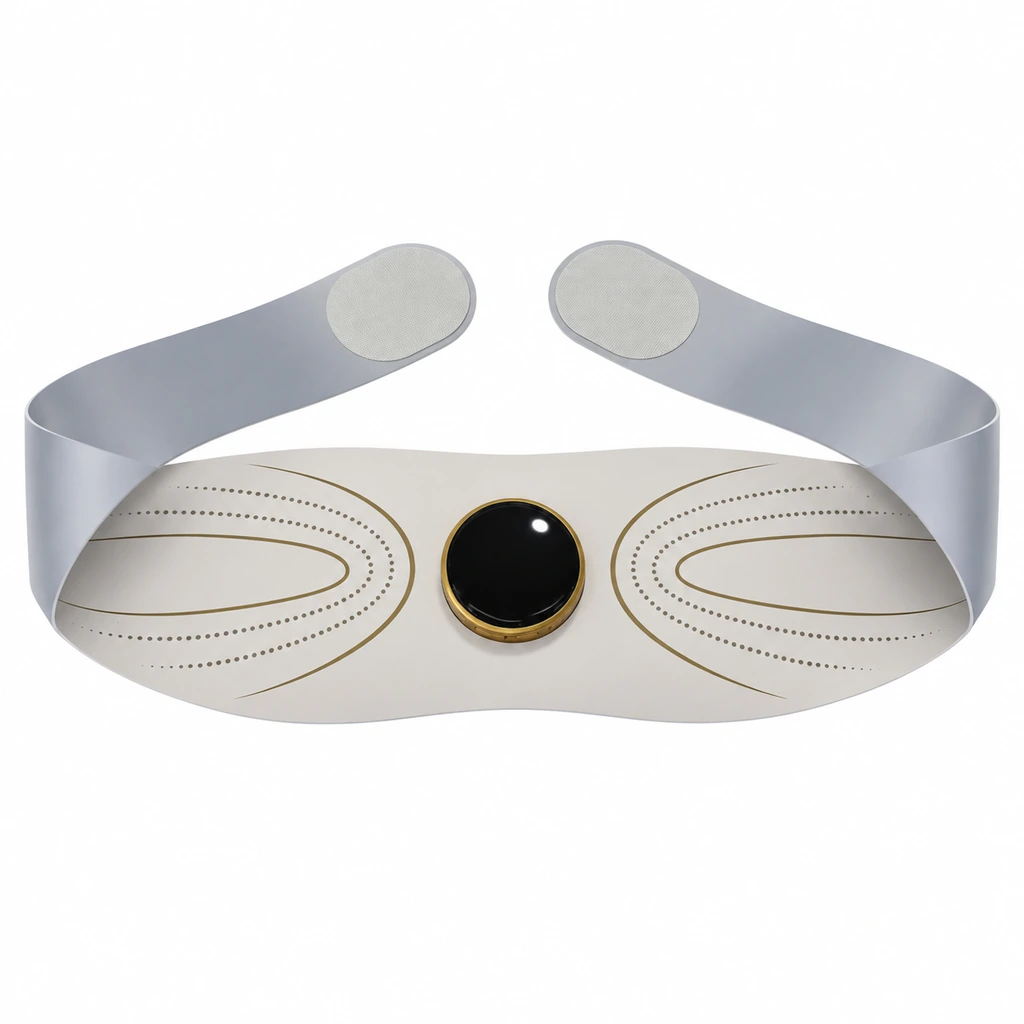
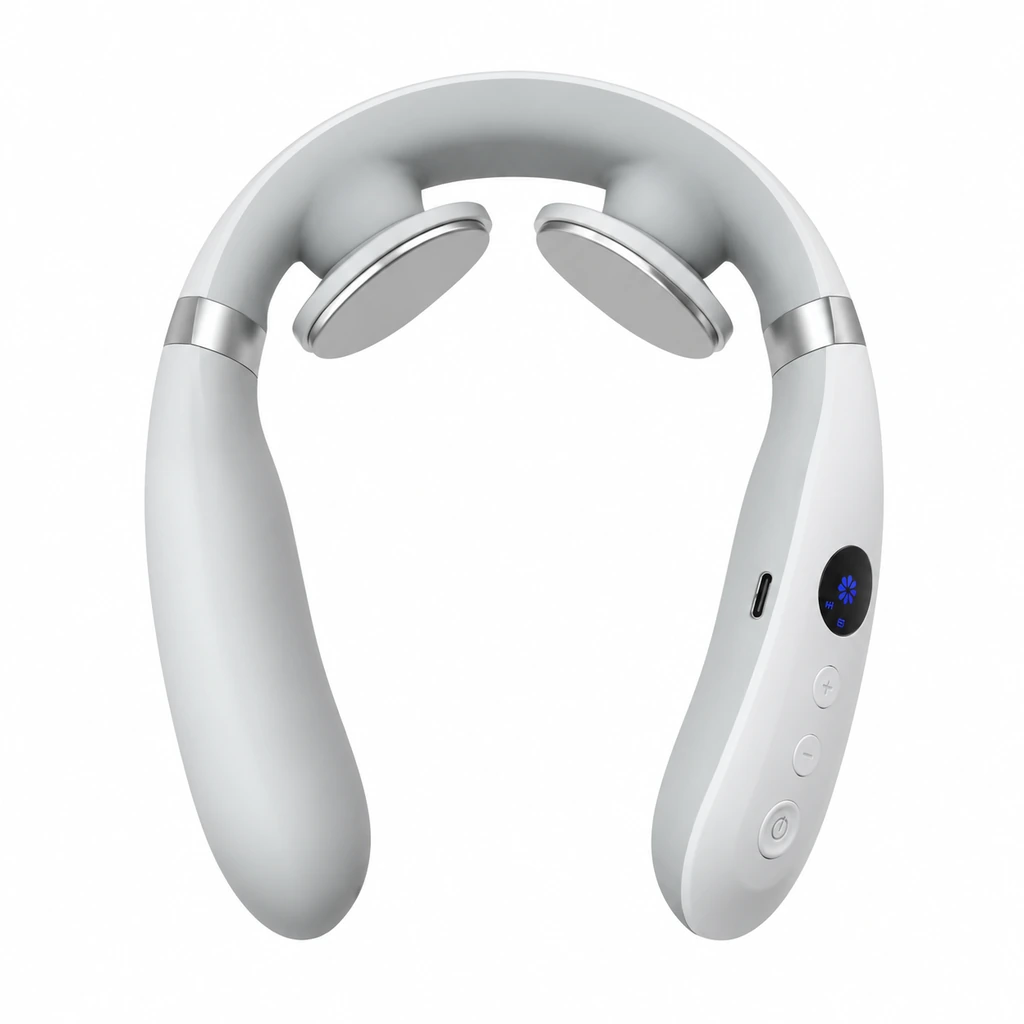
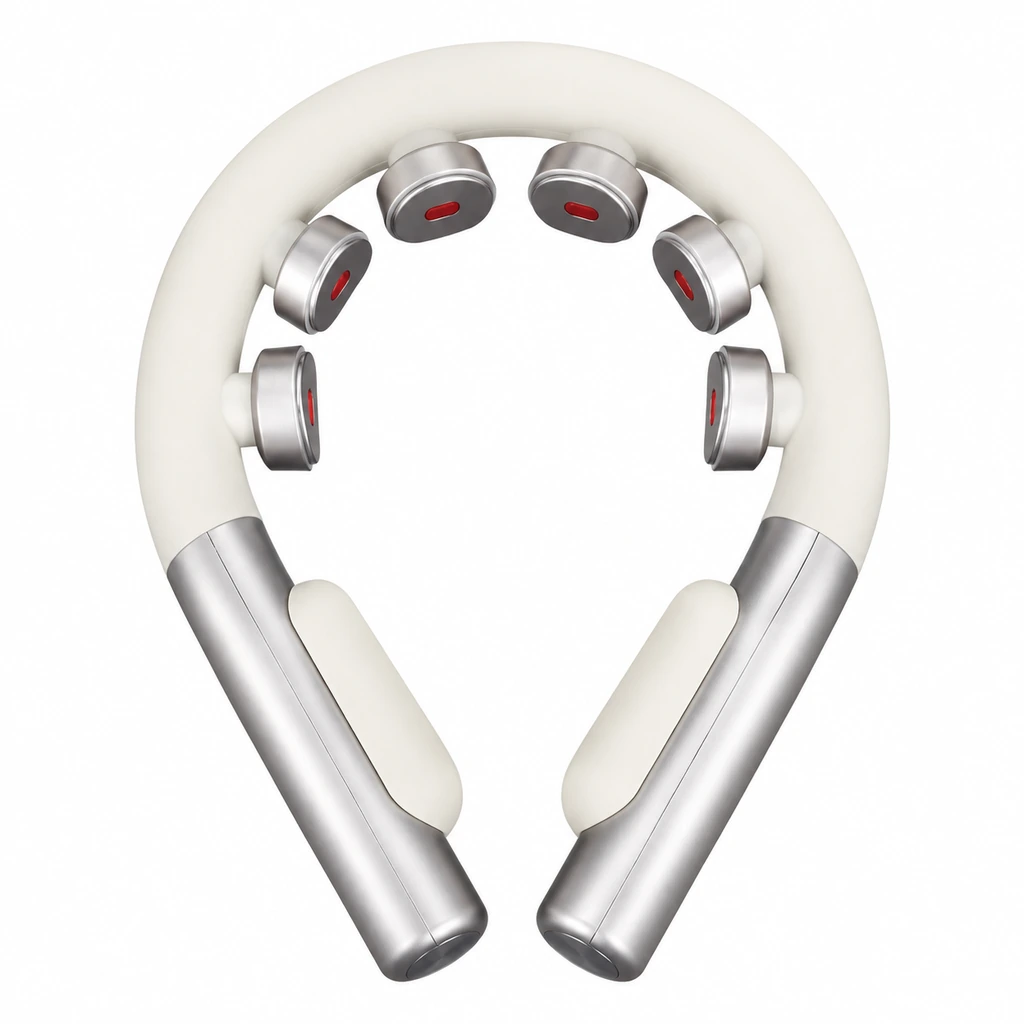
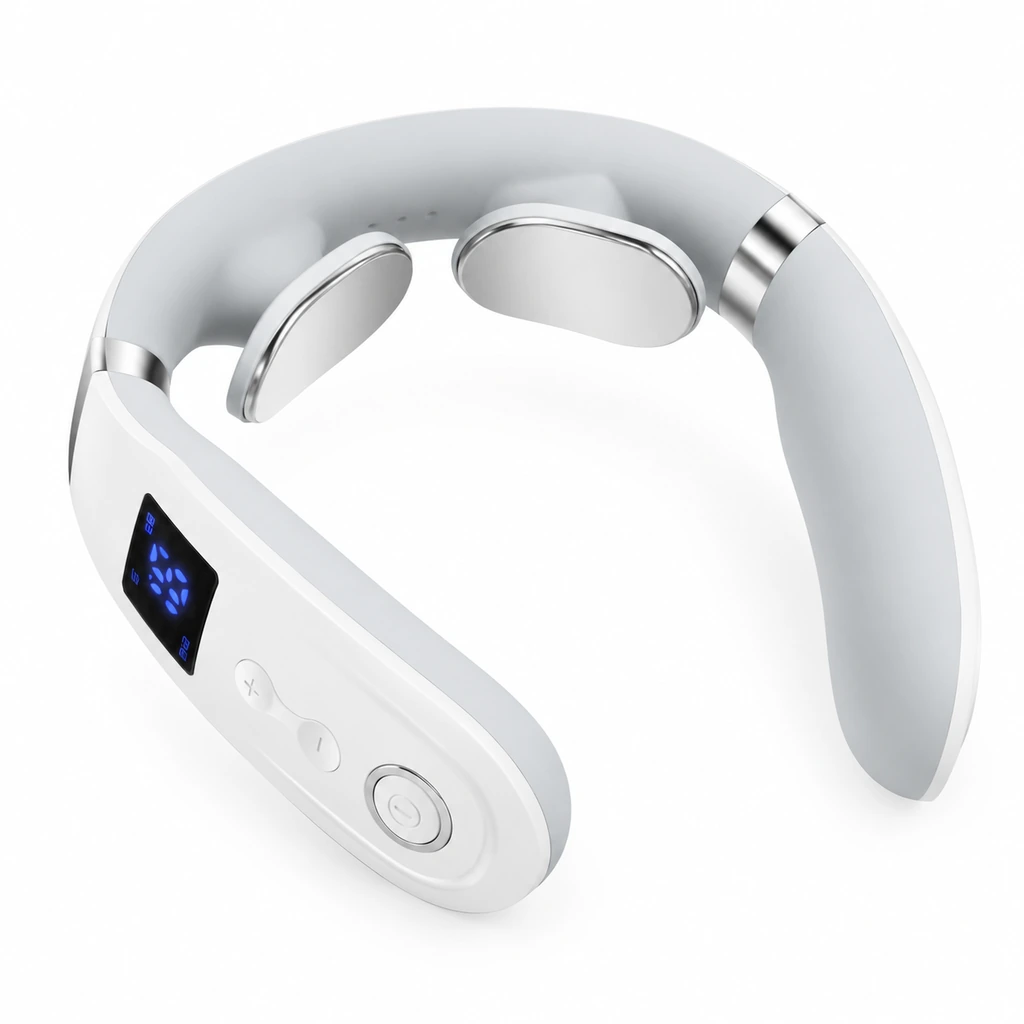
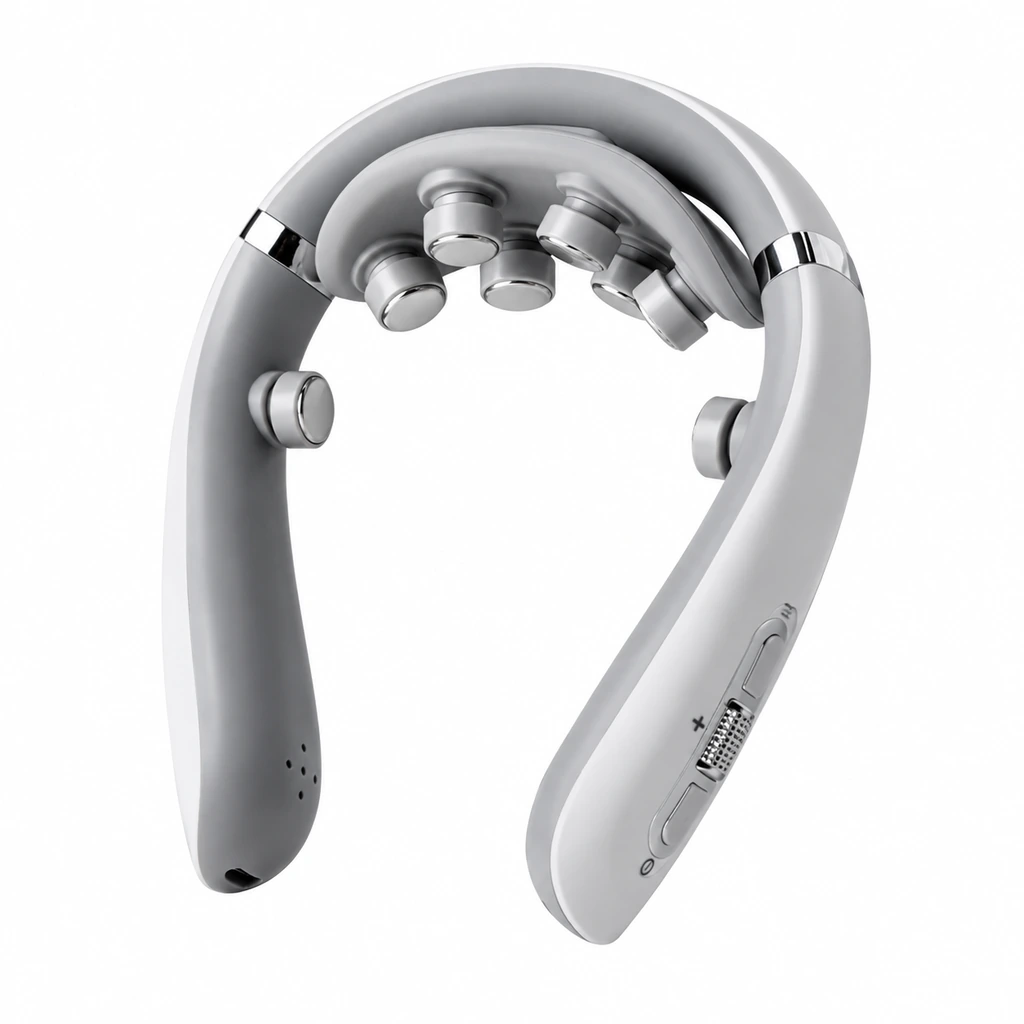
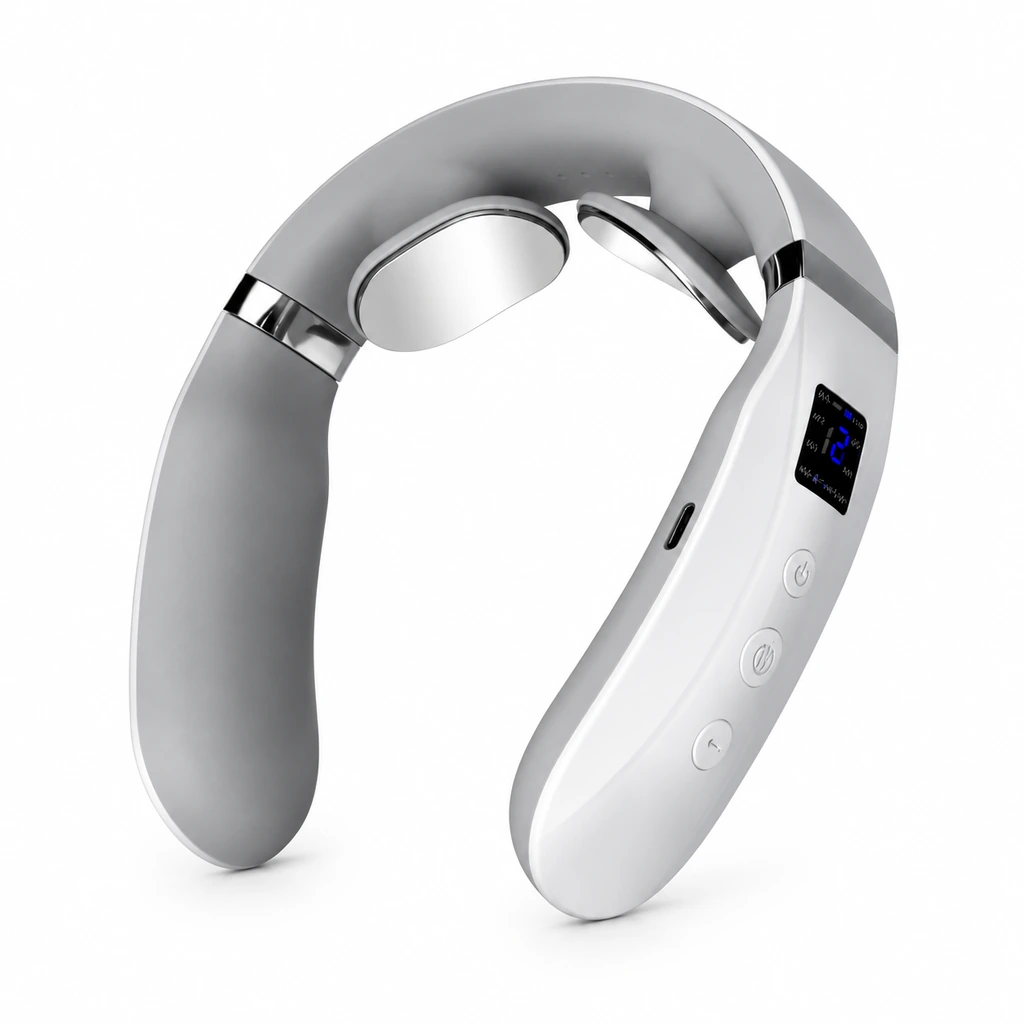
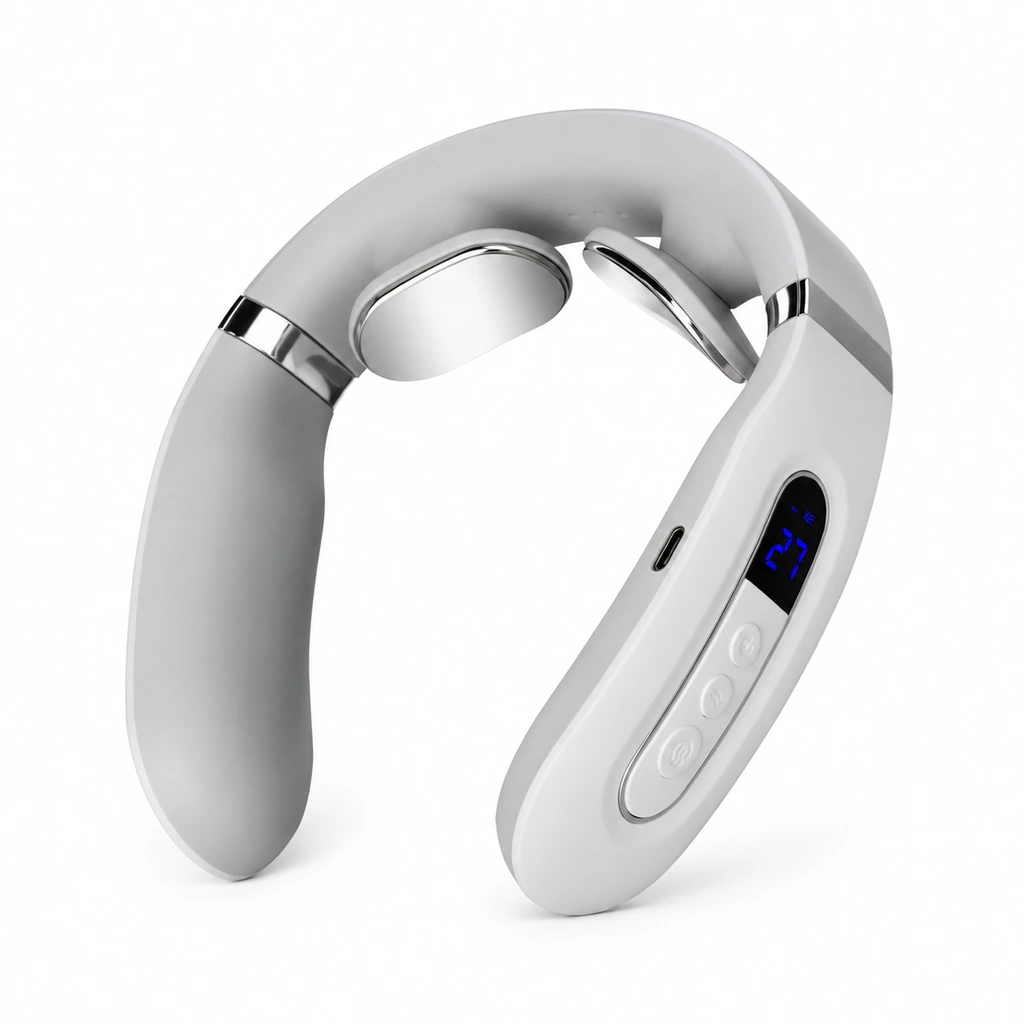
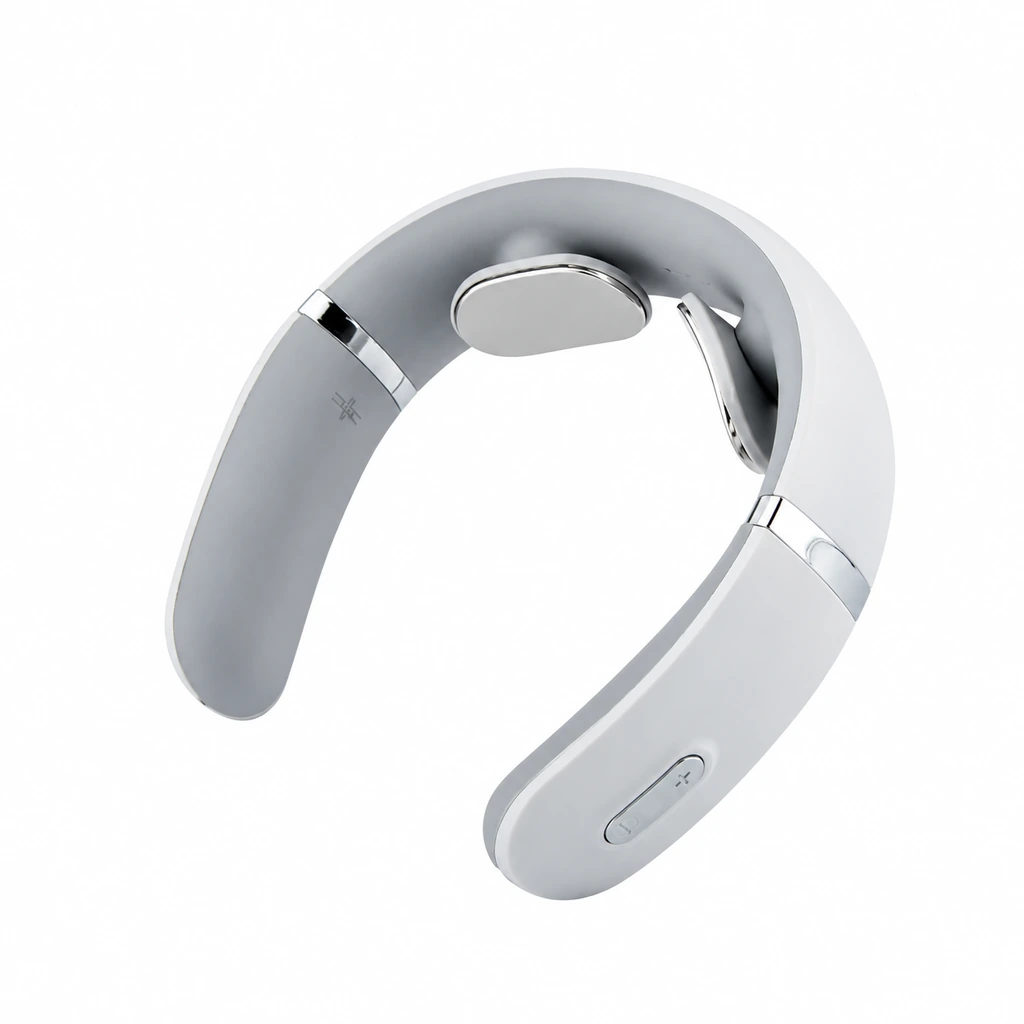
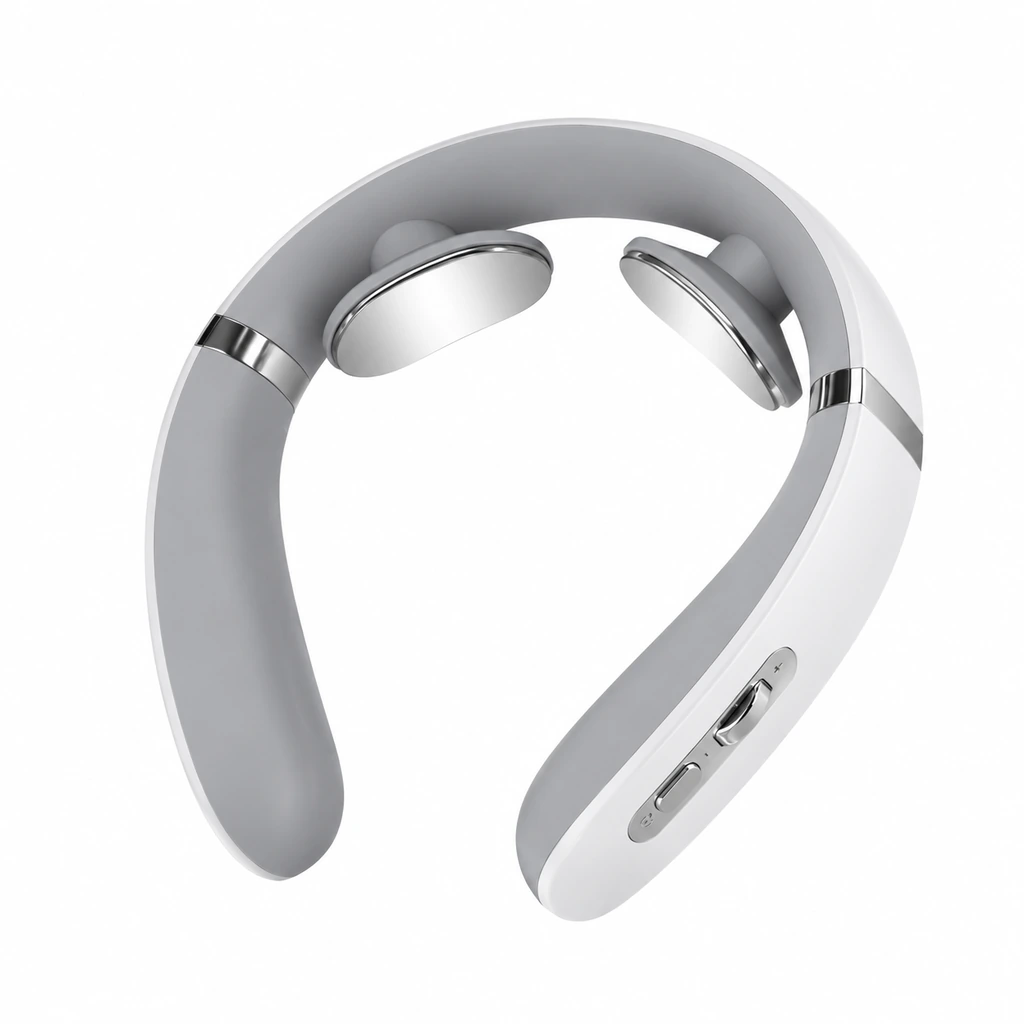
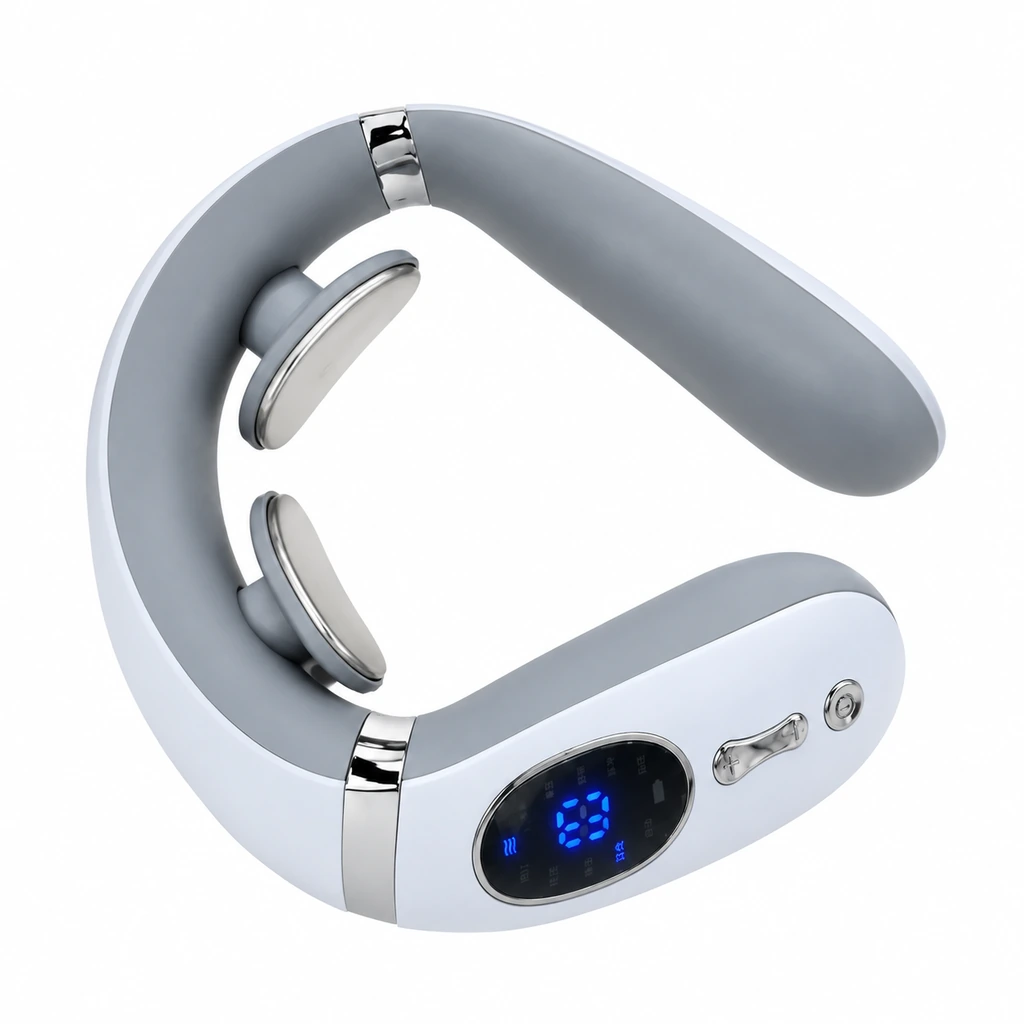
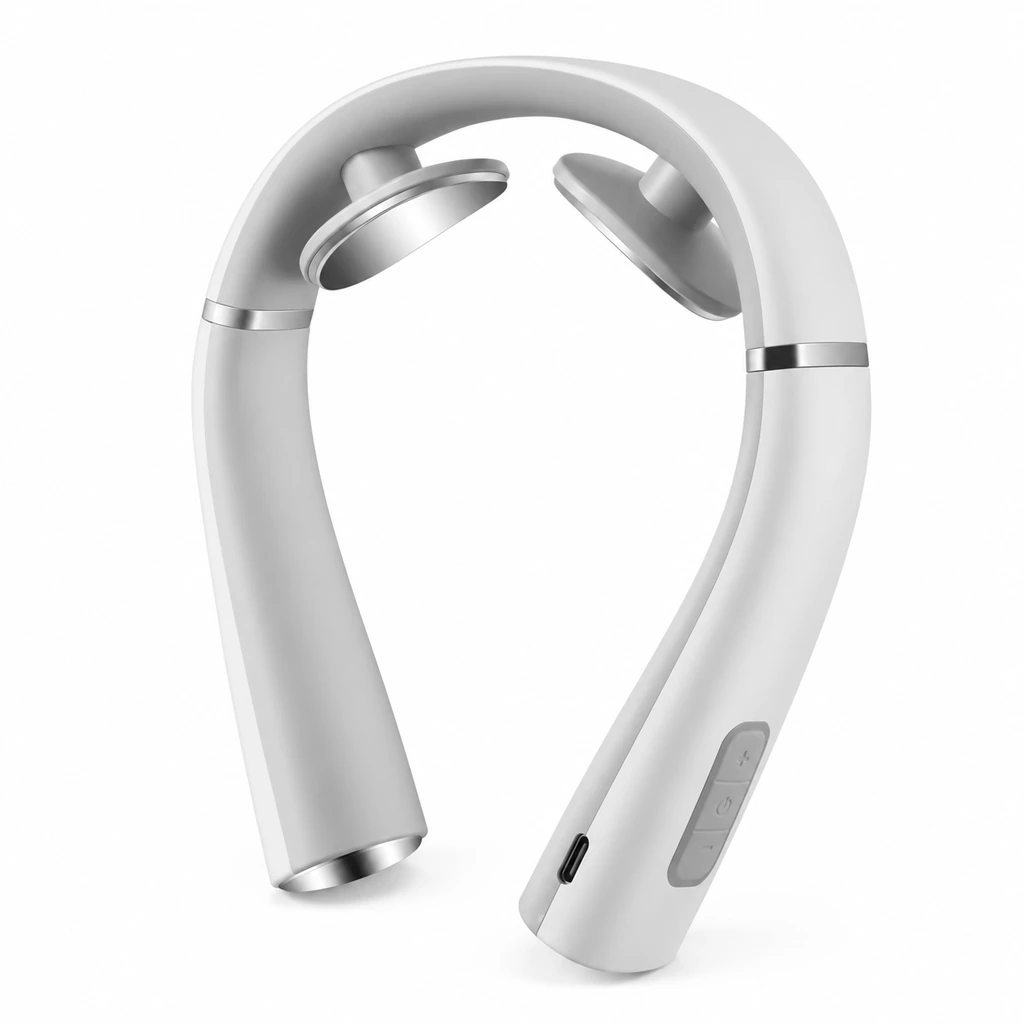
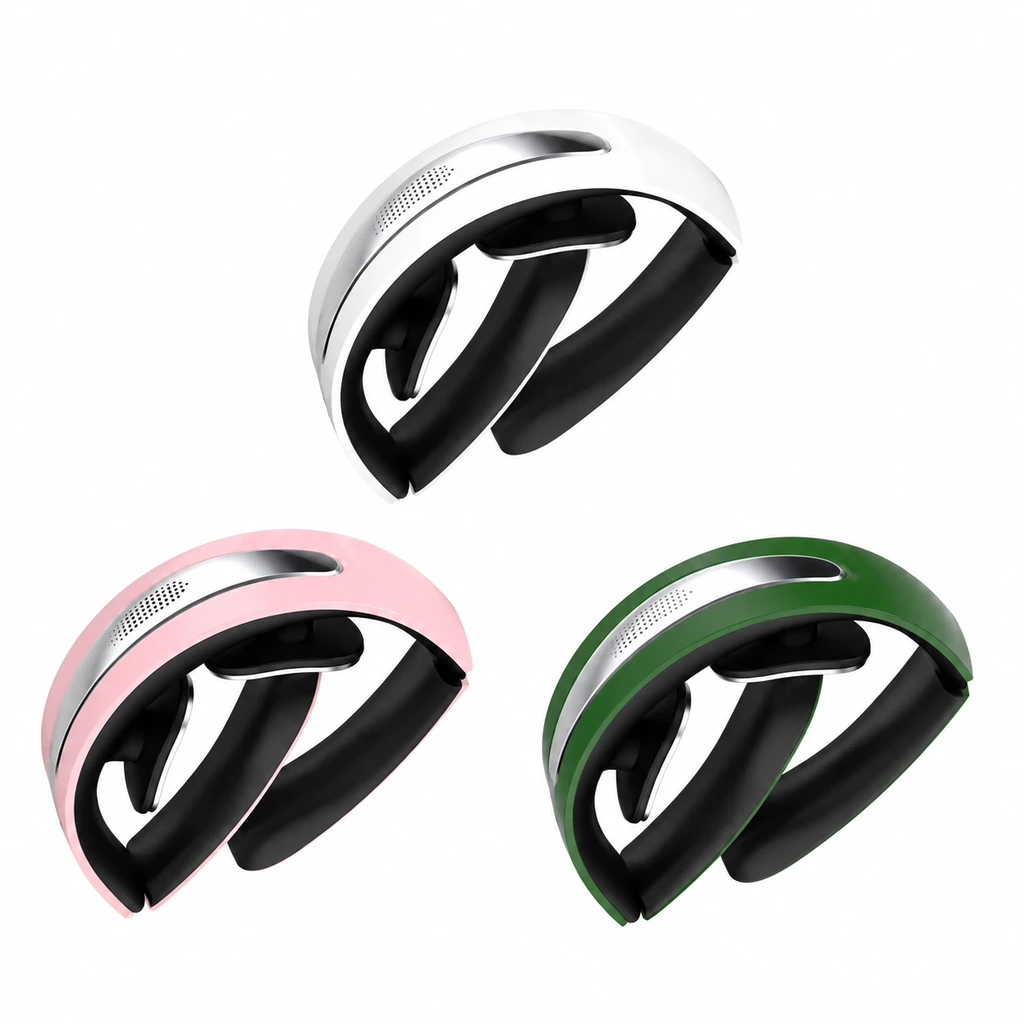
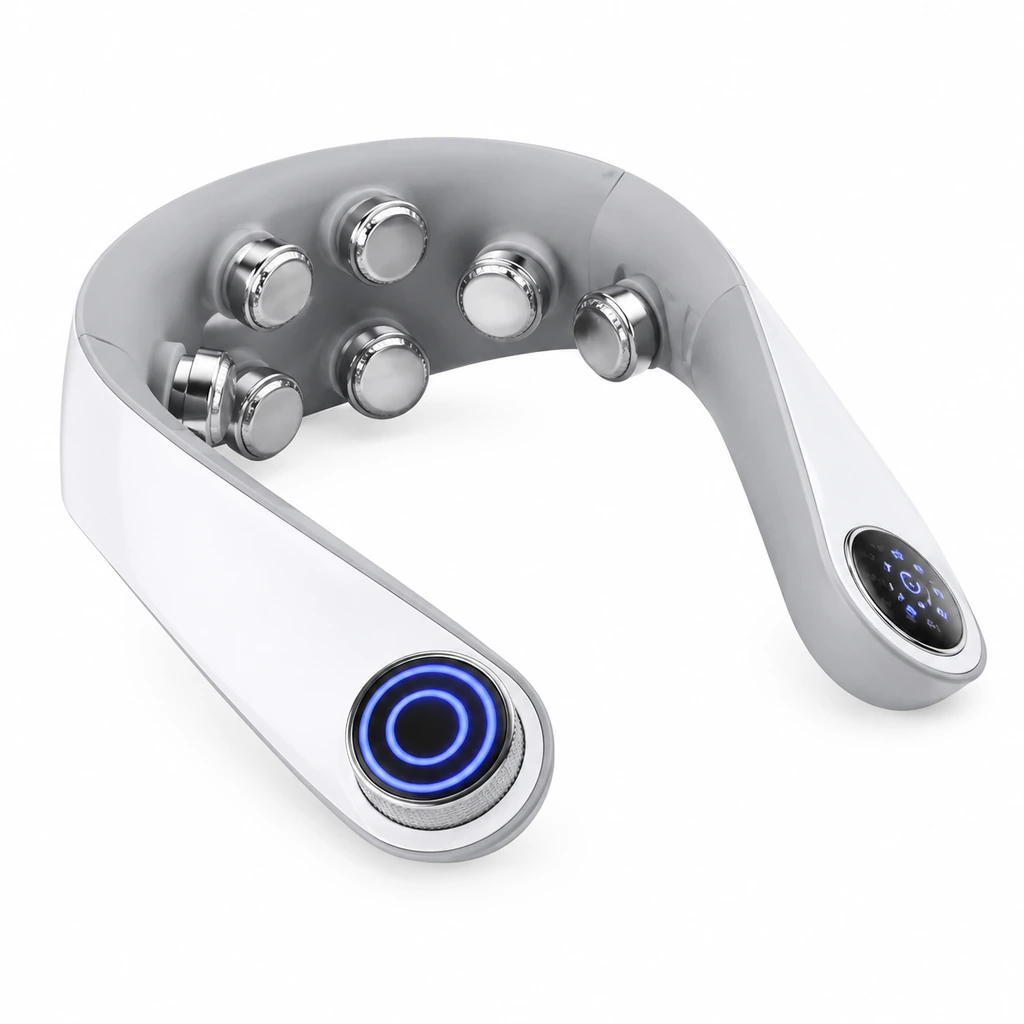
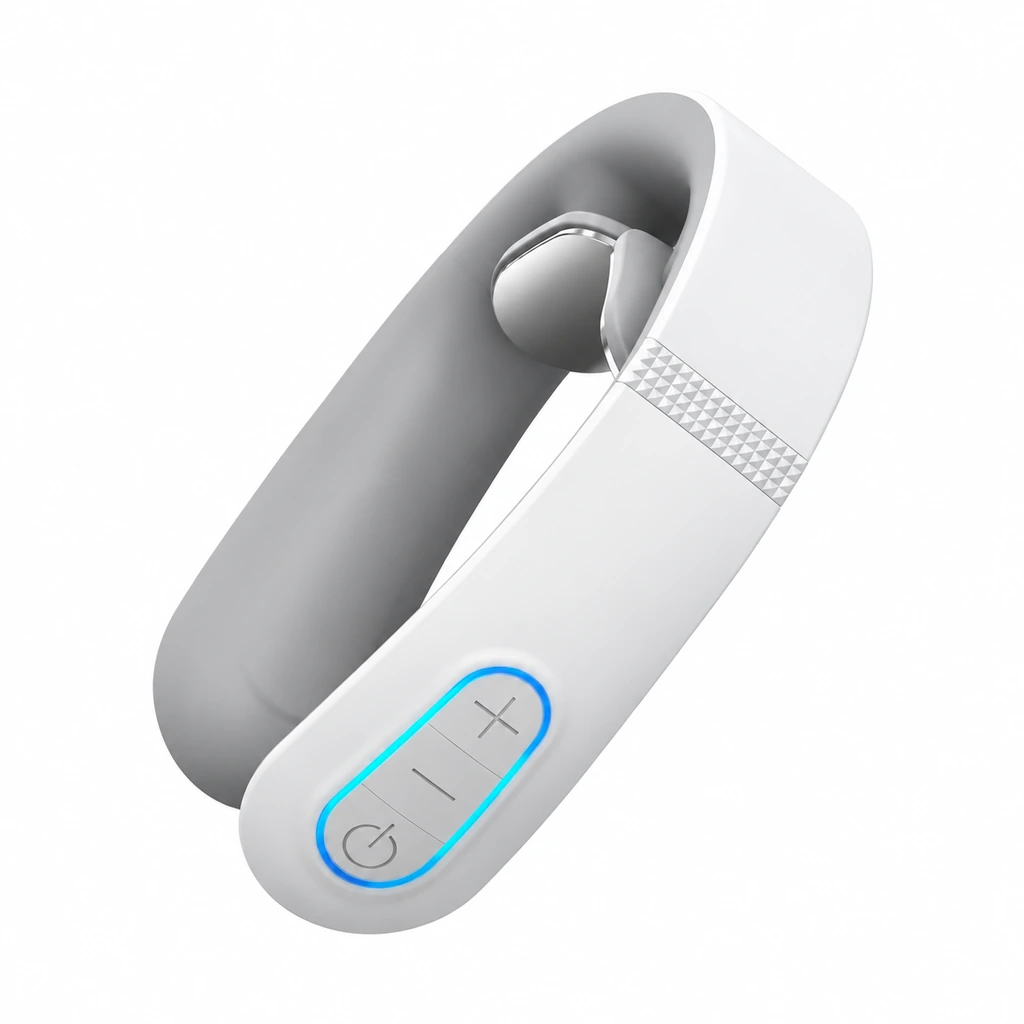
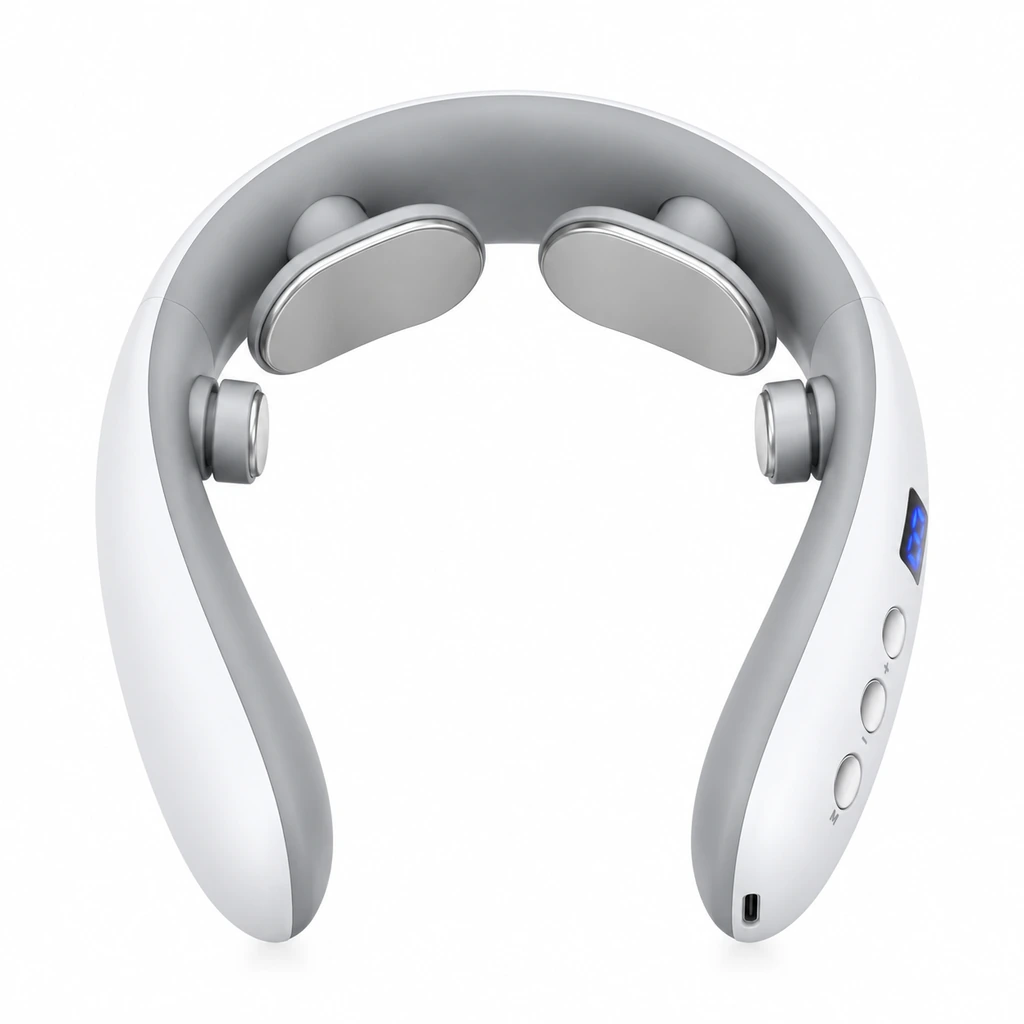
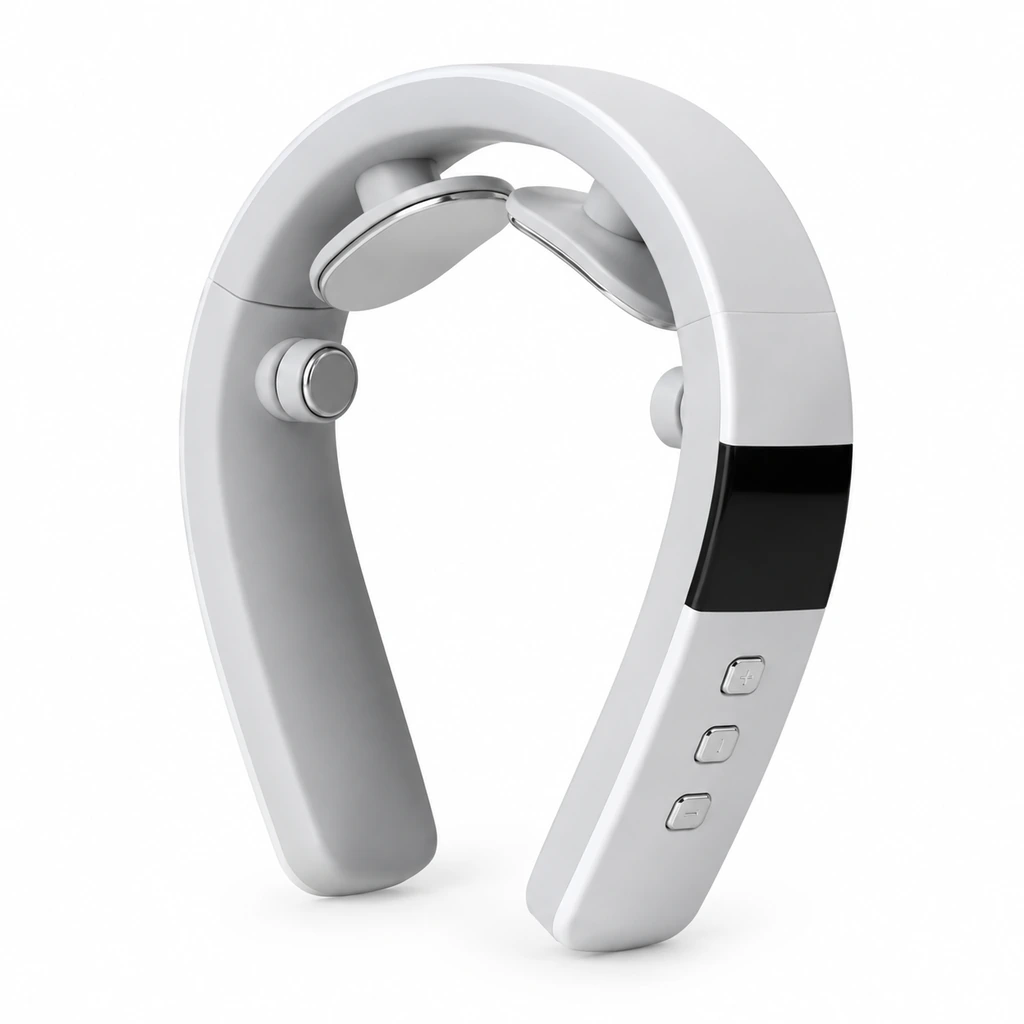
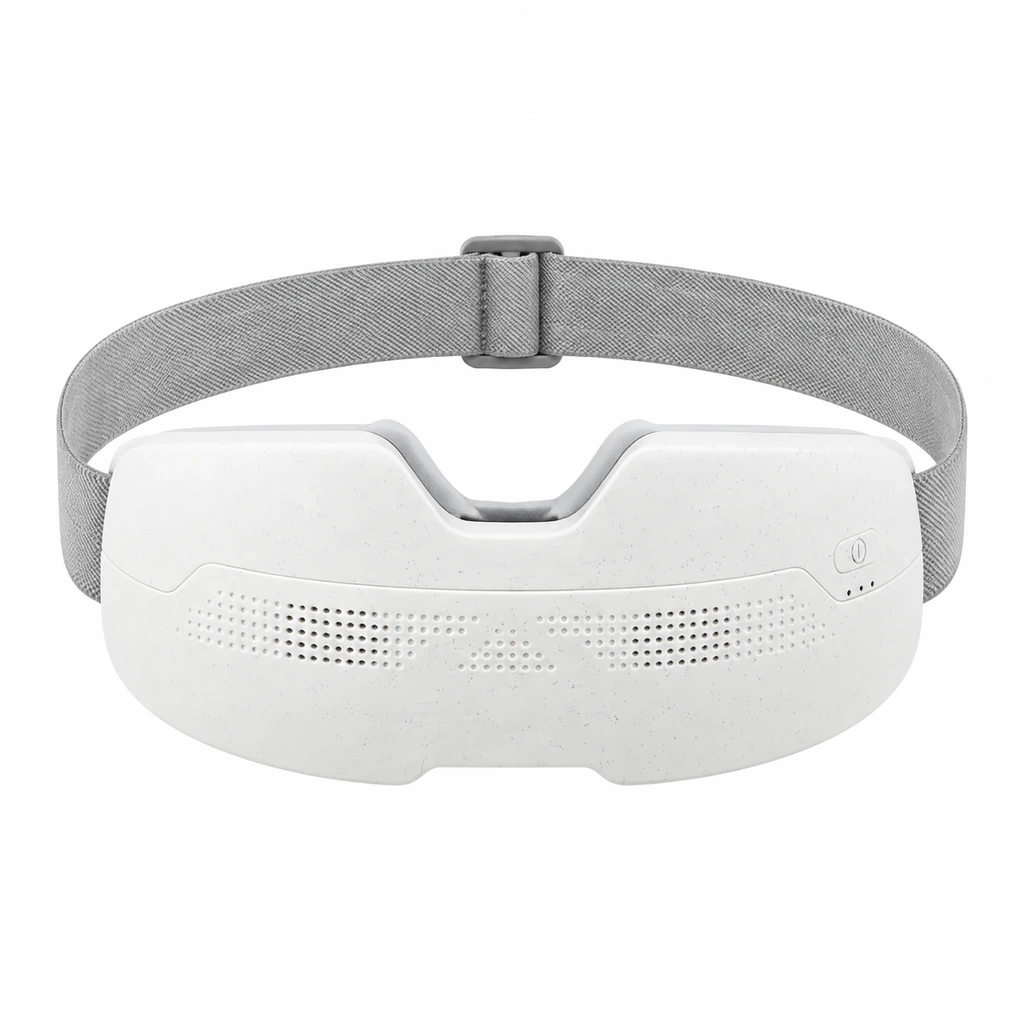
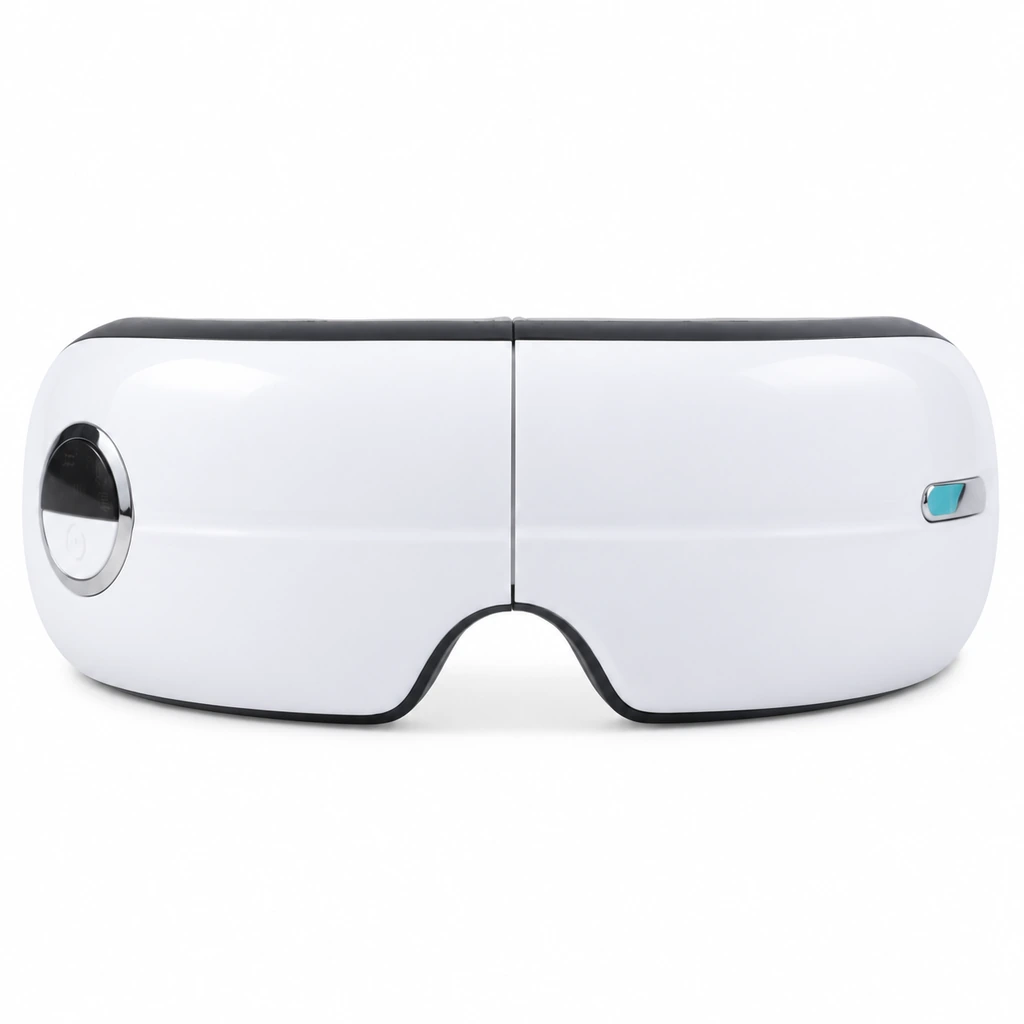
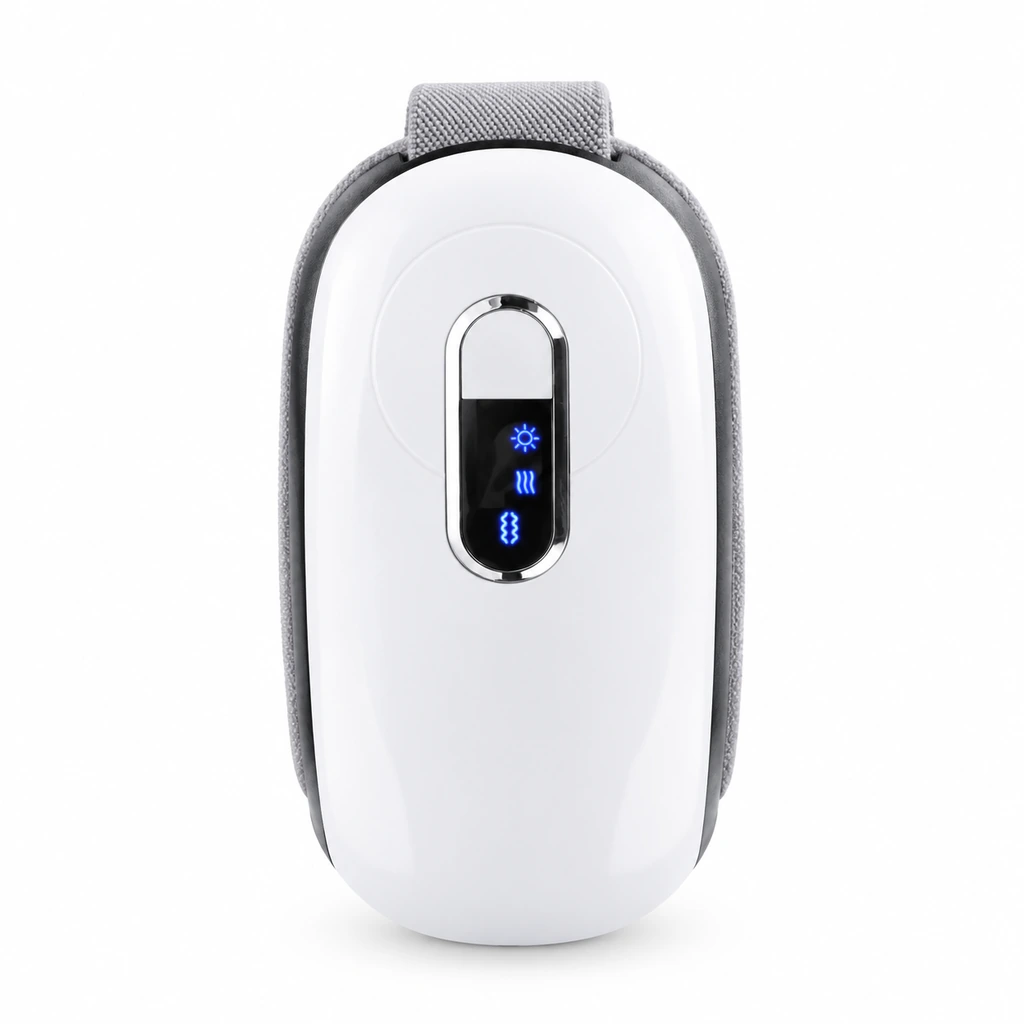
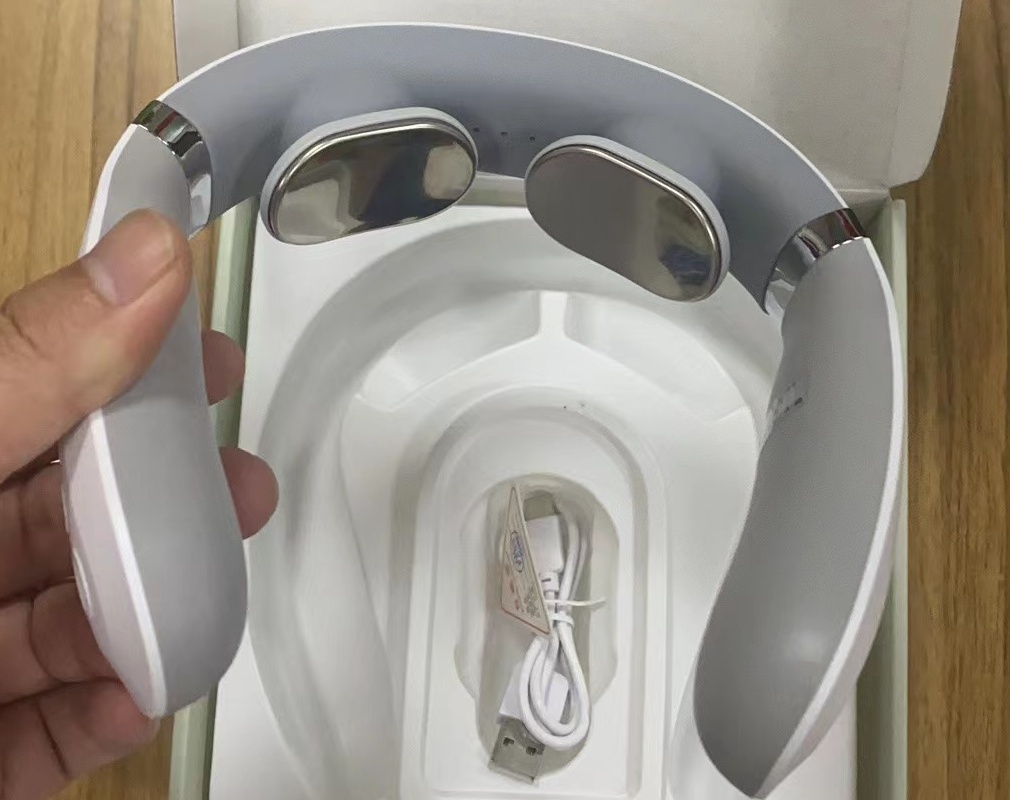
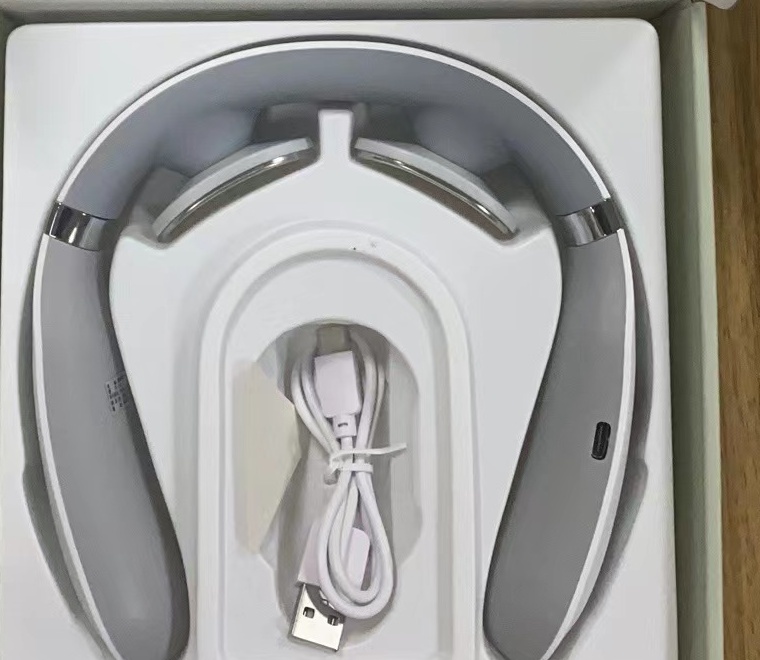
The official Meilan F10 listing provides a model starting point. The supplied F10 photographs below show the housing, metallic-looking contact surfaces and an open package. They help locate inspection areas; they do not establish production tolerances or prove that a batch passed inspection.
For a branded order, connect the appearance record to the approved artwork and finish specification discussed during private-label planning. A product-page image alone cannot define an exact color or an acceptable printing offset.
Choose inspection zones, not one overall verdict
Separate the outer housing, inner contact area, side arms, controls and printed surfaces. A mark on a prominent front surface may need a different acceptance decision from a mark on a normally hidden area.
Agree which surfaces are cosmetic reference areas and which also need a separate functional or safety assessment.
2. Agree on viewing conditions and comparison references
Use consistent lighting, background, viewing distance and inspection time. Record whether a mark is visible during normal handling or only under magnification. A phone camera’s exposure and a bright reflection can change how a surface appears, so keep the physical reference available for disputed cases.
For color and gloss, compare the sample with the agreed physical reference under the same light. Do not approve a color from two photographs taken in different rooms. Where a numerical color or gloss limit is needed, agree the instrument, method and acceptance limit before using the result to accept or reject a sample.
A useful reference set can include an approved sample plus mutually accepted photographs of acceptable and unacceptable examples. Label every reference with its version and date. There is no single cosmetic limit that automatically applies to every neck massager.
3. Check four appearance groups separately
| Area | What to record | What decides acceptance |
|---|---|---|
| Seams and edges | Exact location, gap consistency, steps, burrs or sharpness | Agreed reference; escalate loose parts or sharp edges for separate assessment |
| Surface marks | Scratch, scuff, dent, residue or coating change; visibility and extent | Surface zone and agreed appearance limits, not camera close-up alone |
| Printing and labels | Wording, orientation, legibility, position and artwork version | Approved artwork and label specification; investigate incorrect safety information separately |
| Color and finish | Mismatch between parts, gloss variation and comparison conditions | Agreed physical reference or specified measurement method |
Do not classify every finding as “cosmetic.” An uneven seam may be appearance-only, while a loose housing or sharp edge calls for a different review. Likewise, an incorrect rating or warning is not just a printing blemish. Record the observation first, then assign its significance using the agreed inspection plan.
4. Photograph the finding so another person can locate it
Take an overall view identifying the unit, a location view showing the relevant side, and a close-up with scale where useful. Keep an unmarked original. Add a small numbered outline on a copy without covering the mark, seam or printed text being discussed.
Write a neutral observation such as “visible line on outer left arm under the agreed inspection light,” then record the reference and proposed disposition. Avoid “poor workmanship” without a location or criterion. Also avoid editing a promotional photograph to create a defect example.
Check the sample before and after unpacking
Inspect the package and insert before removing the product, then examine the surfaces they touch. An unboxing record can help distinguish a mark present on arrival from one noticed after handling.
The supplied image shows how this photographed unit sits in its insert. It does not verify transport protection. Link any packaging changes to the product and packaging sample approval record.
5. Keep the approval record usable for the order
Retain the following information for each inspection finding. Keep the criterion beside the observation so another reviewer can trace the accept, reject or hold decision to the exact sample and evidence.
- Model, sample ID and finish revision
- Inspection conditions and reference ID
- Surface zone and photo IDs
- Observed condition and applicable criterion
- Decision: accept / reject / hold for clarification
- Approver, date and approved sample/reference location
For production orders, agree the lot inspection and acceptance rules separately. One attractive sample does not establish a batch defect rate. The neck massager sampling-plan guide addresses that next decision; this checklist defines what the appearance inspection should look for.
If a different finish, print process or housing change is proposed, ask which approved references and checks need updating during the OEM/ODM scope discussion. Do not assume an approval transfers unchanged to a new configuration.
Preparing a sample review? Contact Meilan with the intended model, finish, artwork revision and inspection checklist. Ask which physical references and sample-stage details can be confirmed for your project before approving the appearance standard.

