







Neck Massager Product Range Branding Guide
Align branding across a neck massager range through model-specific logo placement, finish references, terminology, packaging and separate approvals.
 Meilan Tech 6 min read
Two neck massagers can carry the same logo and still look as though they belong to different brands. A silver finish may read differently on two shells; a model name may disappear beneath a large lifestyle headline; a shared quick-start card may describe a button that one version does not have.
For a brand adding a second or third model, consistency means setting repeatable design rules while preserving the differences a buyer or user needs to see. Start with a small range standard, then approve its application on each proposed product and packed kit.
1. Define the family before choosing the artwork
Give each model a clear place in the range: its intended channel, agreed configuration, kit and customer-facing name. If you plan an entry model and a more fully equipped model, identify the documented difference that supports that distinction. A larger box or a more metallic photograph does not establish a higher-performing device.
Separate the brand name, product-family name, retail model name and supplier model identifier. The front of the box can use a concise retail name, but purchasing, support and product records still need an unambiguous link to the exact supplied version. Avoid using one family nickname as the only identifier for several configurations.
Keep the first range standard practical: approved logo files, minimum readable size, type hierarchy, physical color references, naming rules and the information each model must retain. A short standard applied to real samples is more useful than an elaborate style guide that nobody checks against the product.
2. Apply a common logo rule to different physical surfaces
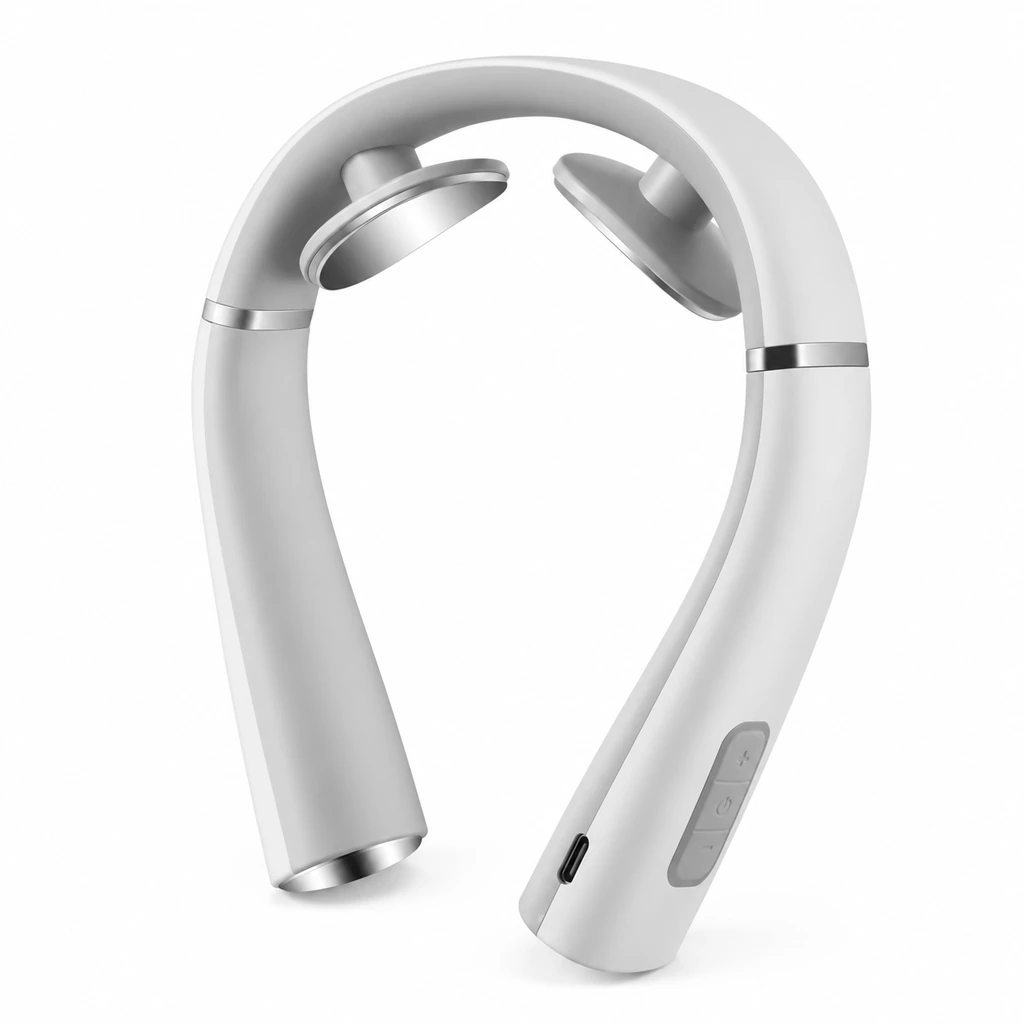
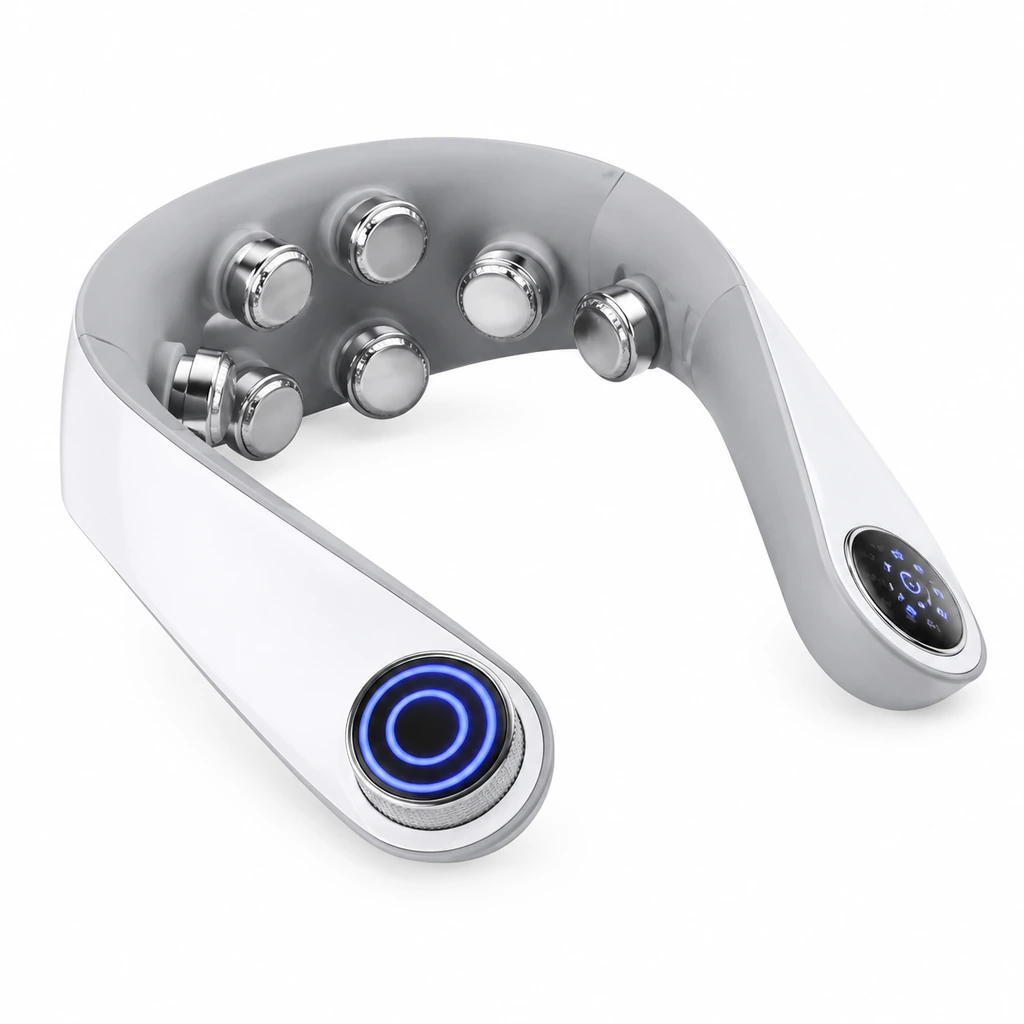
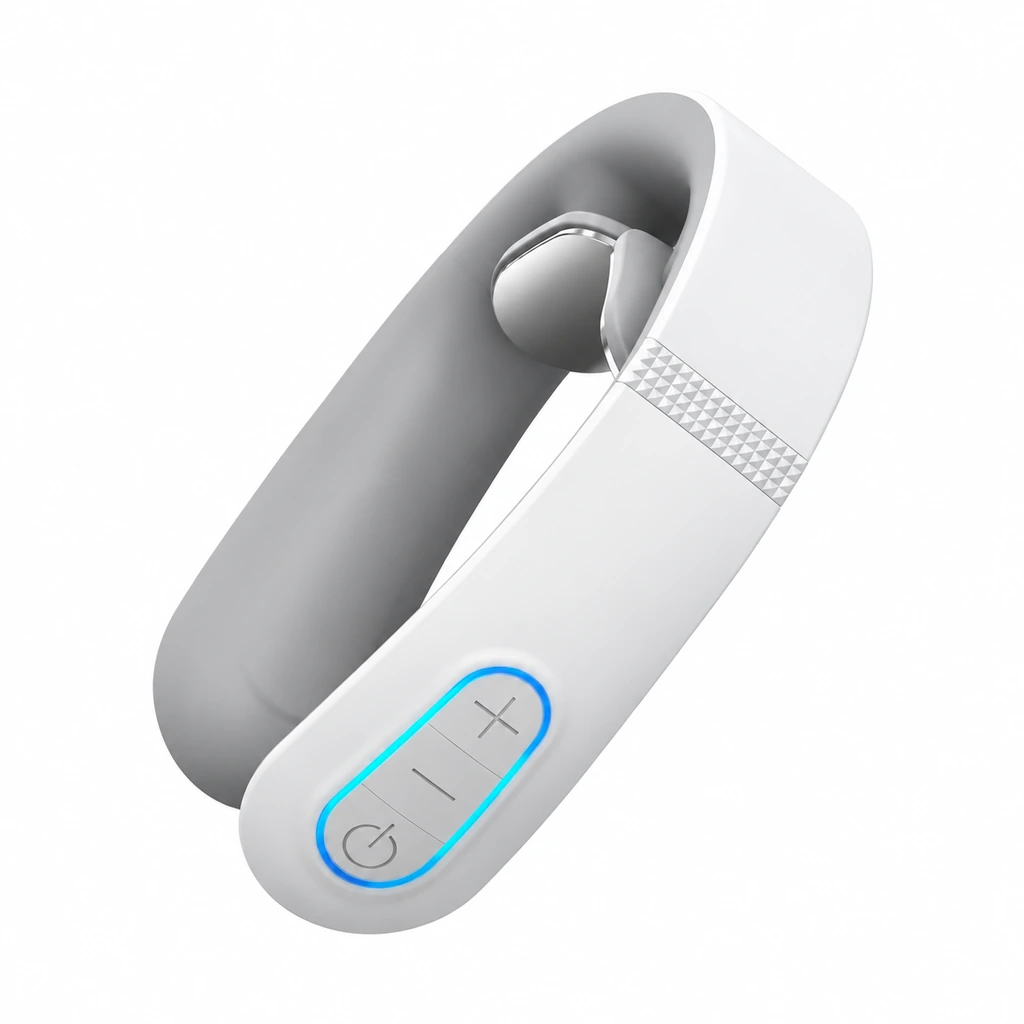
Define the logo’s proportions, clear space, orientation and contrast rather than requiring the same absolute width on every device. A mark that works on a broad outer arm can become cramped beside a display or look oversized on a narrower shell. Specify how the logo should read when the product is stored, photographed and held in its normal orientation.
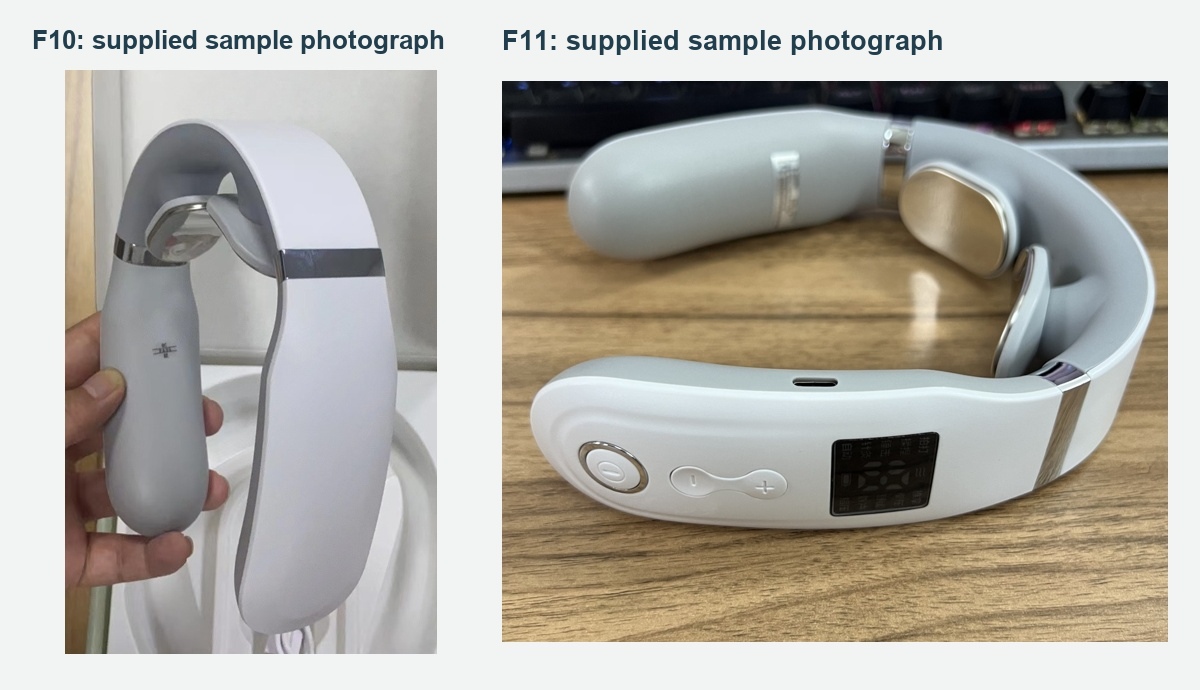
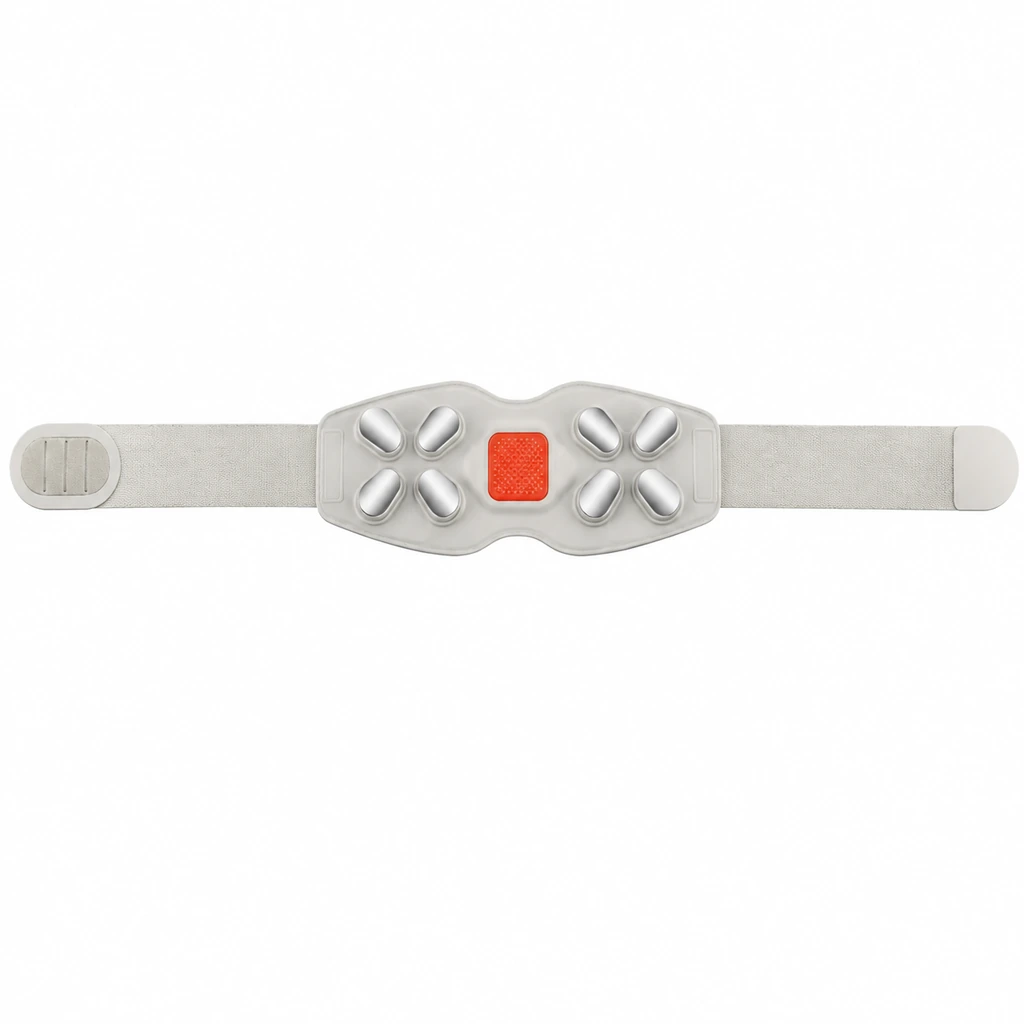
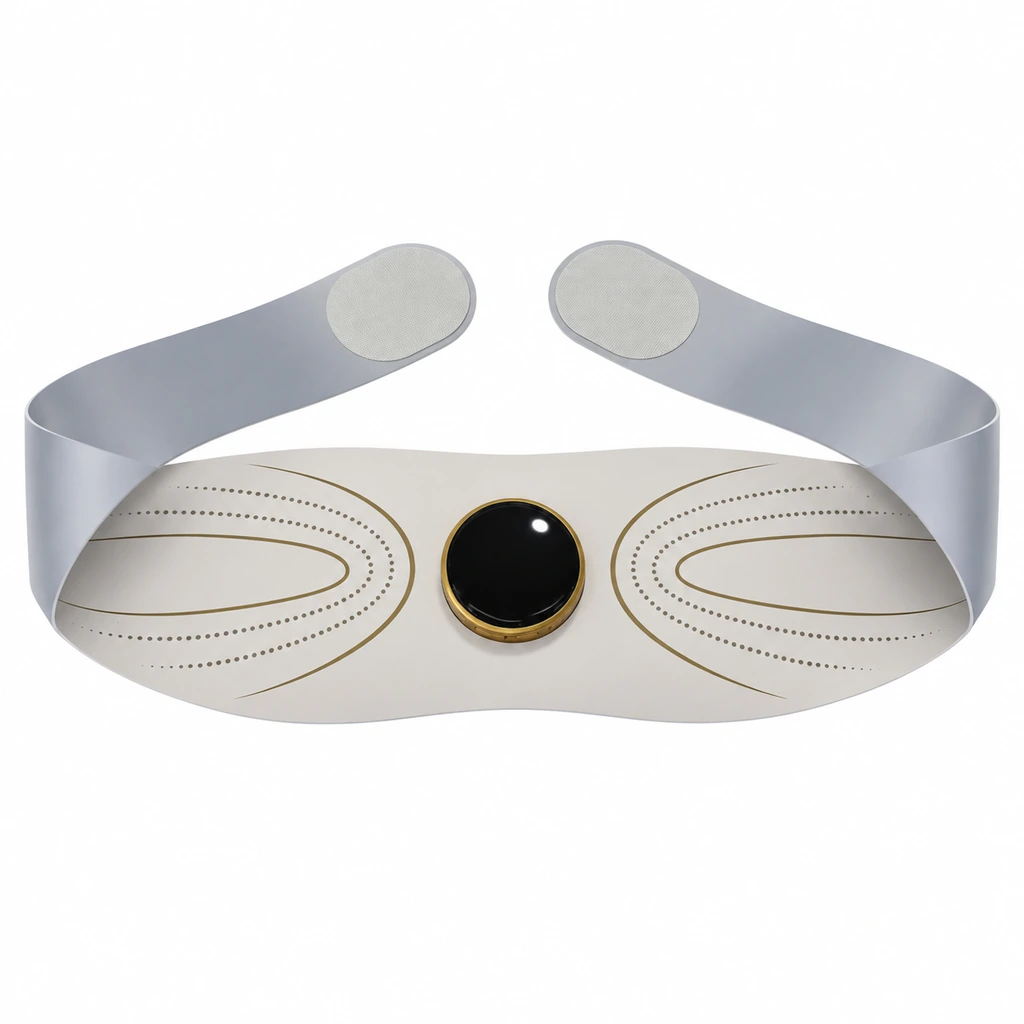
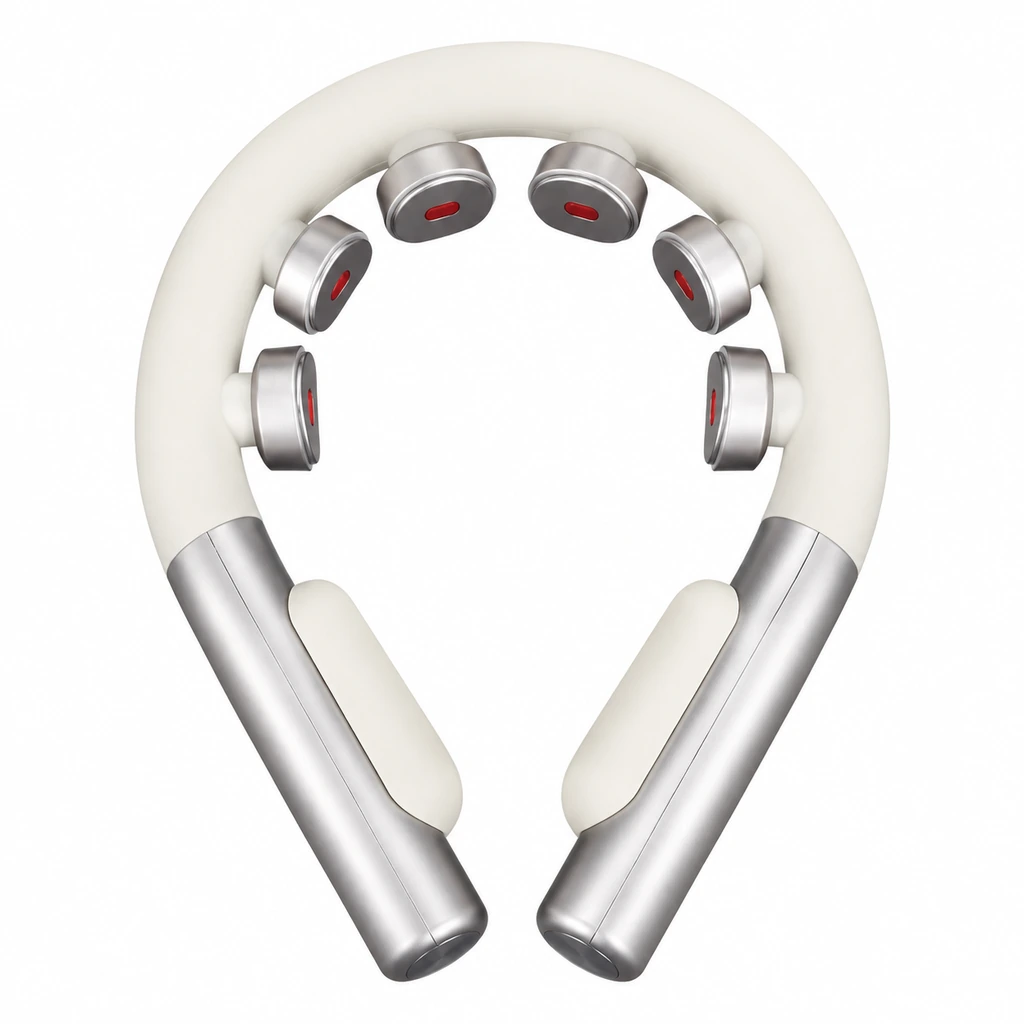
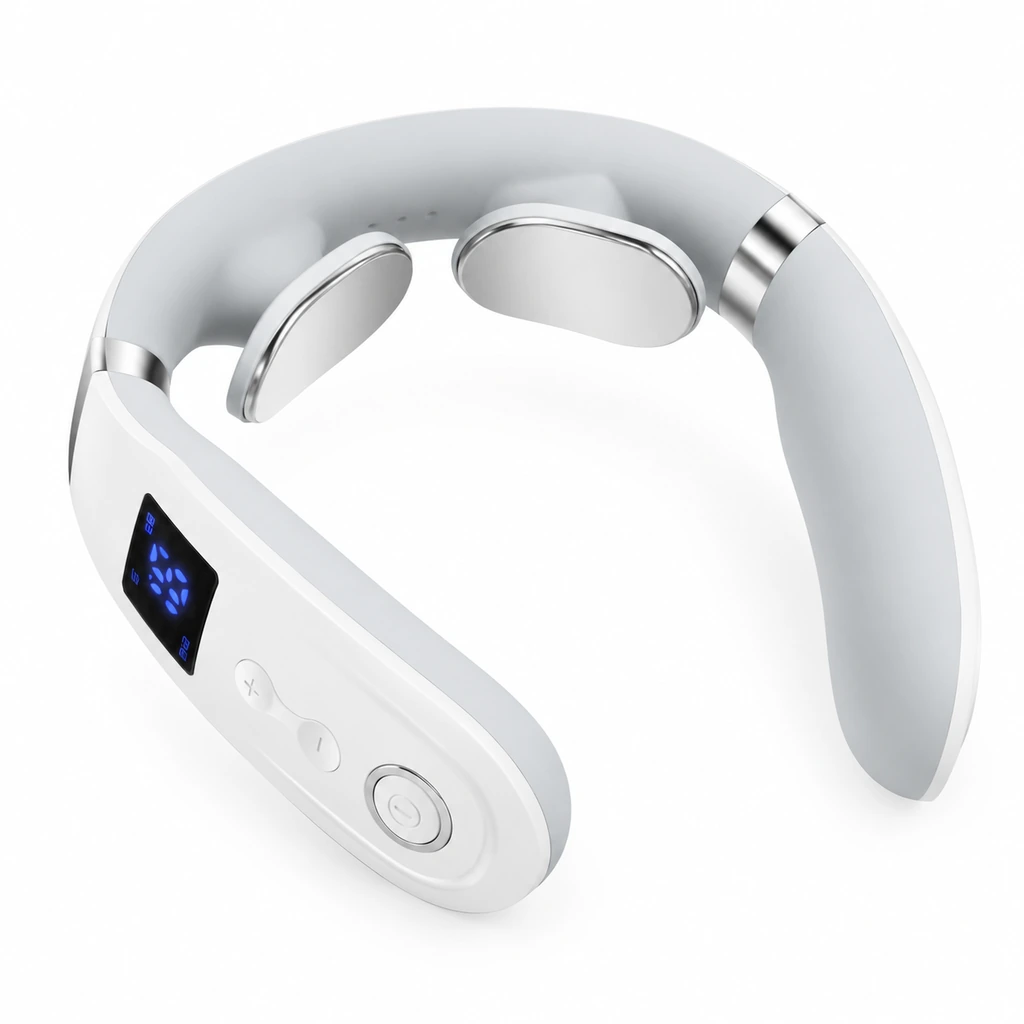
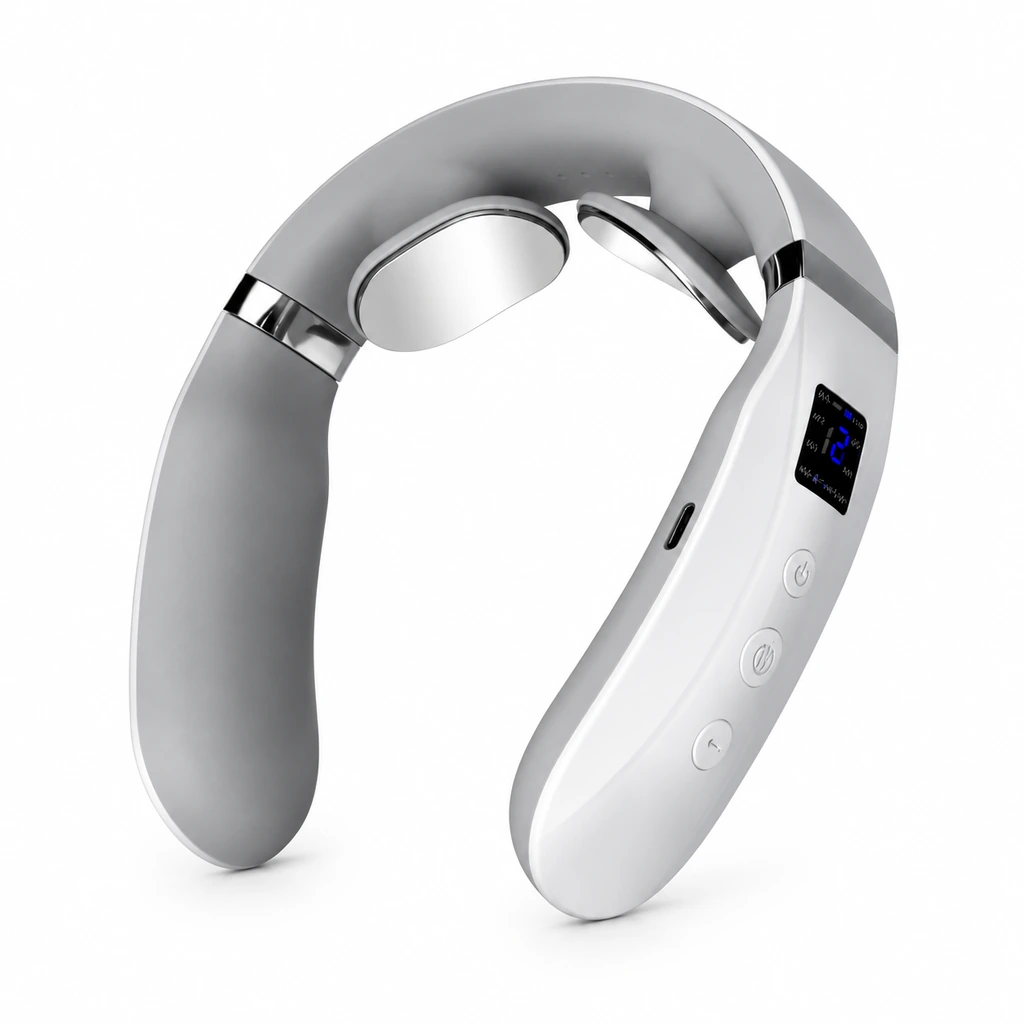
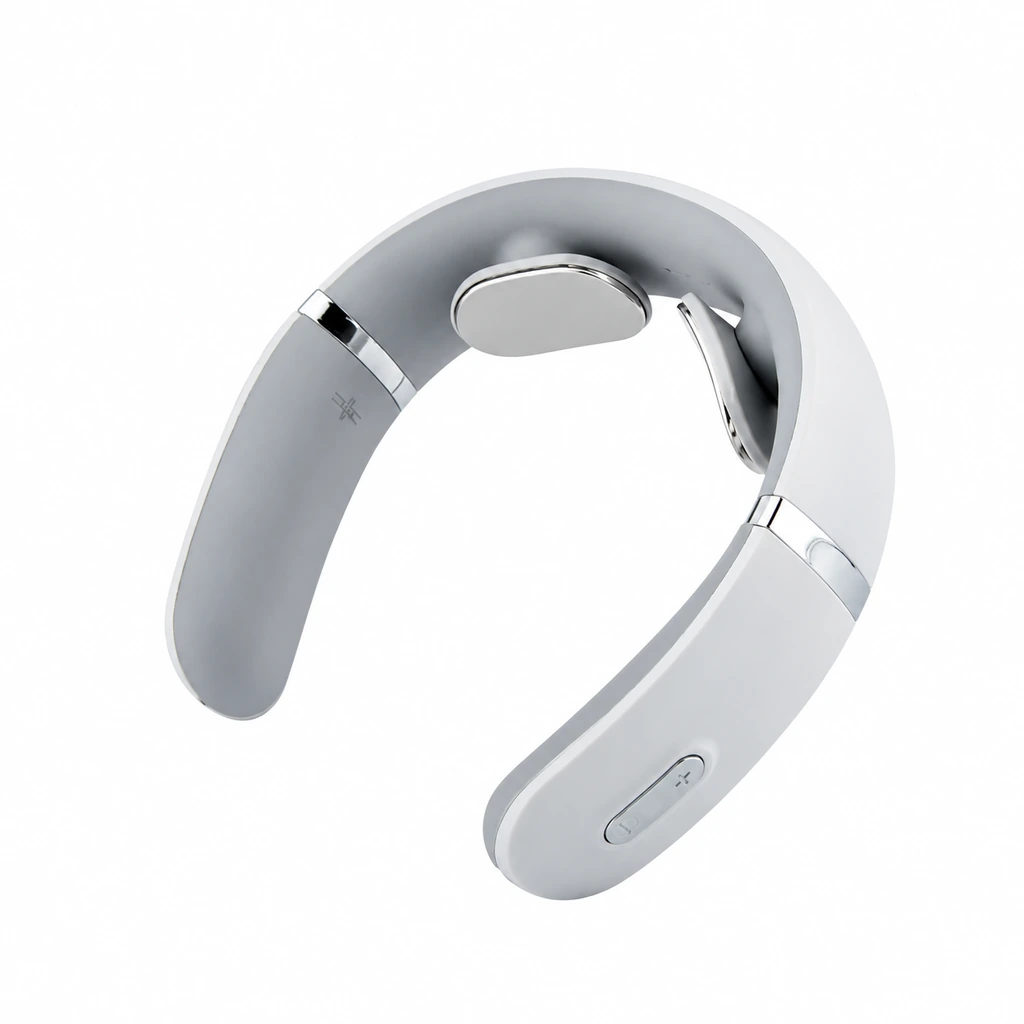
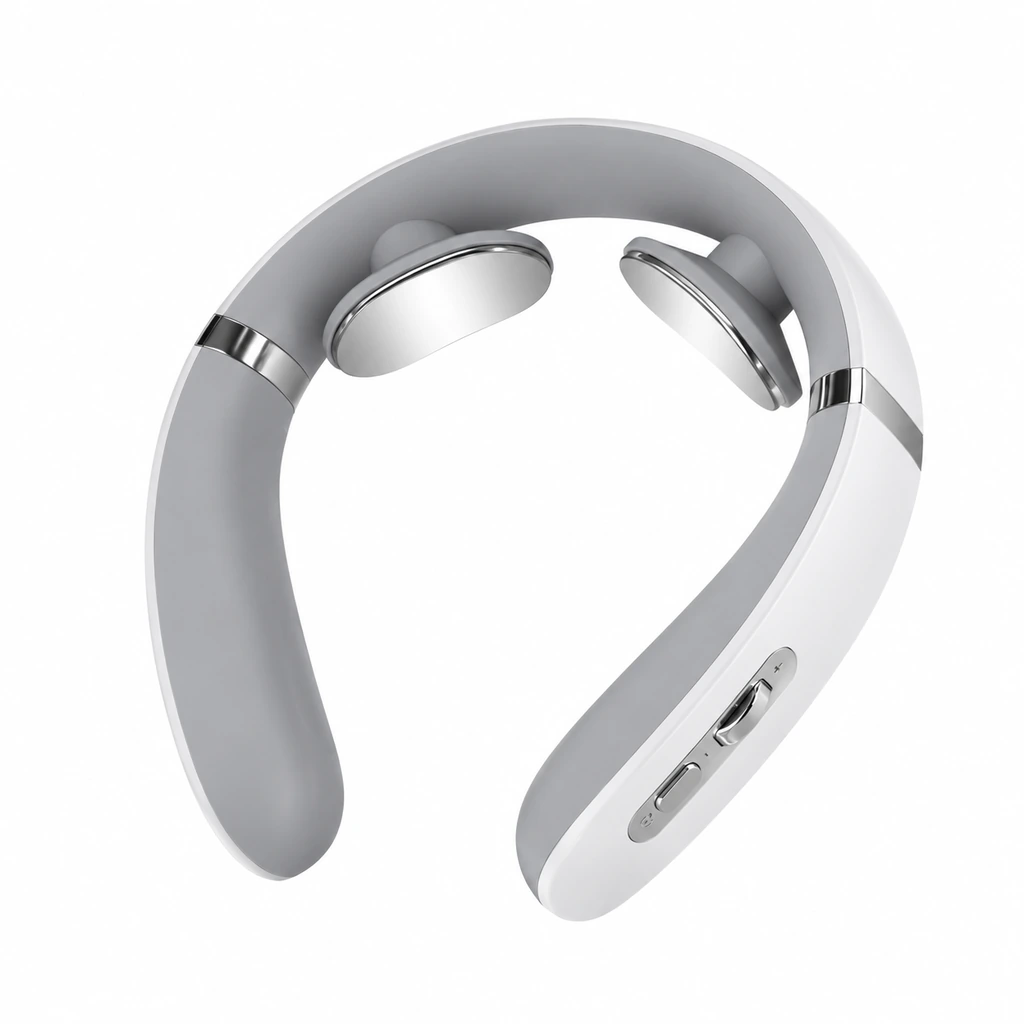
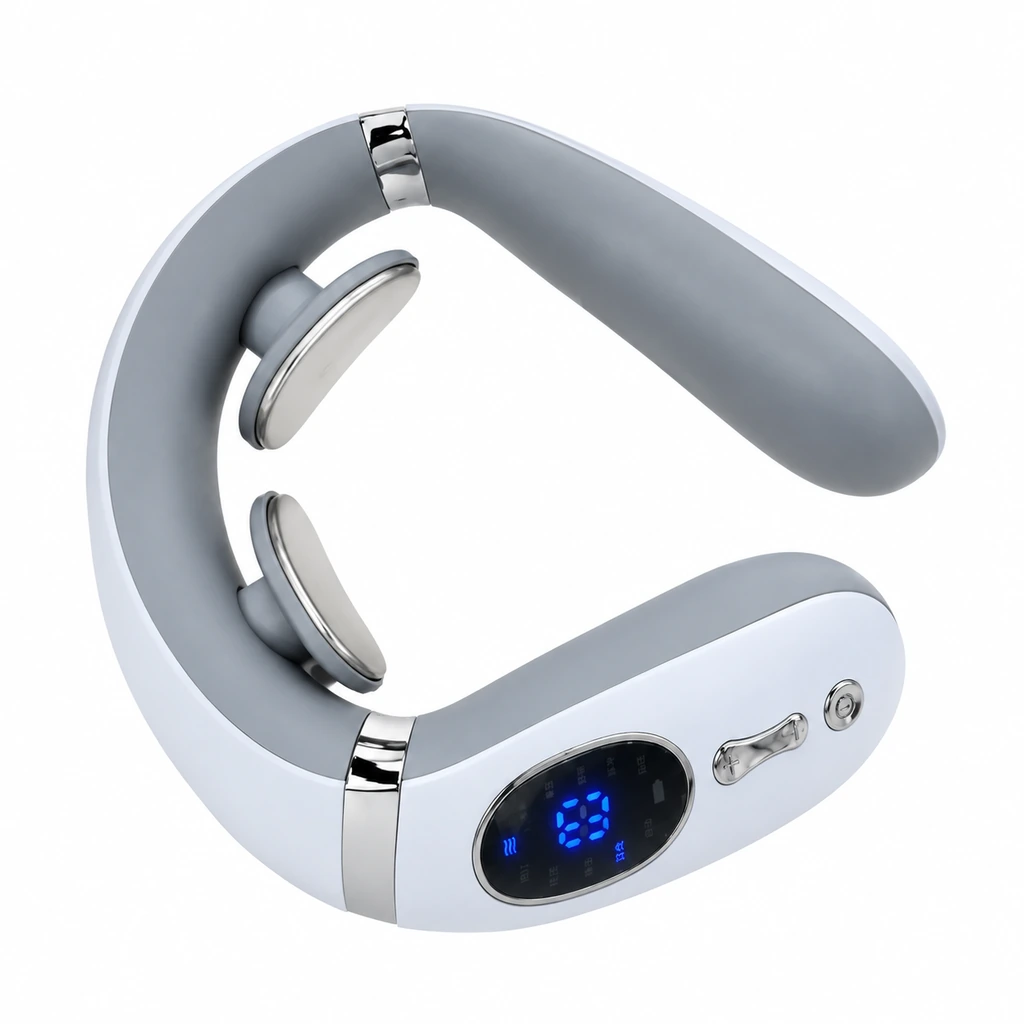
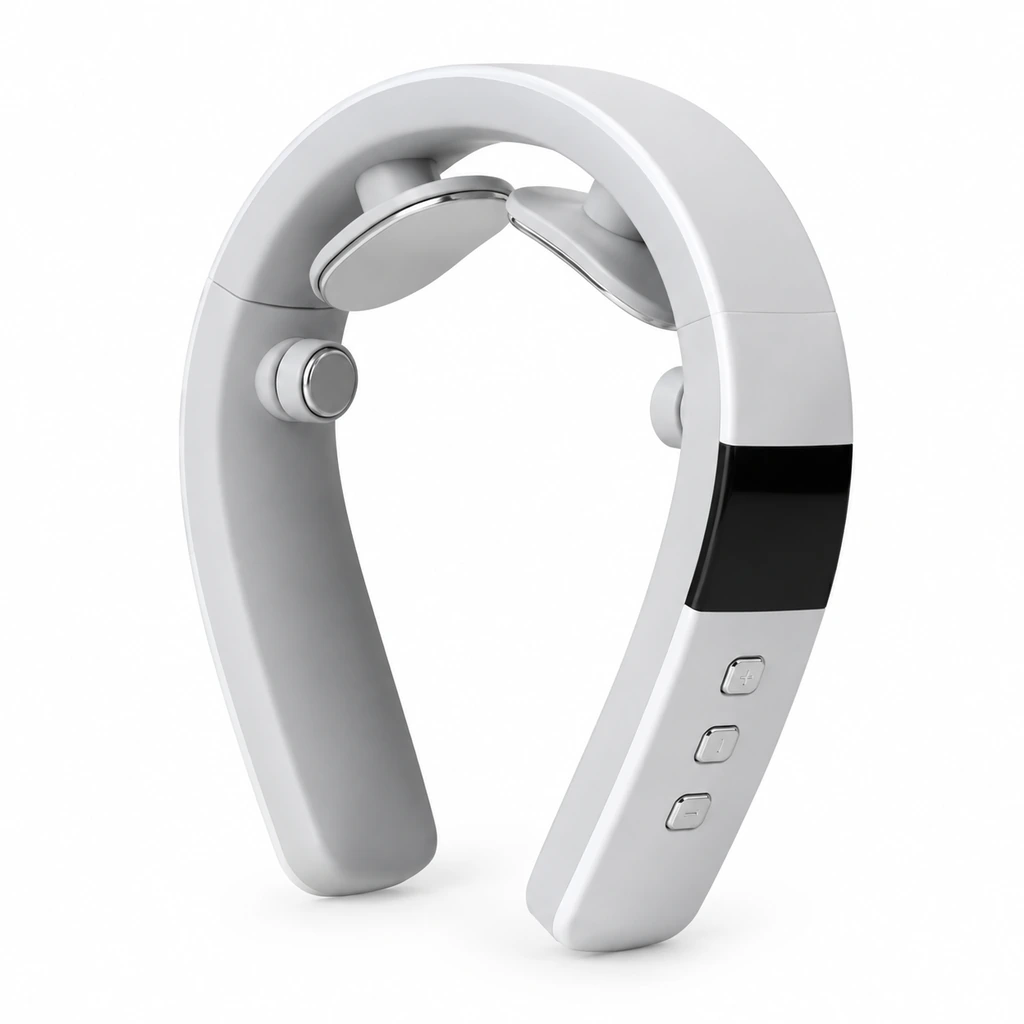
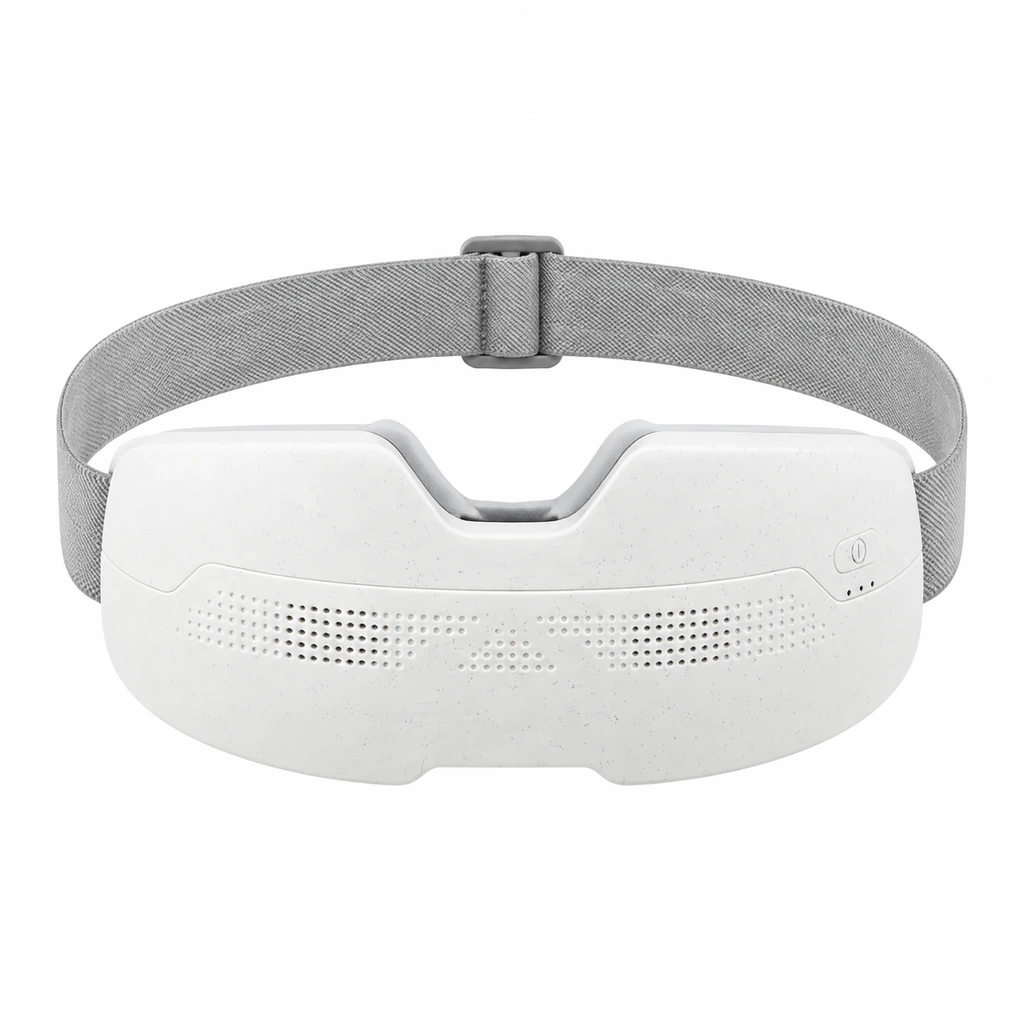
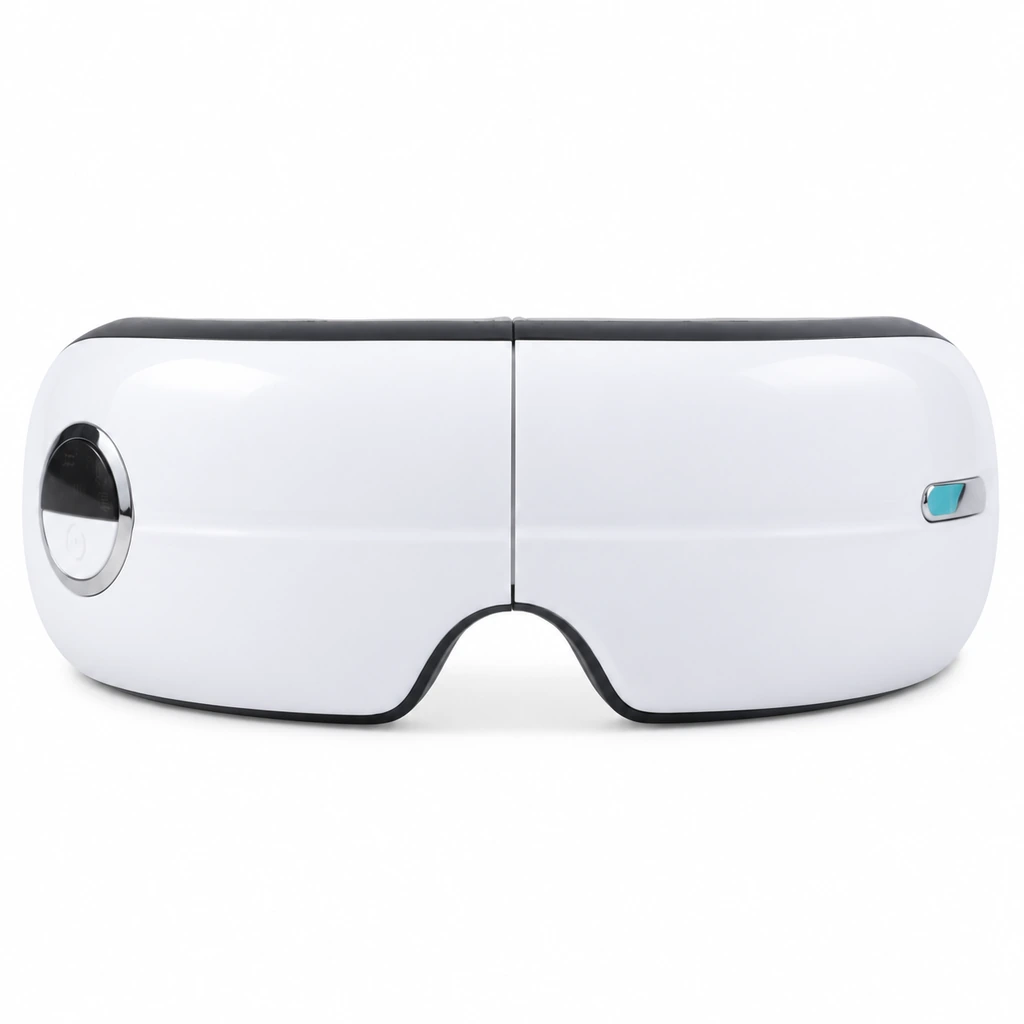
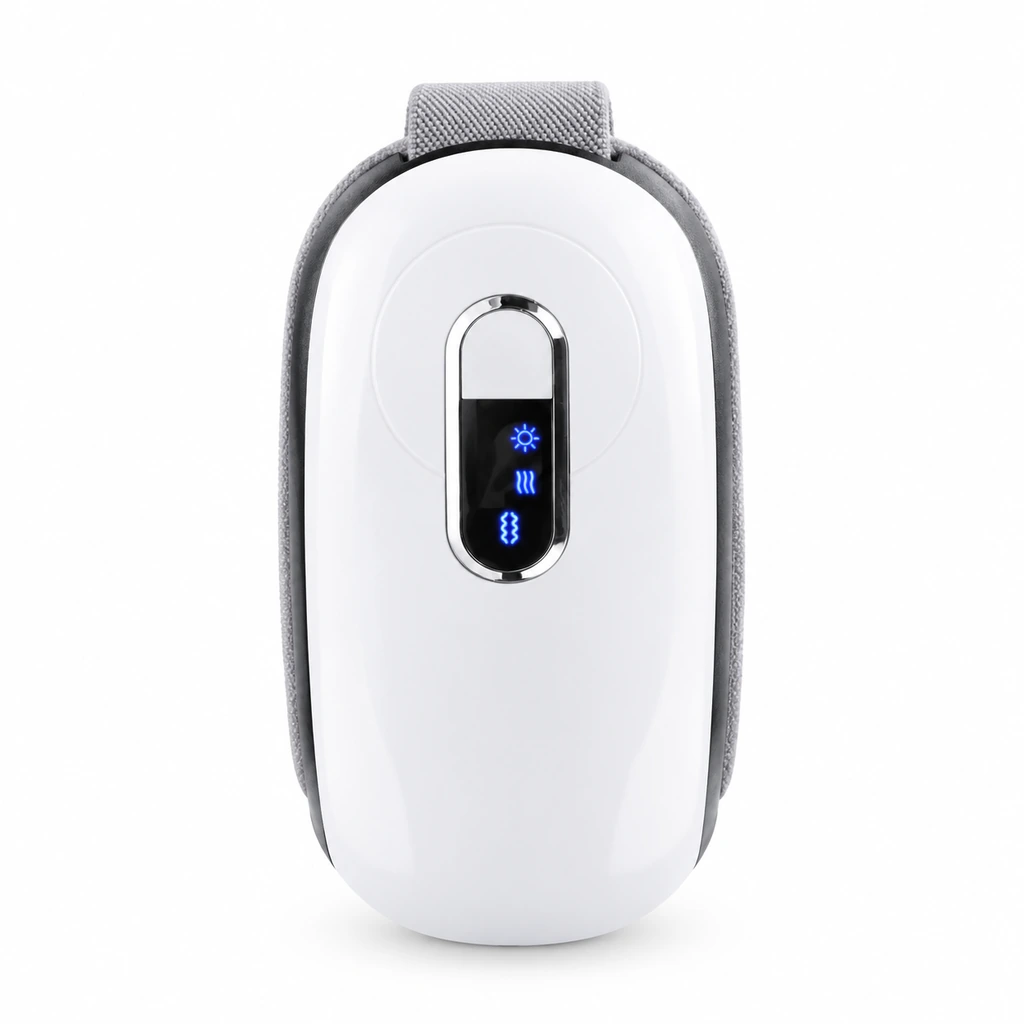
The photographs make the design problem tangible: visible shell area and operating information compete for space differently. Mark proposed zones on model-specific views, preserving controls, ports and required labels. Ask the supplier to confirm the surface, application method and limitations for each zone. A flat logo overlay helps discuss placement; it does not prove a marking process is available or suitable.
Use the Meilan private-label service page to begin that scope discussion. Request a physical marked sample where applicable. If one model cannot accommodate the preferred position, a documented placement exception is better than shrinking the mark until it becomes unreadable.
3. Match perceived color and finish, not just a color name
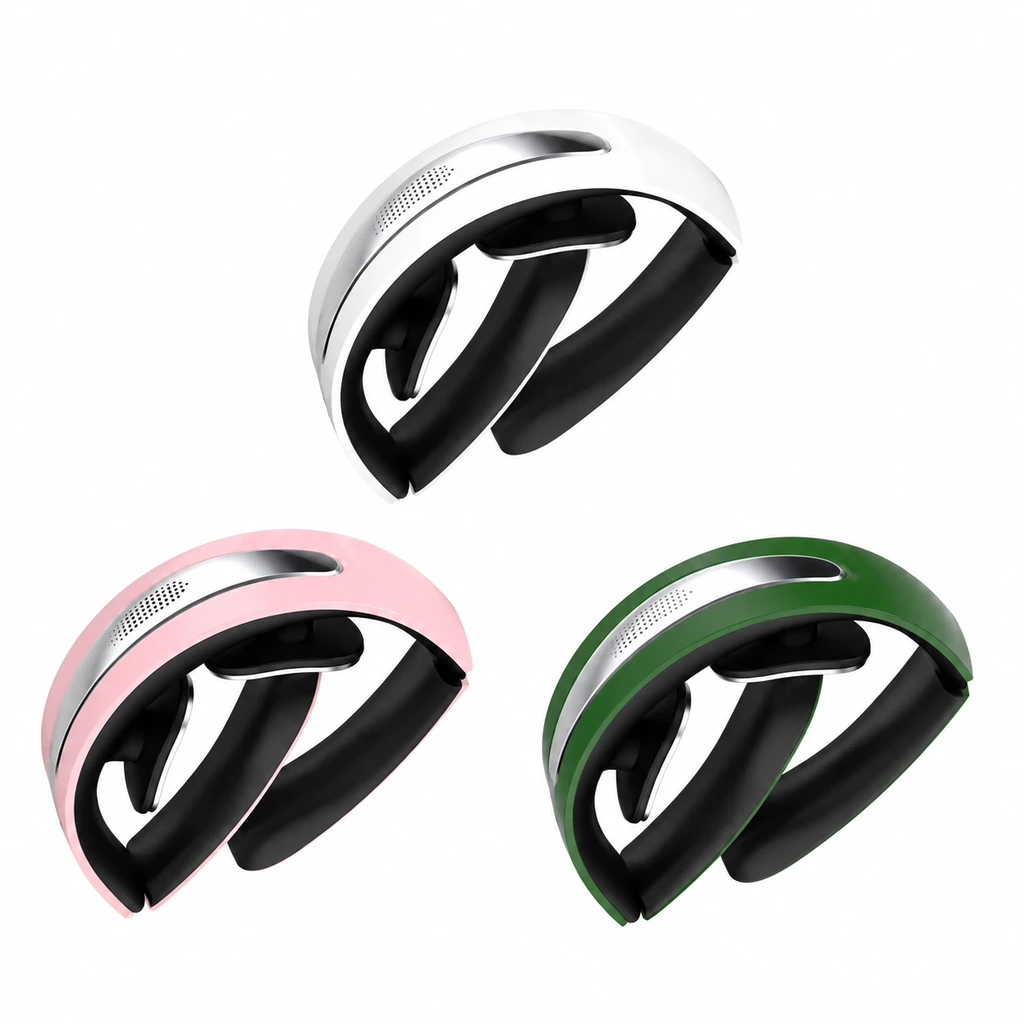
“White,” “silver” or a digital color value is not a complete appearance specification. Different materials, gloss levels and adjacent trim can change how the same target color looks. A photograph also introduces lighting and screen differences, so the two sample images above should not be used to approve a color match.
Agree which elements need a close visual match and which can vary deliberately. You might propose a shared neutral shell family while using a small model identifier to distinguish versions, subject to the supplier’s confirmation. Do not make an important model distinction depend on color alone: the name and product identifier should remain readable.
Review candidate finishes together under an agreed viewing setup, with reference samples or approved swatches and recorded acceptance criteria. Ask separately about process feasibility, order conditions and whether a finish change affects other product work. Carrying an existing finish may simplify execution; developing a closer family match may require additional sampling. Obtain the actual conditions rather than assuming either route has a fixed cost or lead time.
4. Standardize terminology without copying operating instructions
Create a small terminology list for concepts that genuinely recur: power, mode, intensity, charging and the names of included accessories. Give the same concept the same preferred term across packaging, manuals, product pages and support material. Keep a model-specific exception where the function differs.
A common word does not establish common behavior. If two devices use a power/mode button differently, their operating steps must describe those differences. A mode count, intensity range or restart behavior belongs to the exact version’s approved information. Do not copy another model’s specification block simply because the layouts share a template.
Where audio is included in the proposed version, check the spoken term against the printed and displayed term. The voice-prompt localization checklist helps organize that review. A shared glossary can reduce inconsistency, but each language still needs context, numbers, conditions and warnings checked against the source. Uniform wording must never erase a necessary instruction.
5. Build one packaging hierarchy with separate pack-outs
Repeat the brand position, title scale, model-name location and information order across the range. Let the physical box and insert fit the actual kit. A remote, cable or detachable component needs an identified place even if another model in the same range does not include it.
Identical outer dimensions can make a shelf presentation orderly, but may leave unused space or require different internal supports. Different box sizes can fit the kits more closely while still sharing a visual system. Compare representative packed samples and confirmed dimensions before choosing; an artwork proof alone cannot settle fit, retention or transport protection.
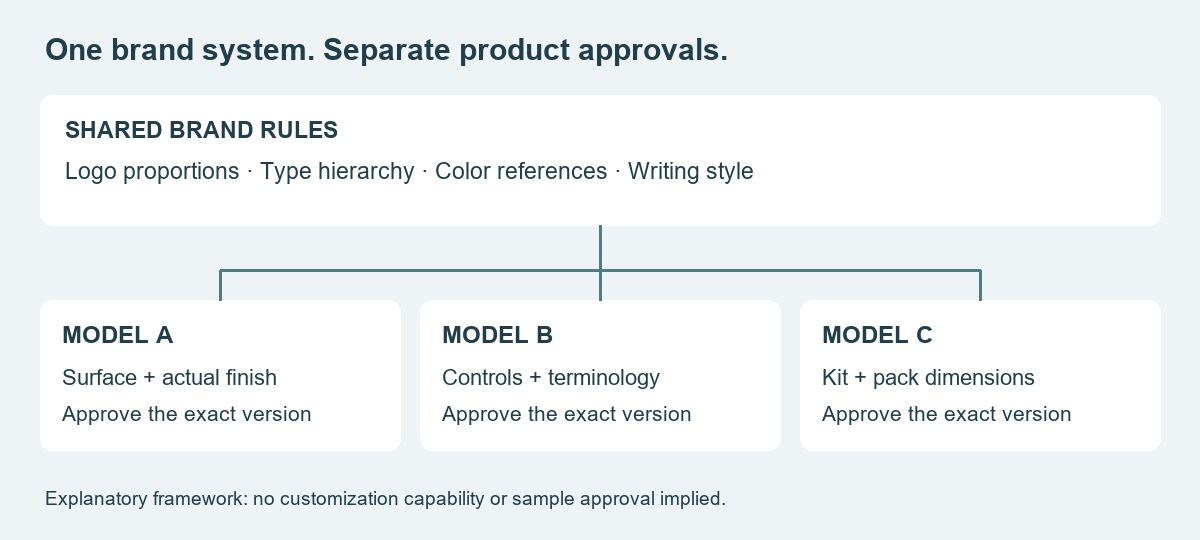
Use a range review sheet to make shared rules and exceptions visible:
| Element | Shared rule | Model-specific approval |
|---|---|---|
| Identity | Logo proportions, typography and hierarchy | Placement, size, contrast and application method |
| Appearance | Approved color and finish references | Actual material, surface and accepted variation |
| Names and terms | Family naming and preferred vocabulary | Exact identifier, functions and operating steps |
| Packaging | Brand position and information order | Box dimensions, insert, contents and labels |
| Retail assets | Image framing and copy style | Correct product, kit, language and supported claims |
6. Approve the range together, release each version separately
Review the proposed products, packs and retail assets side by side. First ask whether they read as one brand. Then ask whether a buyer can distinguish the models and whether each product’s instructions and kit are correct. These are separate checks; passing the first does not settle the second.
Keep an exception register with the model/version, affected element, reason, approved alternative and owner. Record whether a later change is a family-wide revision or a single-model correction. Updating the shared logo file, for example, should trigger a review of affected applications; it should not silently replace already approved artwork on every order.
For a new range project, use the OEM/ODM service overview to frame the scope, then send Meilan the candidate models, brand files and proposed range rules. Request model-by-model feasibility confirmation and sample requirements. The useful outcome is a recognizable family with clear product differences and a traceable approval for every version.

