



Waist Massager Fastener Inspection: Buyer Guide
A wholesale buyer guide to inspecting closures, hook-and-loop overlap, stitching, adjustment and pack-out on waist massager samples.
 Meilan Tech 7 min read
A waist massager sample can look finished on the table yet behave differently after the belt is adjusted and closed. For a wholesale buyer, fastener inspection means checking the actual closing sequence, usable overlap, seam construction and repeatability on the quoted version. Record what the sample does, then agree the acceptance limits with the supplier before treating its appearance as an order standard.
Start with the exact sample and the selling scenario
A brand preparing a retail listing needs clear fitting instructions and defensible product photos. A distributor handling returns needs to know whether the closure remains understandable after repeated opening, whether the belt can be adjusted without twisting, and which change counts as a defect. The inspection therefore starts with a sample ID, model, quoted configuration, belt orientation, size claim under consideration and intended packaging. Keep the retained sample, photographs and written specification together.
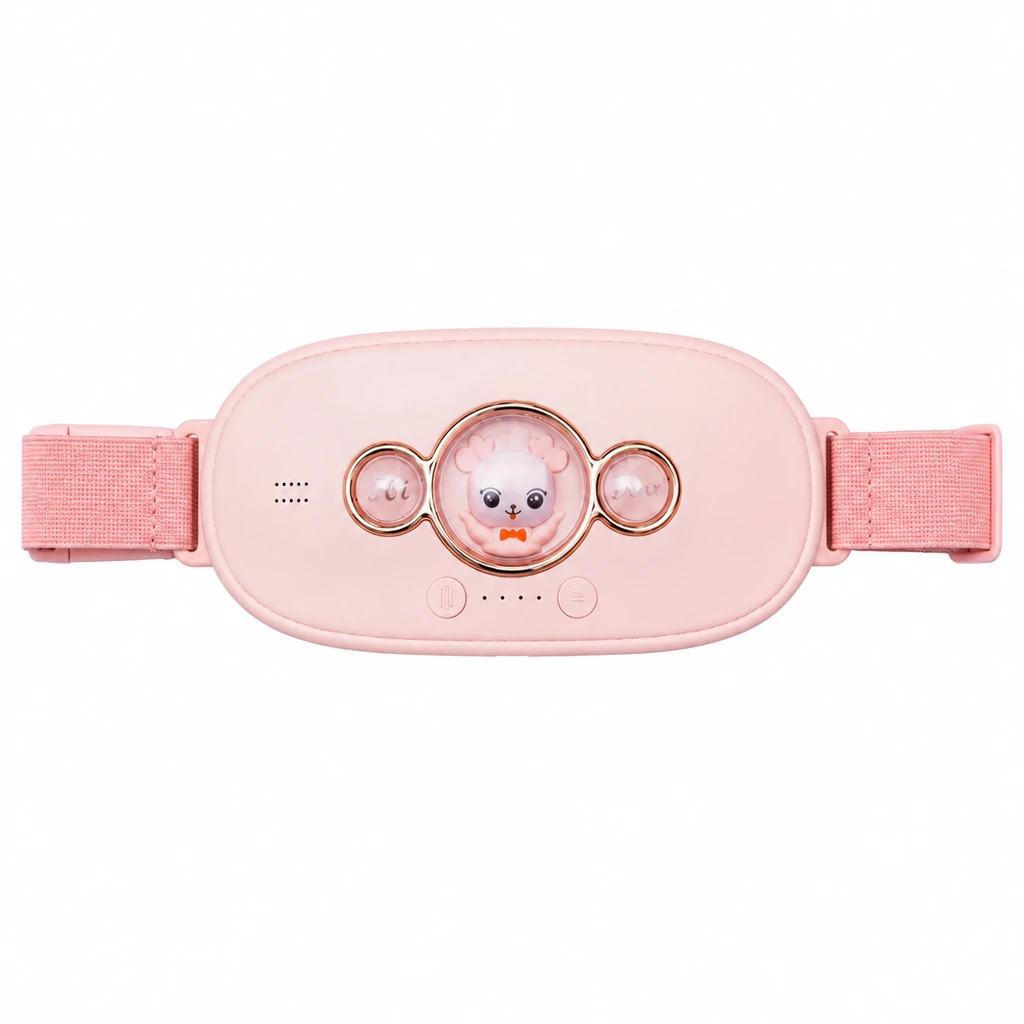
Meilan's A1 waist massager and A9 waist massager should be assessed as separate configurations. An A1 specification lists an overall unit dimension of 1100 × 136 × 35 mm, but that figure alone does not define a wearable waist range or acceptable closure overlap. For A9, request the current belt drawing and matching sample measurements before stating either number in retail copy.
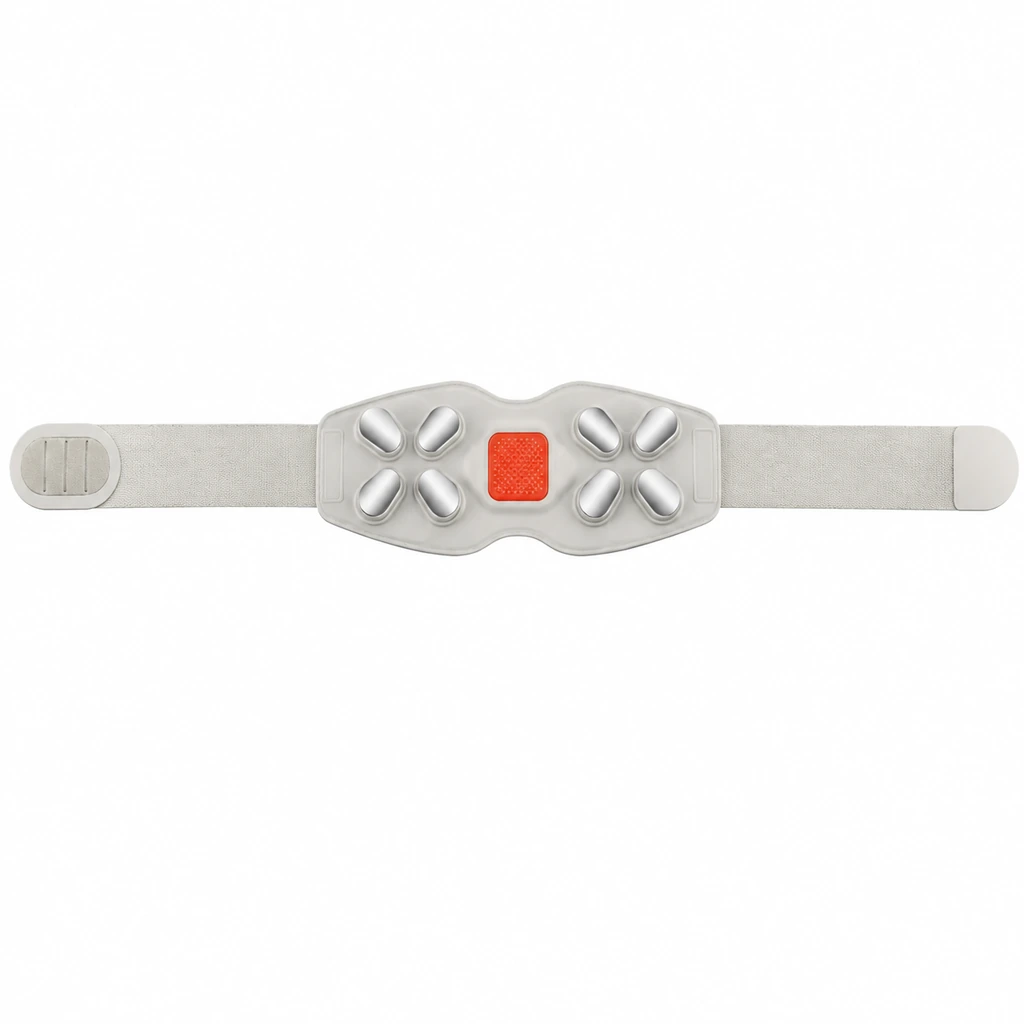
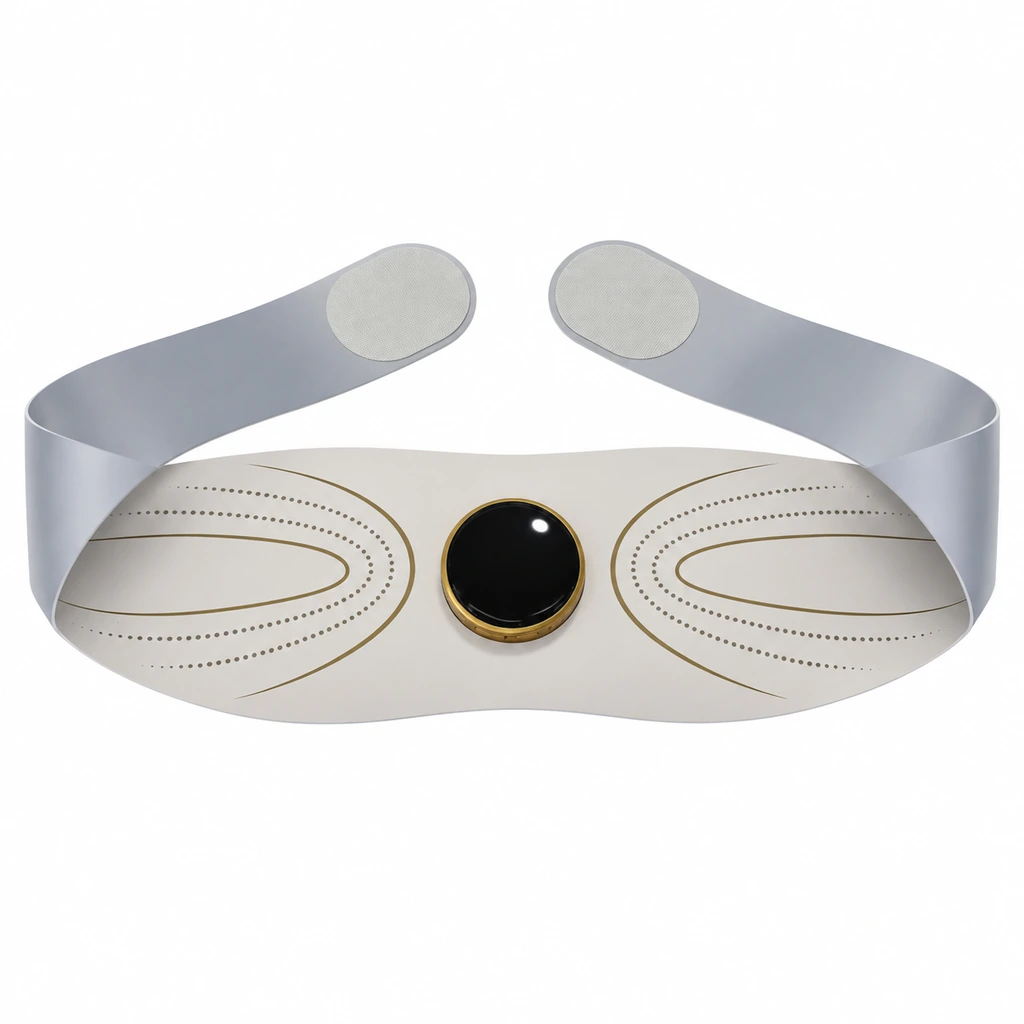
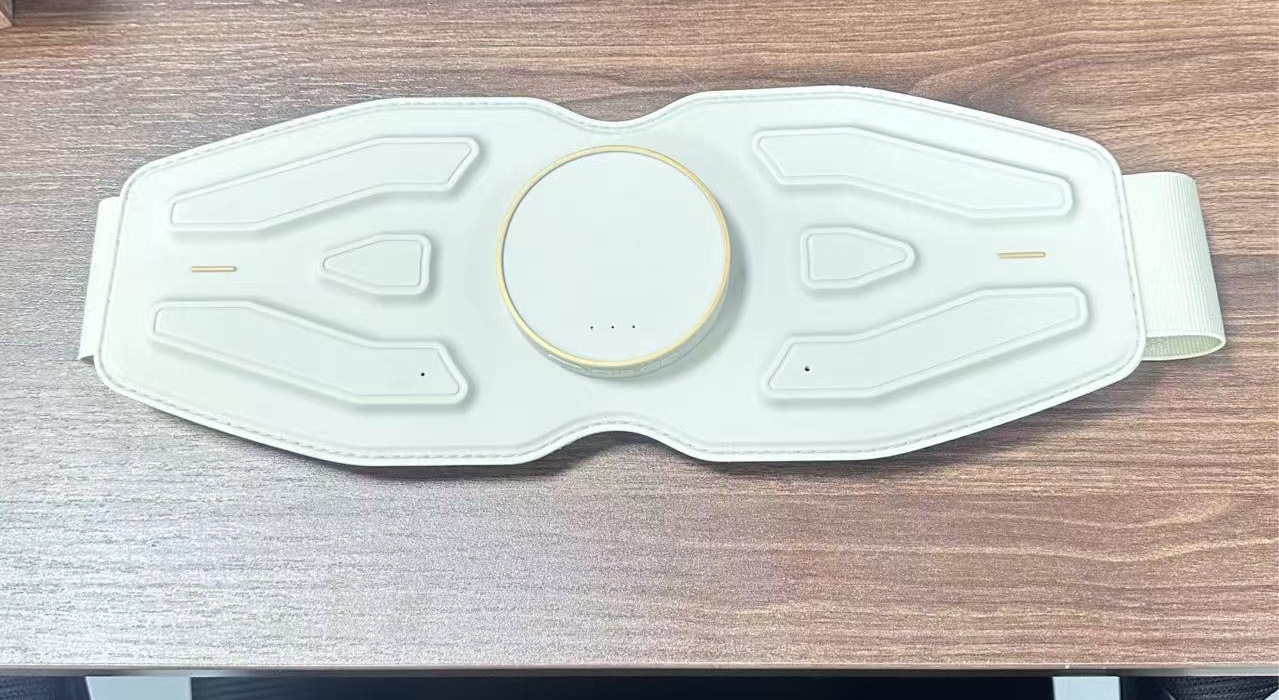
First photograph both faces of the belt fully open, then the closed belt at each agreed fitting position. Include a ruler in the frame and mark which surface touches clothing or skin. A close photograph is more useful when it can be traced to the same sample and orientation as the test record.
Map every part that carries the closing load
Do not reduce the review to whether a hook-and-loop patch “sticks.” Follow the load path from the free belt end through its stitched attachment, the mating closure surfaces, the adjustable section, and the body panel. If the offered version includes a buckle, snap or other hardware, record its part number and attachment method separately. The inspection sheet should reflect the hardware on the actual quoted sample, not a generic checklist for every belt.
| Area | What to record on the sample | Why it matters to approval |
|---|---|---|
| Closure surfaces | Position, usable contact area, edge finish, and whether the surfaces meet squarely at the agreed fit points | A large patch can still have little effective engagement if the belt lands at an angle. |
| Free end and anchor | How the end is folded, attached and gripped; any lifting or distortion when opened | Peeling often begins at an edge, while the anchor carries repeated handling load. |
| Adjustable belt | Length, stretch behaviour if applicable, routing, twist and residual overlap at each trial position | A nominal belt length is not the same as a usable fit range. |
| Stitched joints | Stitch path, skipped stitches, loose ends, seam allowance and puckering near the body panel | The seam must hold the closure in the intended position during handling. |
Check engagement across the adjustment range
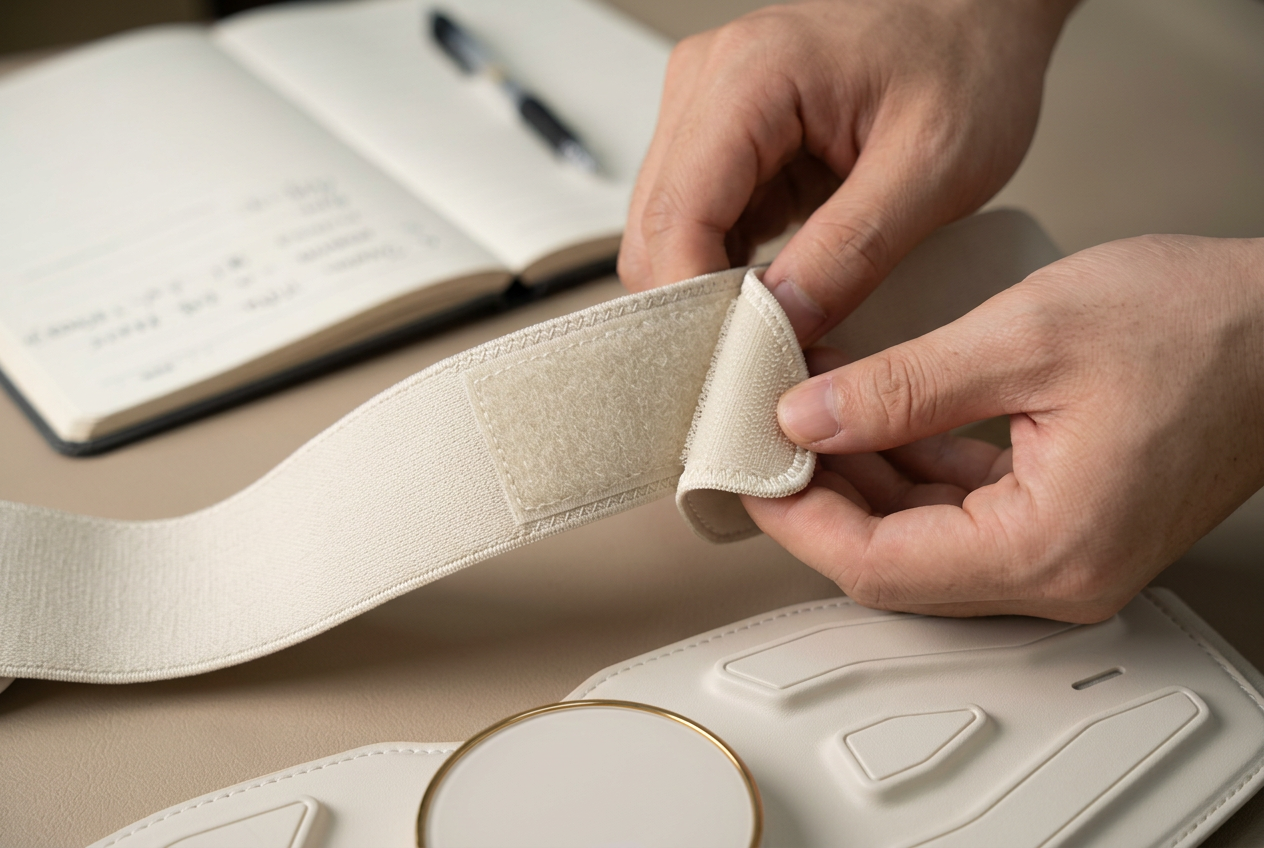
Agree the fitting positions before testing: for example, the narrow, middle and wide positions that the buyer expects to describe. Use the same wearing layer and belt path at each position. Close the belt with ordinary hand pressure, without pressing unusually hard to make a weak patch appear acceptable. Measure the actual engaged length and width of the mating surfaces, then photograph the closure from above and from the side.
Look for a free edge that lifts, a closure that sits partly beyond its mate, a folded belt that hides the contact surface, or a body panel that rotates when the wearer moves. Open and refasten the same sample several times using the normal grip point. Note changes in alignment, sound, feel and visible fibre transfer. These are observations to compare with an approved reference sample; they are not a substitute for a defined peel or shear test if the project requires one.
If a listing will advertise a particular waist range, confirm it with actual worn circumference and usable overlap, not the flat overall length. The separate waist massager collection is useful for shortlisting models; it does not replace the fitting record for the exact sample being ordered.
For the measurement sequence, see the waist massager belt sizing guide.
Inspect sewing where the closure meets the belt
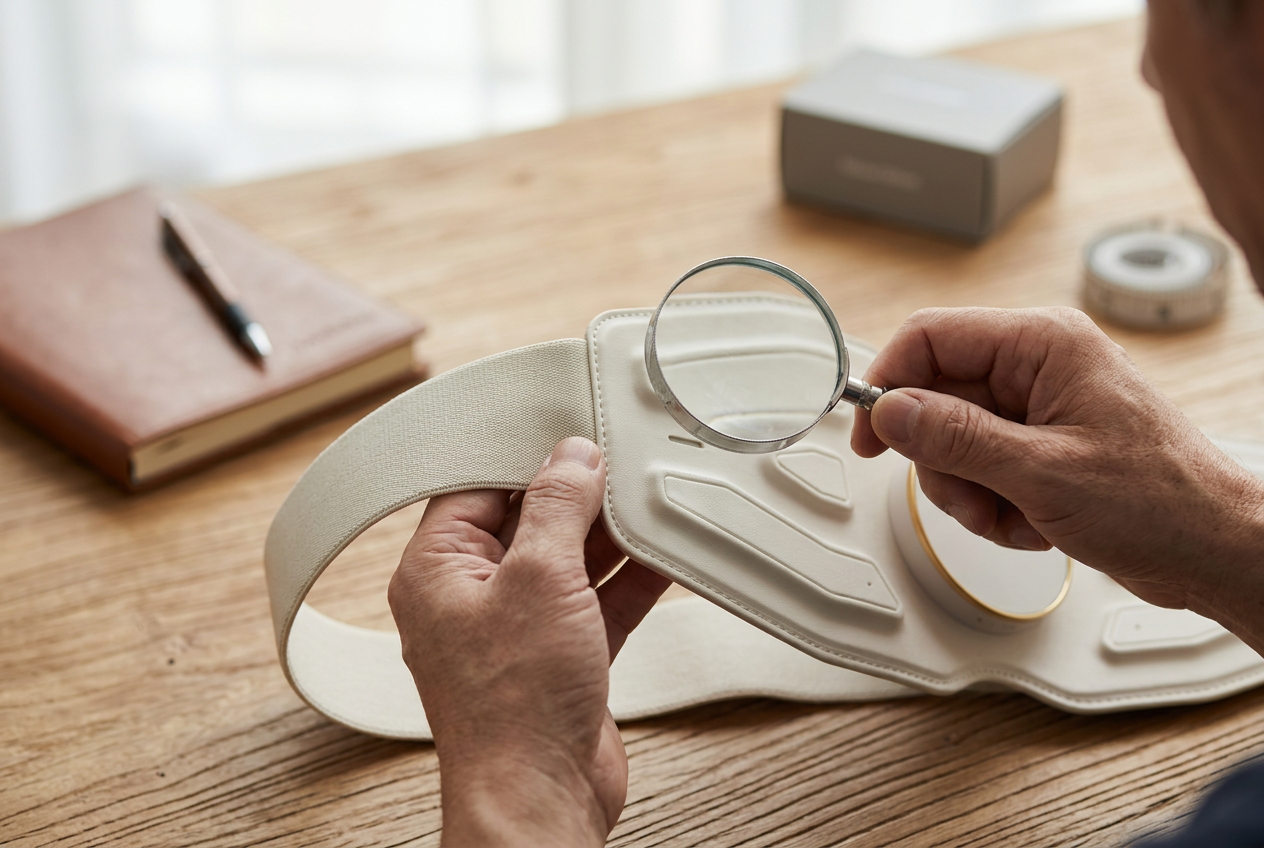
Turn the belt over and inspect the stitch line at the closure perimeter, the belt-to-panel joint and any folded end. Note skipped or uneven stitches, broken threads, exposed raw edges, bunching, and stitching that runs too close to an edge. Gently flex the joint while watching for separation. Use a magnifier for the corners and start/stop points, where a clean front view may conceal loose thread ends.
Record a defect with location and scale: “left anchor, outer corner, 6 mm of lifting” is actionable; “poor sewing” is not. Photograph the same joint before and after the agreed handling sequence. Where the supplier proposes reinforcement, ask for a revised sample and an updated drawing or sewing instruction. A change in thread, stitch pattern, backing material or patch position can affect both feel and fit, so approval should attach to the revision actually tested.
Test the full user sequence, then check controls and packing
Put on the sample, adjust it, fasten it, operate the available controls, remove it and fold it for packing. Repeat with the written instructions beside the sample. The point is to find conflicts between belt handling and product use: a free end that covers a control, a closure that must be peeled across a sensitive panel, or a fold that creases the stitched joint. If a remote, cable or other accessory is quoted, record whether it is reachable and how it sits in the final pack. Do not infer accessories from a staged photograph.
Open the final packaging sample and photograph the belt as packed, including any protective layer and printed instructions. Compare the control layout and pack contents with the quotation and current manual. A buyer should be able to tell whether the closure can be refolded as instructed without snagging its own hook surface. If the retail carton shows a closure or adjustment method, that depiction should match the approved belt version.
Turn observations into agreed acceptance criteria
A useful sample report has four columns: requirement, method, result and disposition. Put the agreed limits in writing before production. The buyer and supplier may set different limits for different belt designs and price positions; this article does not prescribe a universal peel force, stitch count or cycle life. Where a laboratory or production test is needed, specify the test method, conditioning, sample size and pass rule in the purchase documents.
| Decision | Evidence to retain | Next step |
|---|---|---|
| Approve as sampled | Tagged sample, dimensions, closure photos, handling notes and matching pack-out | Use the approved revision and agreed tolerances in the order. |
| Approve after correction | Defect location, revised drawing, new sample and retest record | Release only the corrected revision after comparison. |
| Hold | Unresolved fit, seam, hardware, control or packaging mismatch | Request the missing evidence before listing or ordering. |
For replenishment orders, retain an approved reference sample and compare the next production sample at the same closure positions. This gives both sides a common language for discussing a changed patch, seam or belt length, even when the difference is visually subtle.
Buyer questions before placing the order
Is a strong first closure enough to approve the hook-and-loop?
No. Check alignment and usable overlap at the intended fit positions, then repeat normal opening and closing. Agree any cycle or strength test separately.
Can the A1 overall dimension be used as a waist-fit claim?
No. The listed overall dimension describes the unit, while a wearable range depends on the worn path and effective closure engagement.
Should every sample have a buckle inspection?
Only if the quoted version has a buckle. Record the actual fastening hardware and its attachment method before applying a test.
What is the most useful sewing photograph?
Show the whole joint to establish location, then a scaled close-up of the exact corner, seam or thread issue. Include the sample ID.
How should a supplier change a closure after sample approval?
Identify the revised material or construction, provide a new tagged sample and repeat the affected fit and handling checks before release.
What belongs in a wholesale enquiry?
Send the model and version, target market, intended fit statement, closure photos, desired packaging and the inspection criteria you want to agree.
To compare suitable models and request a version-matched sample, review the Meilan waist massager range and contact the team with your inspection sheet, proposed fit statement and pack-out requirements.

