
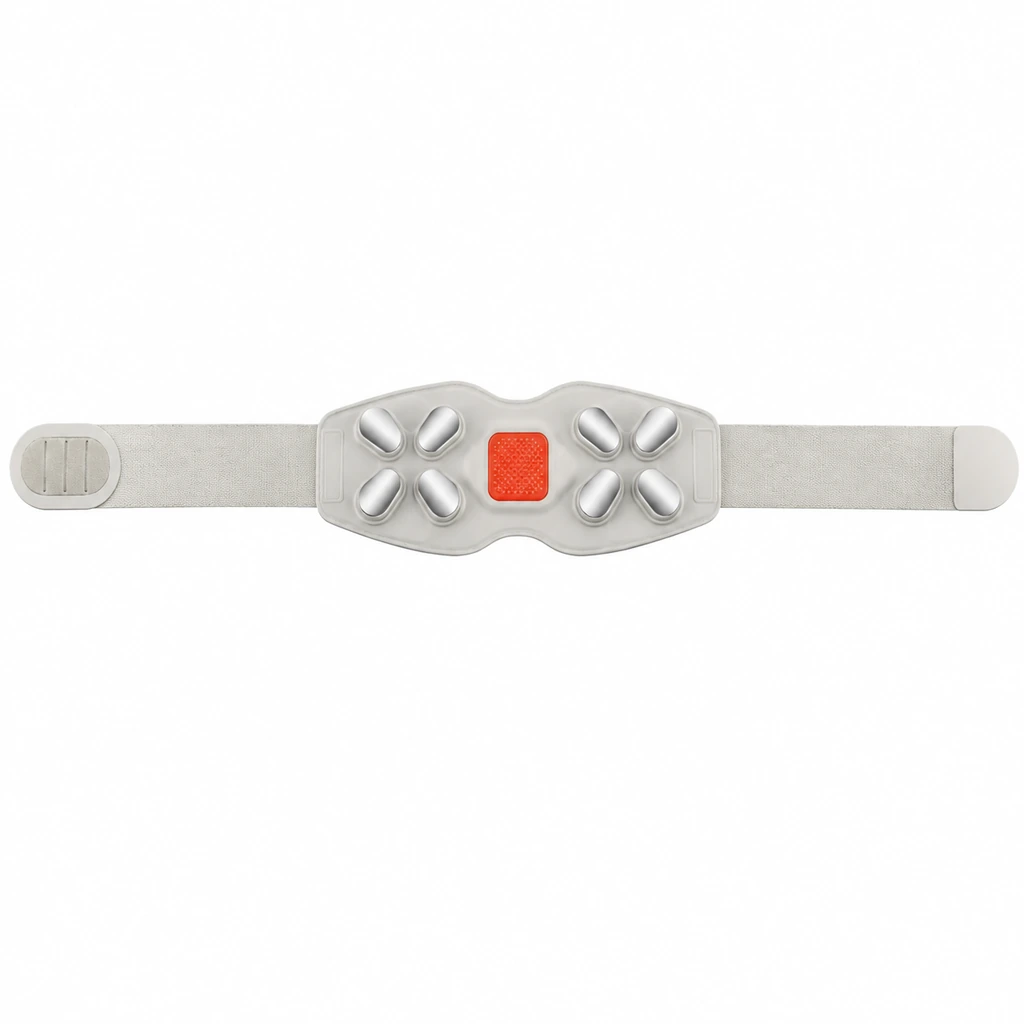
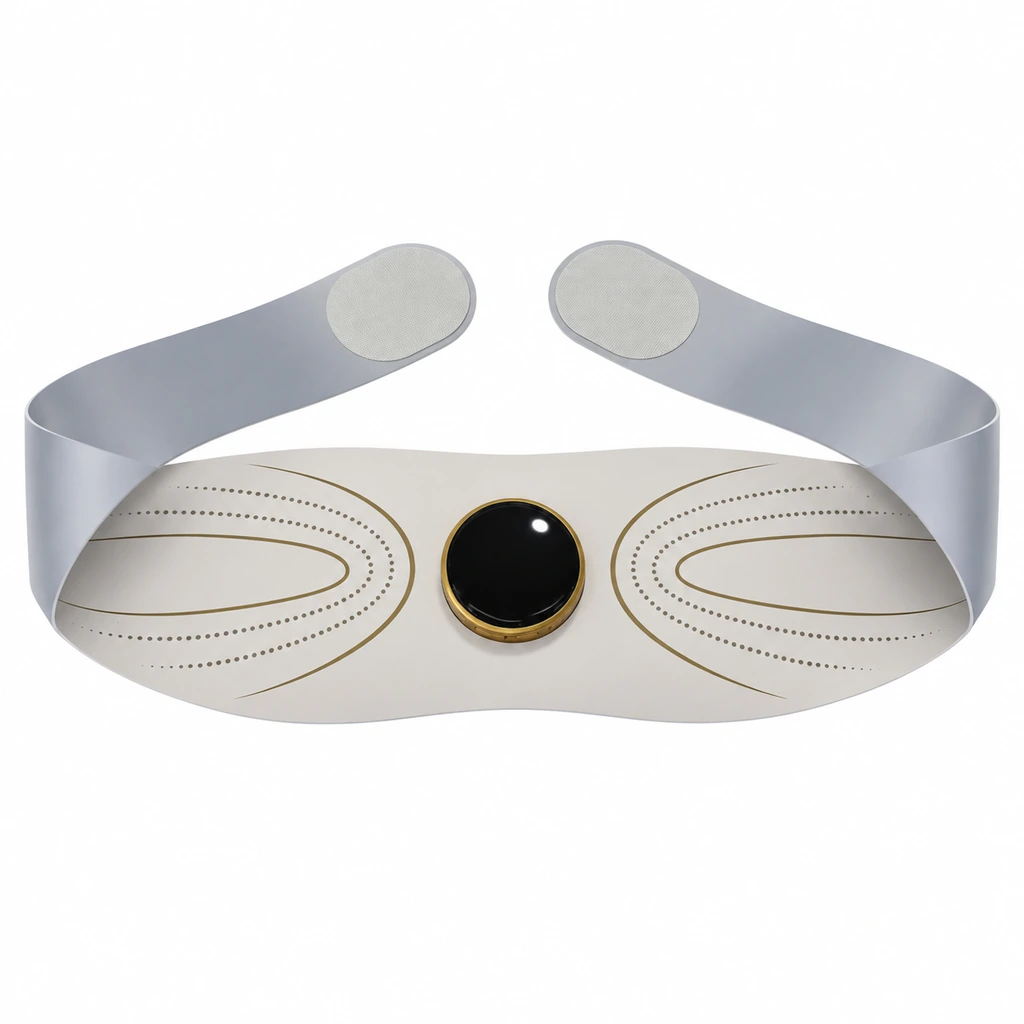
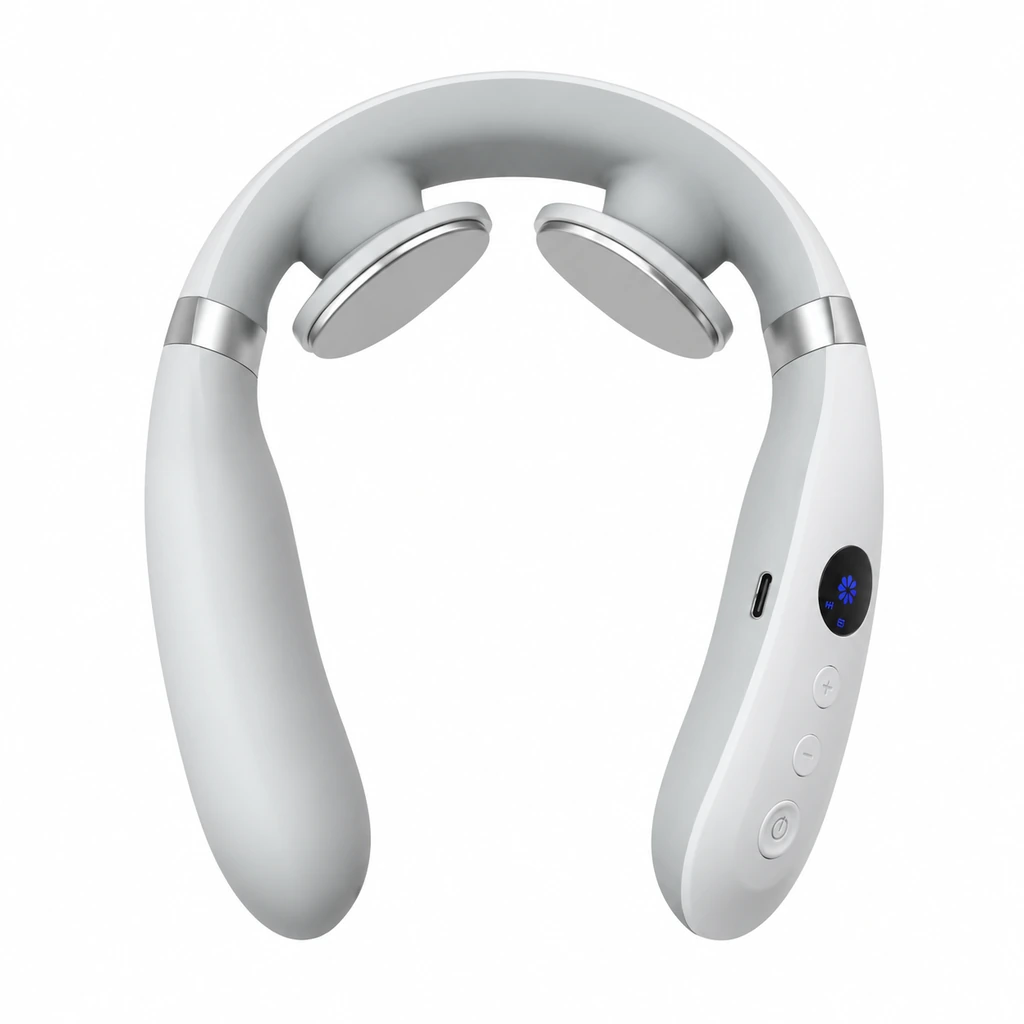
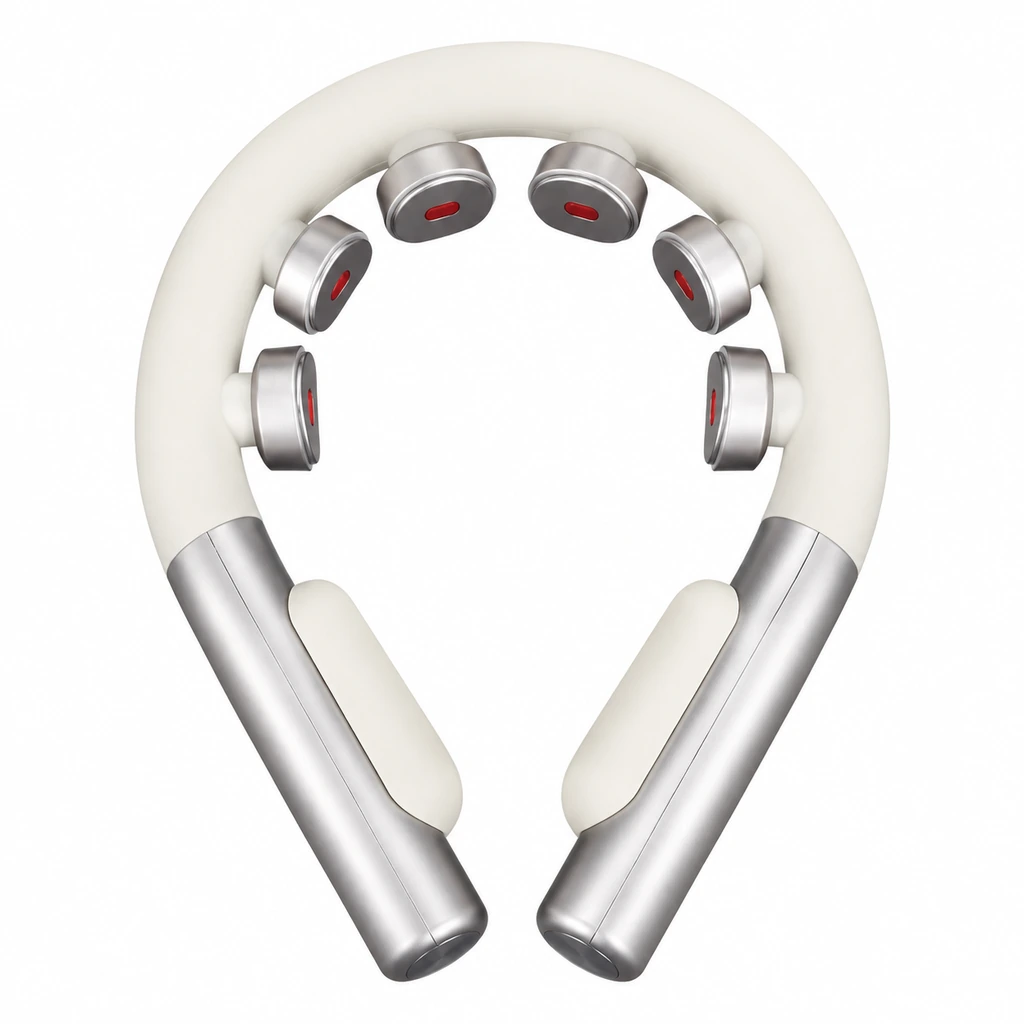

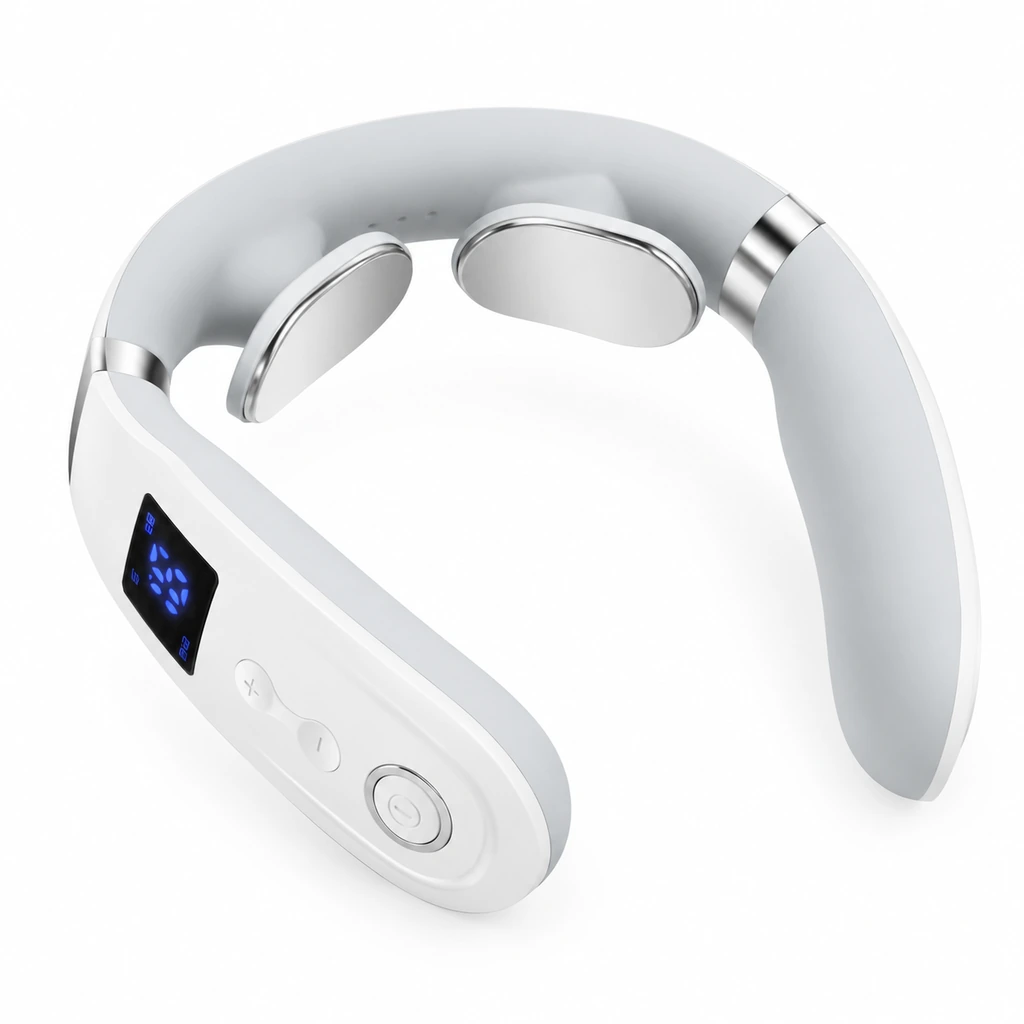
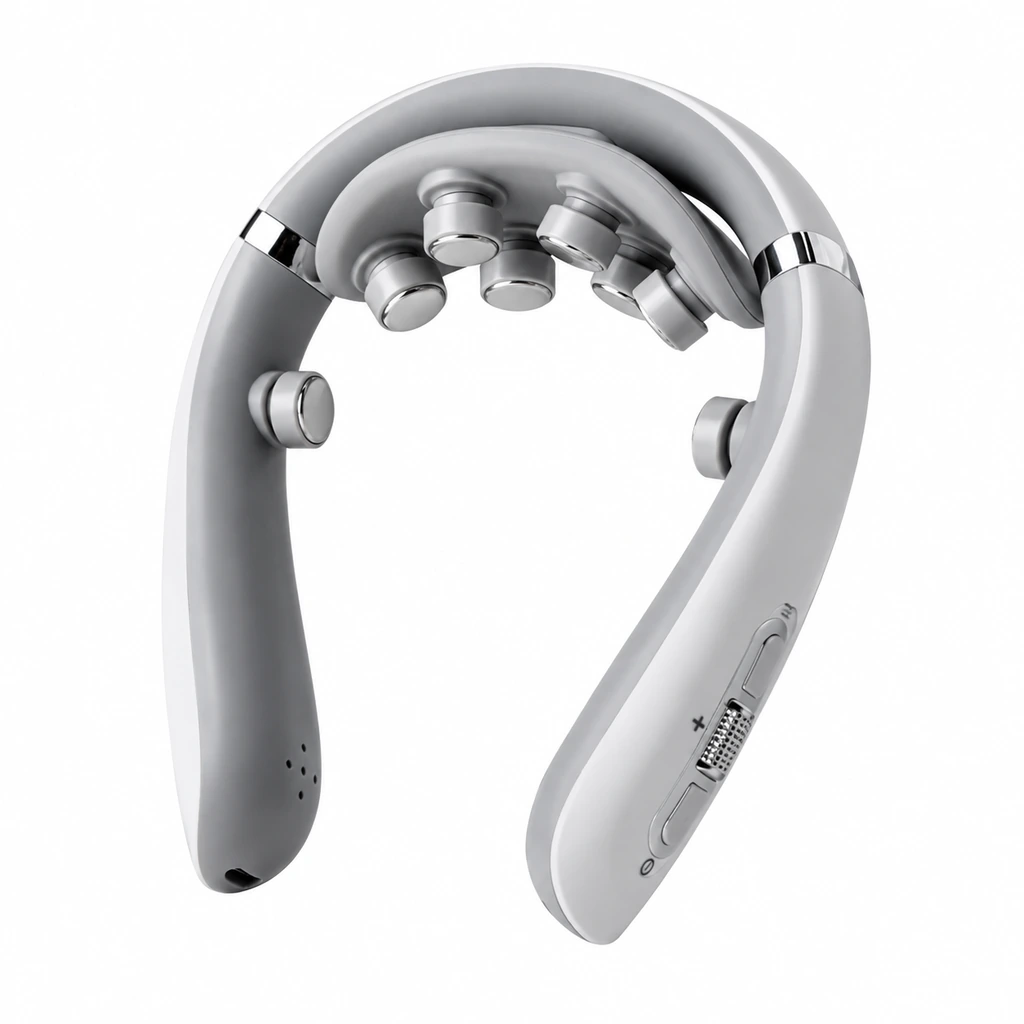
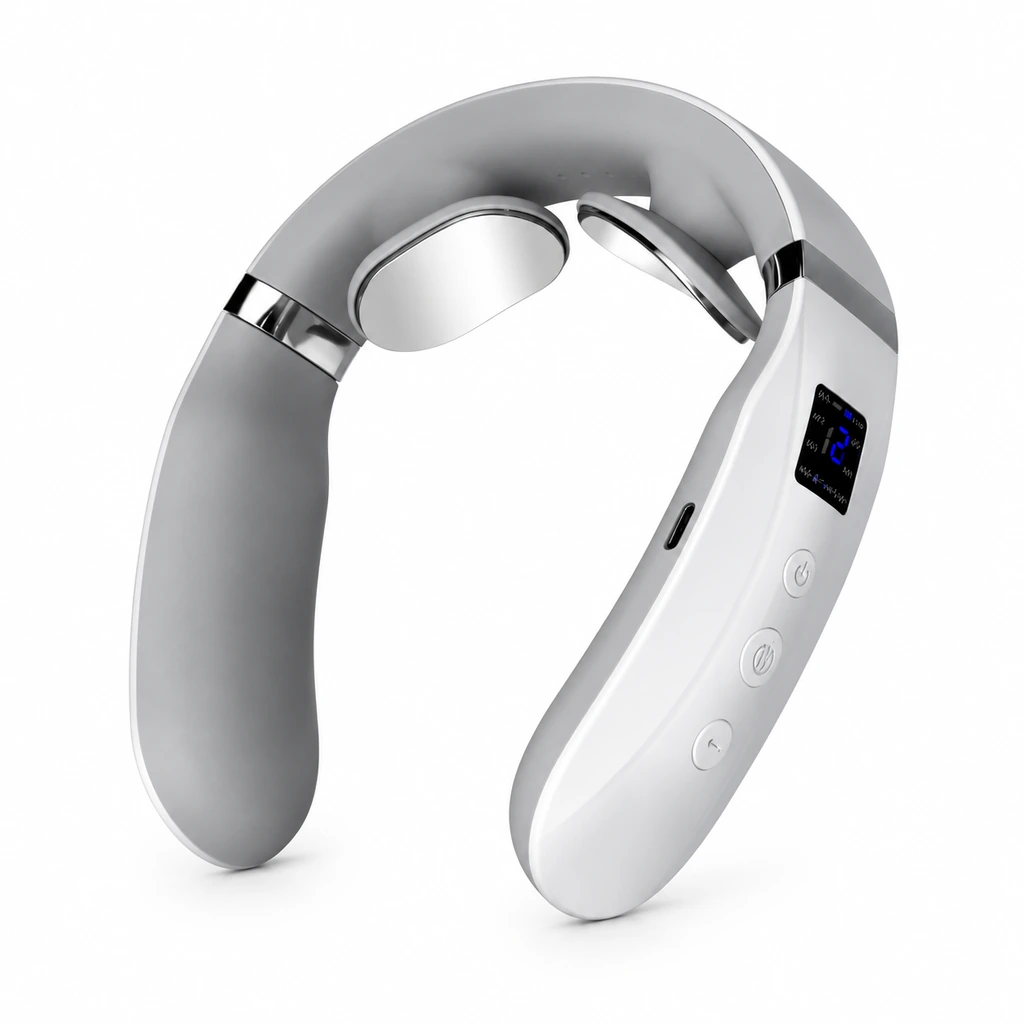
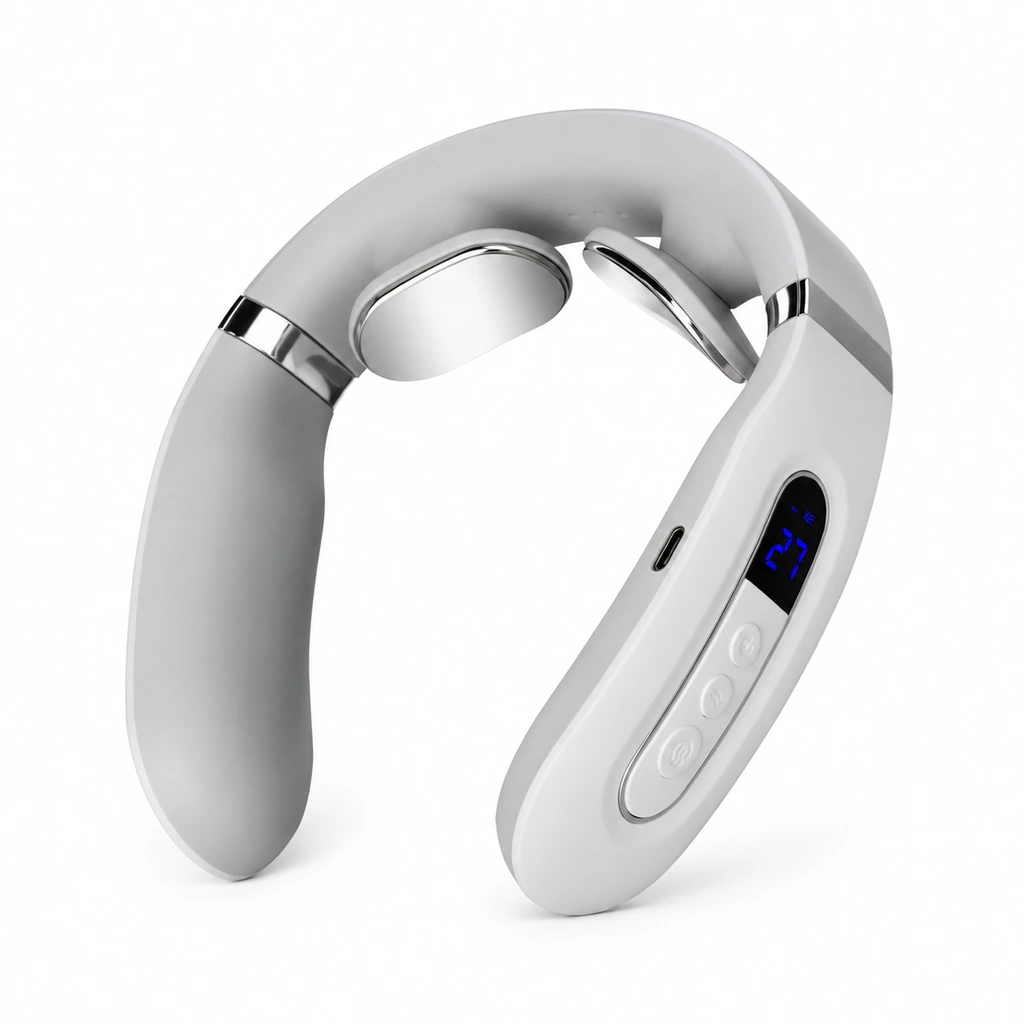
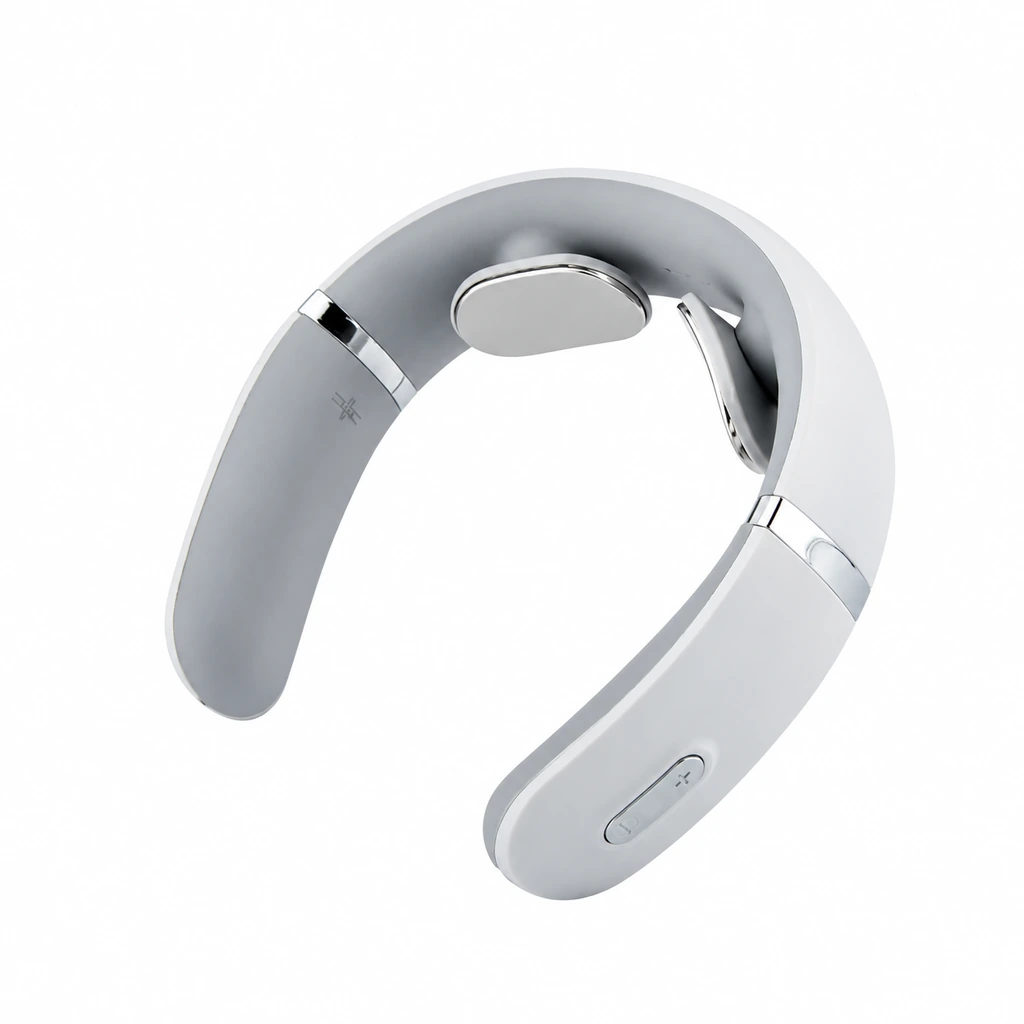
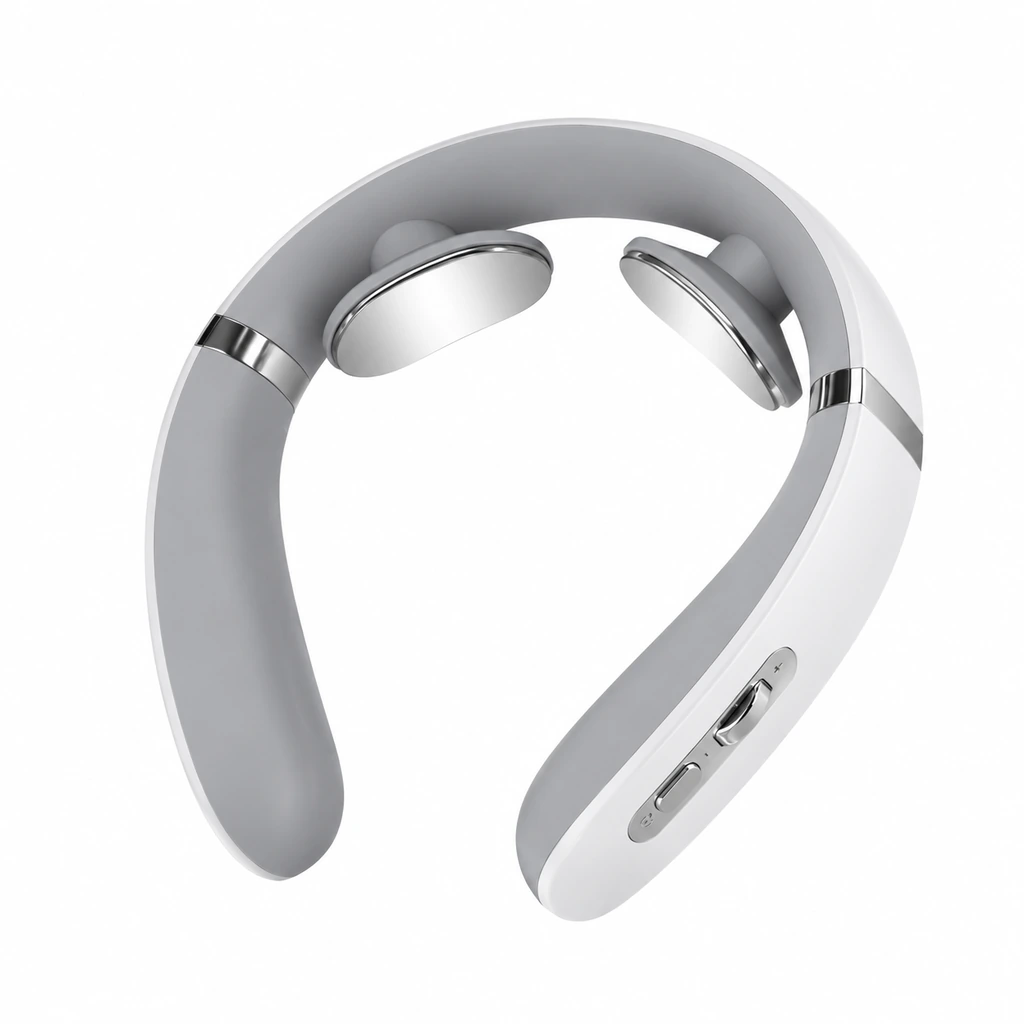
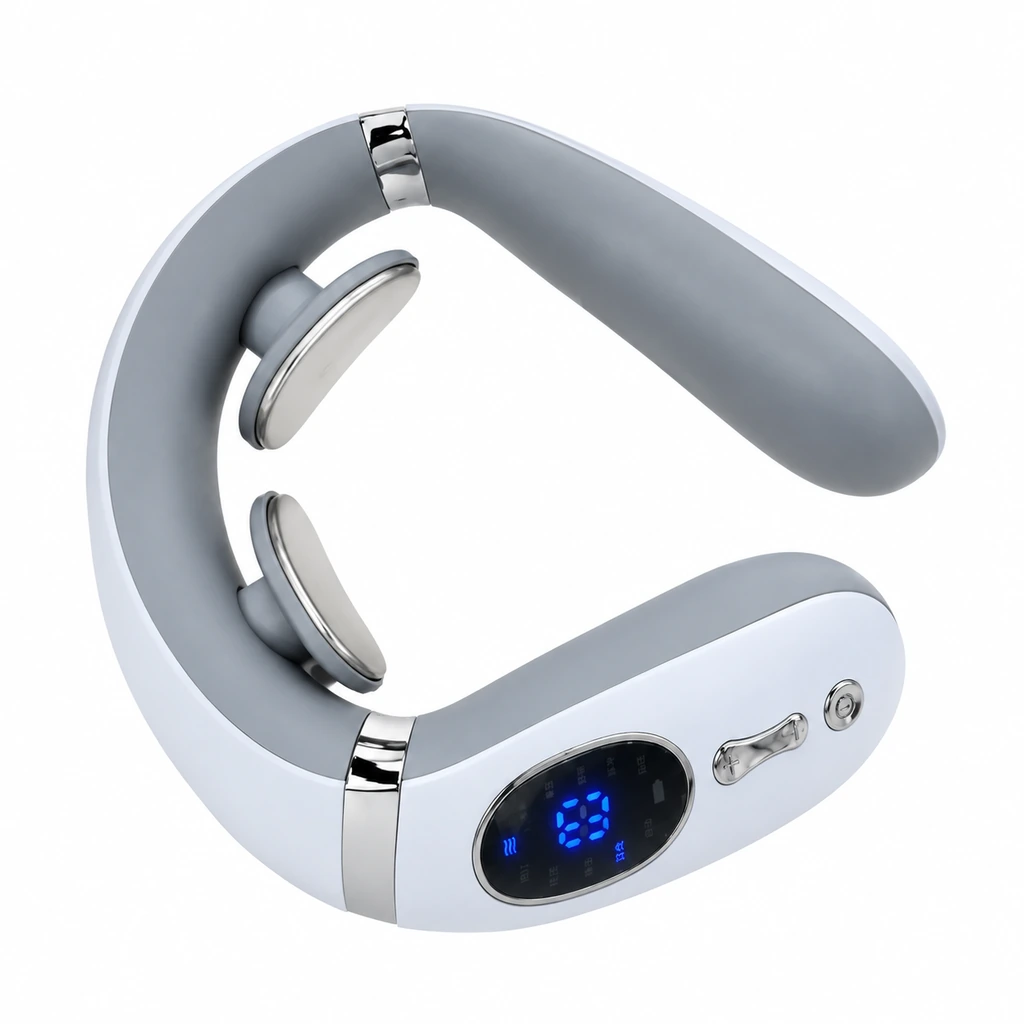
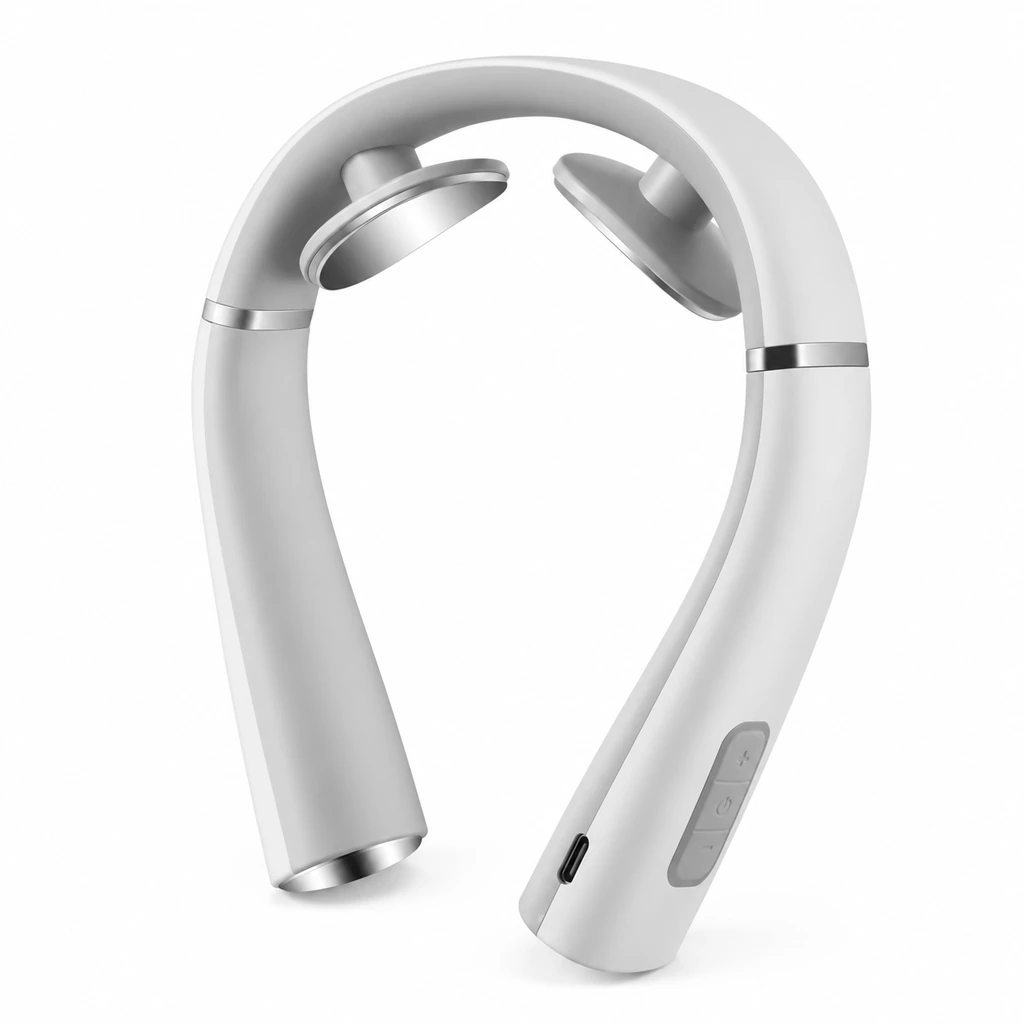


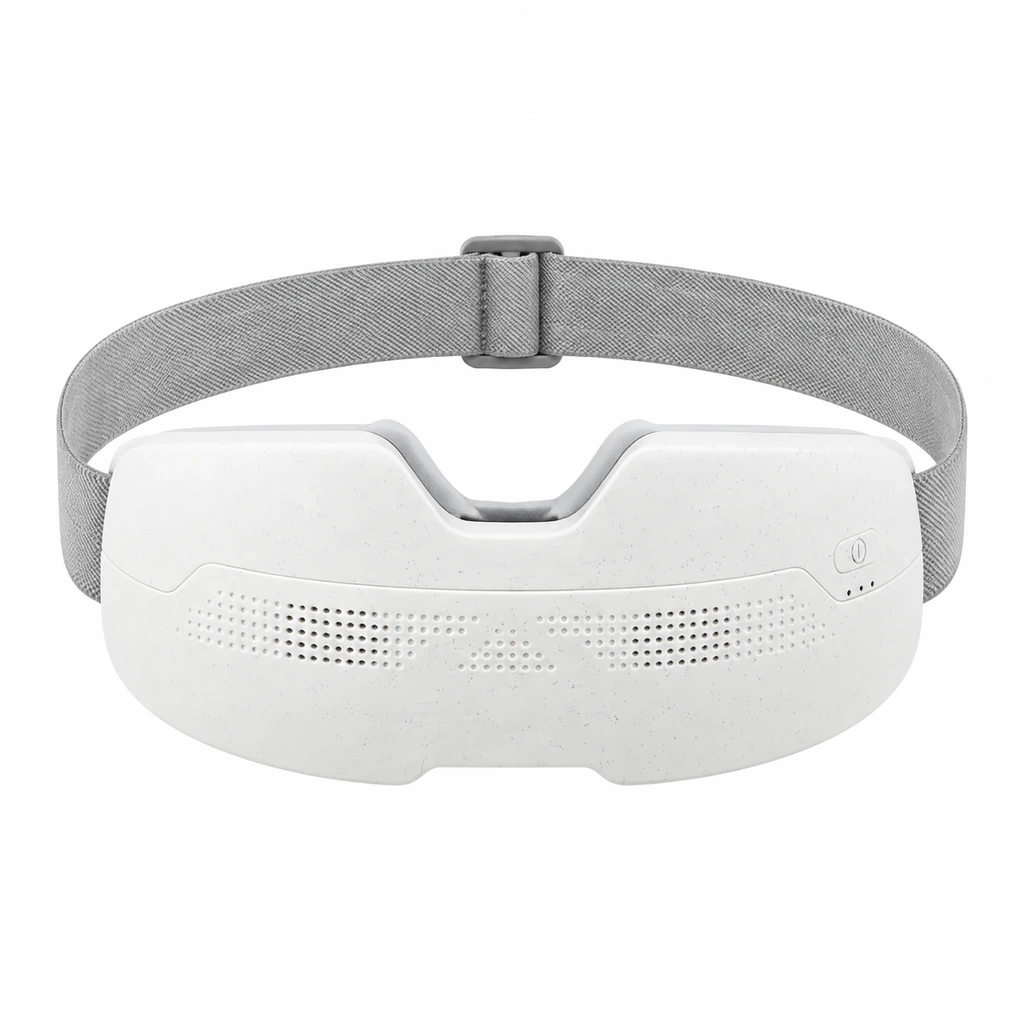
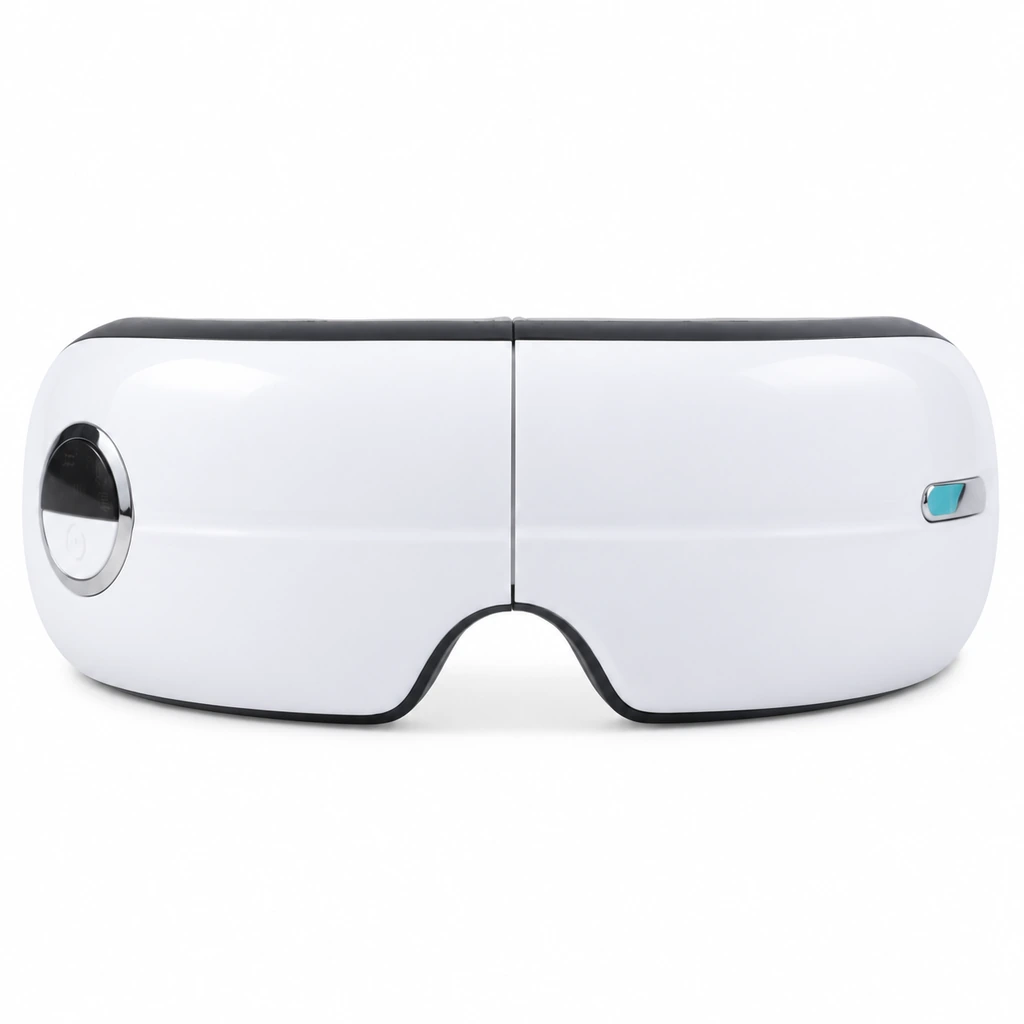
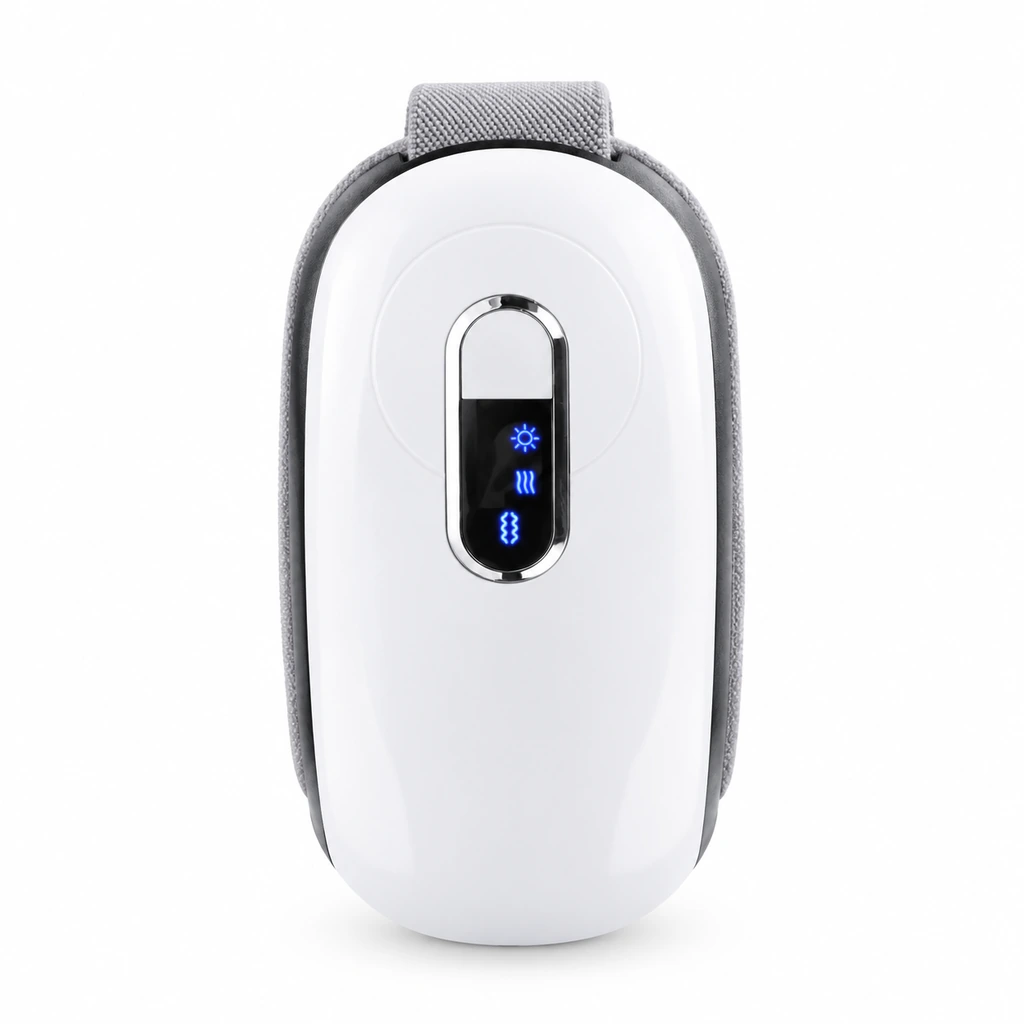
Scalp Massager Photography Brief
Plan scalp massager product photographs around an approved sample: size, grip, contact heads, controls, accessories and packaging, with a frame-by-frame approval sheet.
 Meilan Tech 6 min read
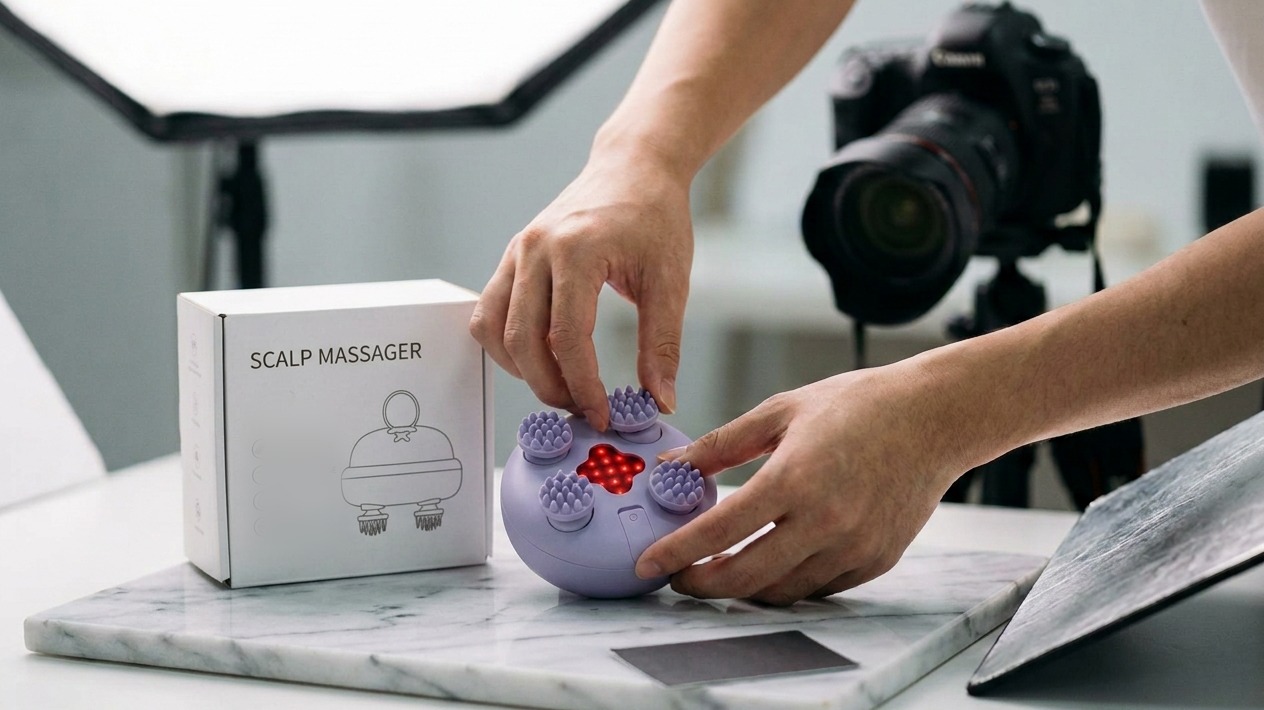
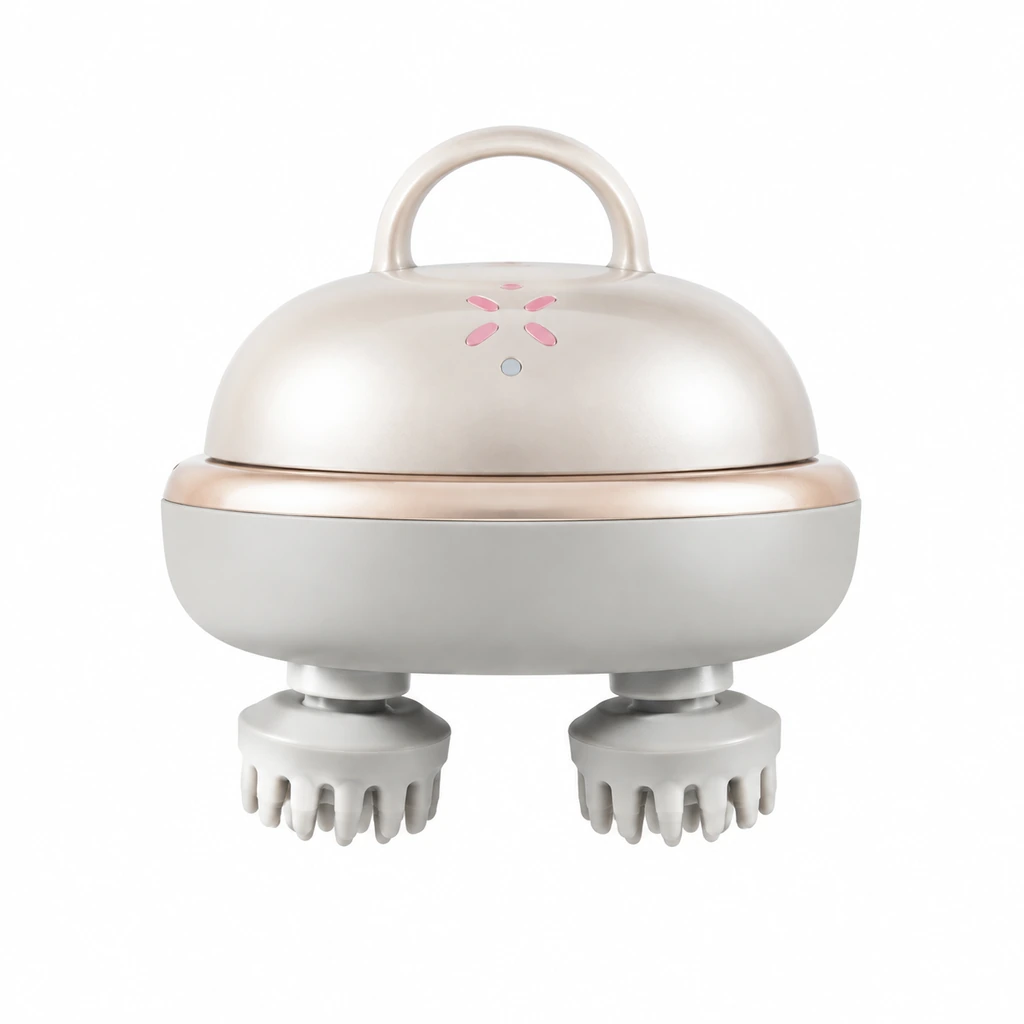
A useful scalp massager photography brief does more than request attractive product shots. It tells the photographer which version is being sold, which buyer questions each image must answer, and which claims require separate proof. For a T1 listing, plan clean views of the device, grip, contact heads, controls, charging area, included items and actual packaging, then approve each image against the quoted sample.
1. Start with the sales channel and the exact sample
A salon counter, a wholesale catalogue and a marketplace listing may need different crops, but they should depict the same approved product version. Before the shoot, record the T1 sample identifier, colour, finish, contact-head configuration, packaging version and quoted accessory list. Put this information on the shot list, rather than relying on a photographer to infer it from a product page.
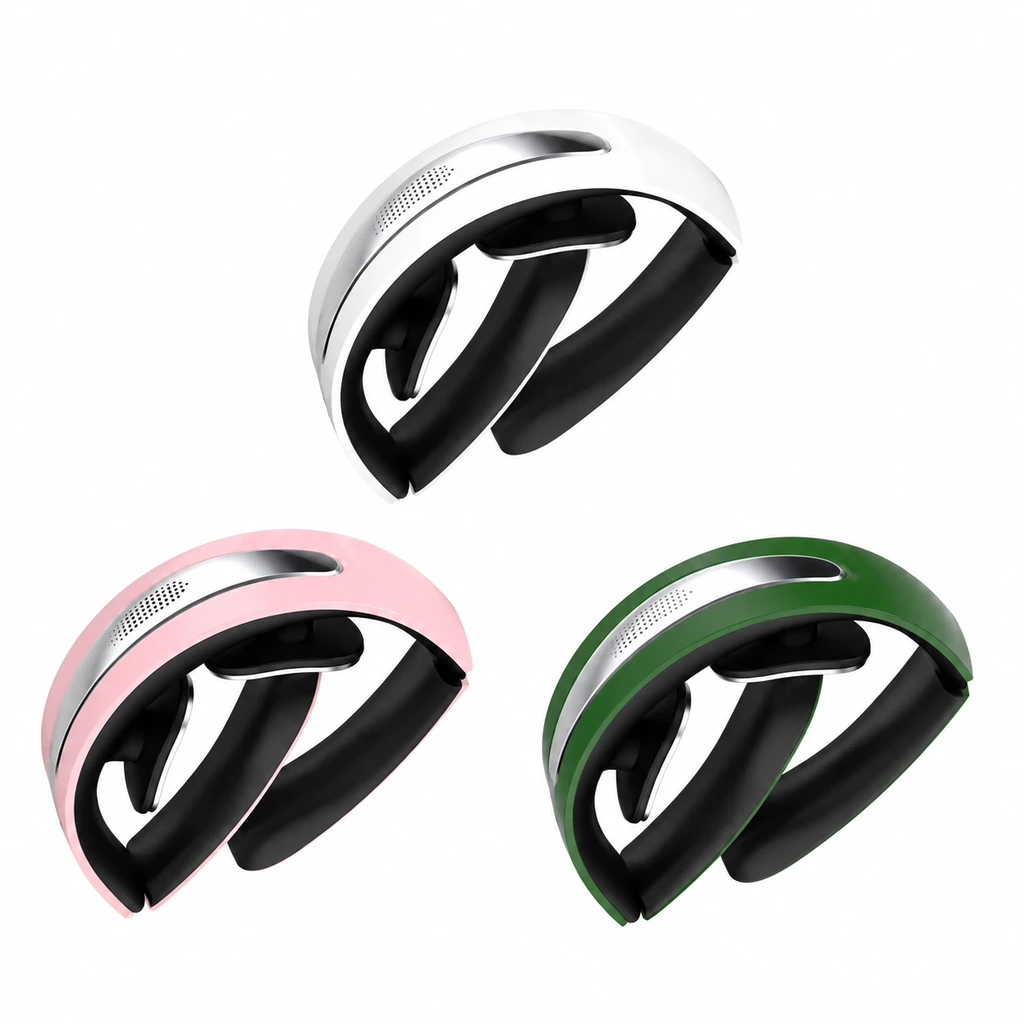
Separate three image purposes: a clear catalogue view that identifies the product, a handling view that shows scale and grip, and a detail view that helps a buyer inspect a particular part. The Meilan T1 product page can anchor the product selection; the shoot still needs to match the sample and quotation being offered. If the package artwork or included items change, reshoot the affected frames before using them in a listing.
2. Photograph size and grip without implying universal fit
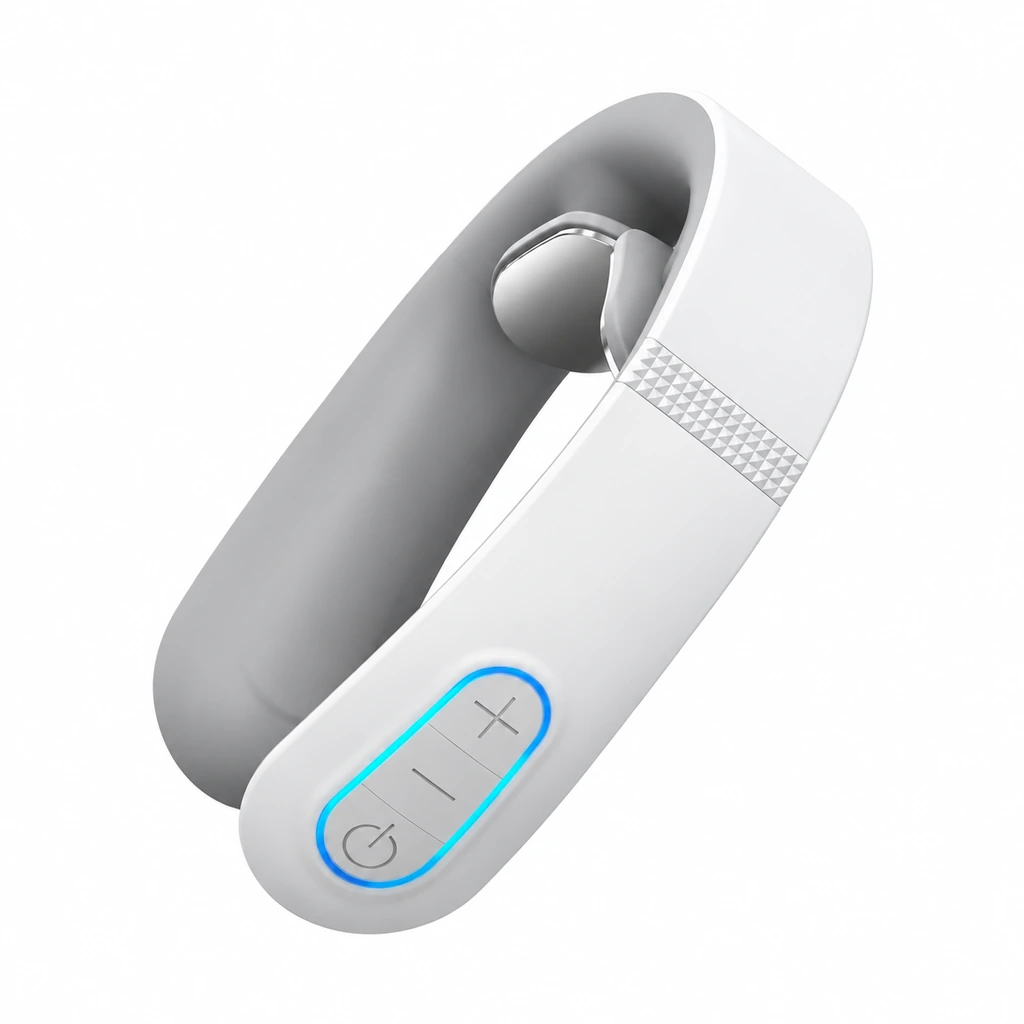
Capture a front, side, top and underside view with a consistent camera height and neutral background. Add a hand-held view in which the fingers, loop and controls remain visible. A hand gives useful scale, but hand size varies; pair the image with measured dimensions from the approved specification rather than making a “fits every hand” claim.
For a dimension frame, place a ruler beside—not over—the device, keep both in the same plane, and identify whether each number is product width, height or depth. If a marketplace requires a plain-background primary image, keep measurement overlays and lifestyle context in secondary images. Google Merchant Center's image requirements are a useful example of channel-specific image rules; check the actual destination's current rules before exporting.
3. Make contact heads and controls legible
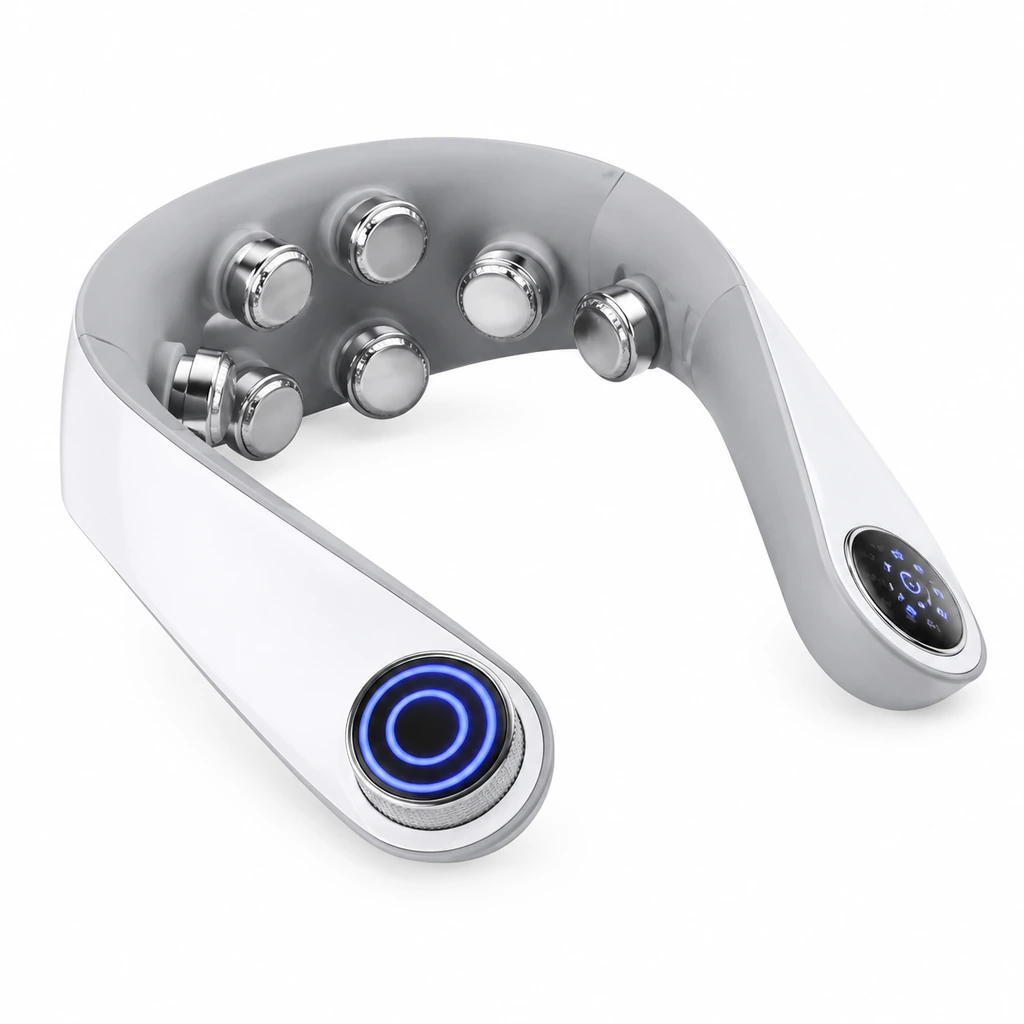
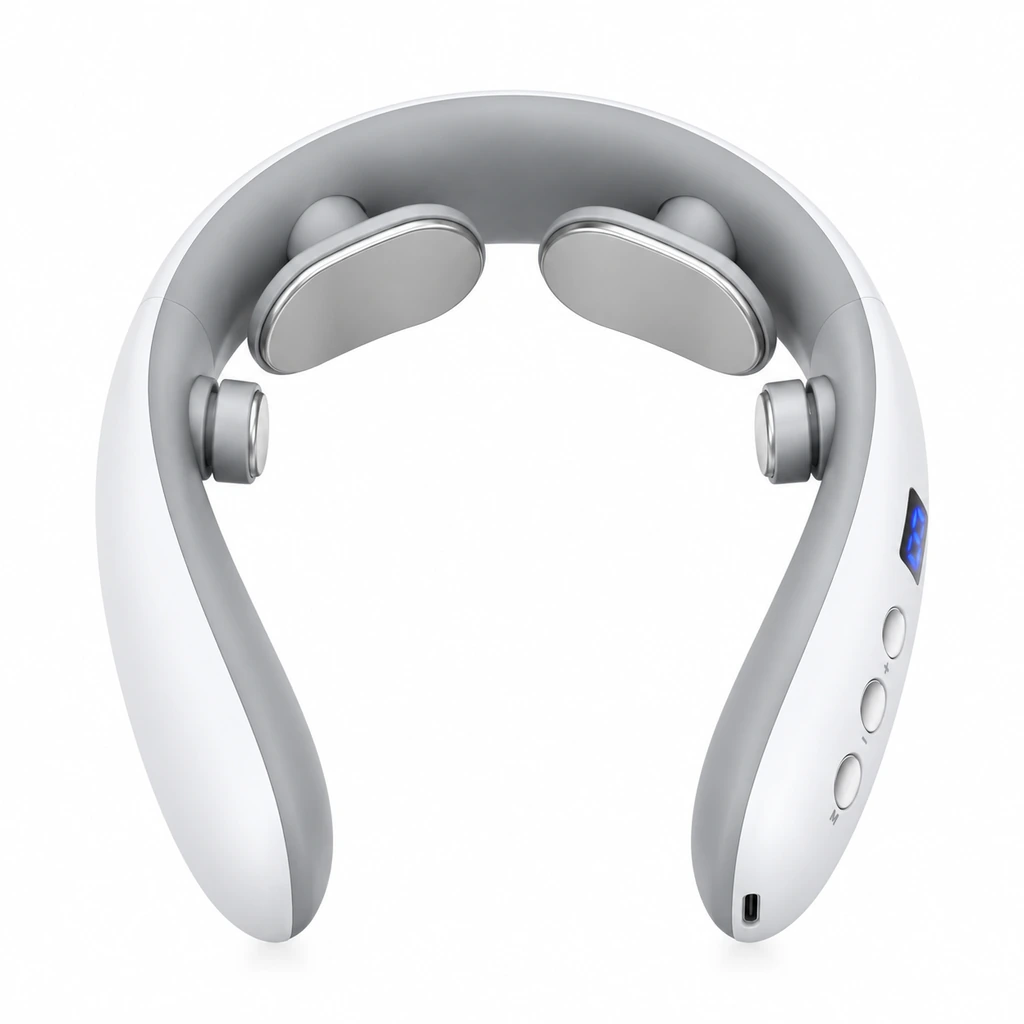
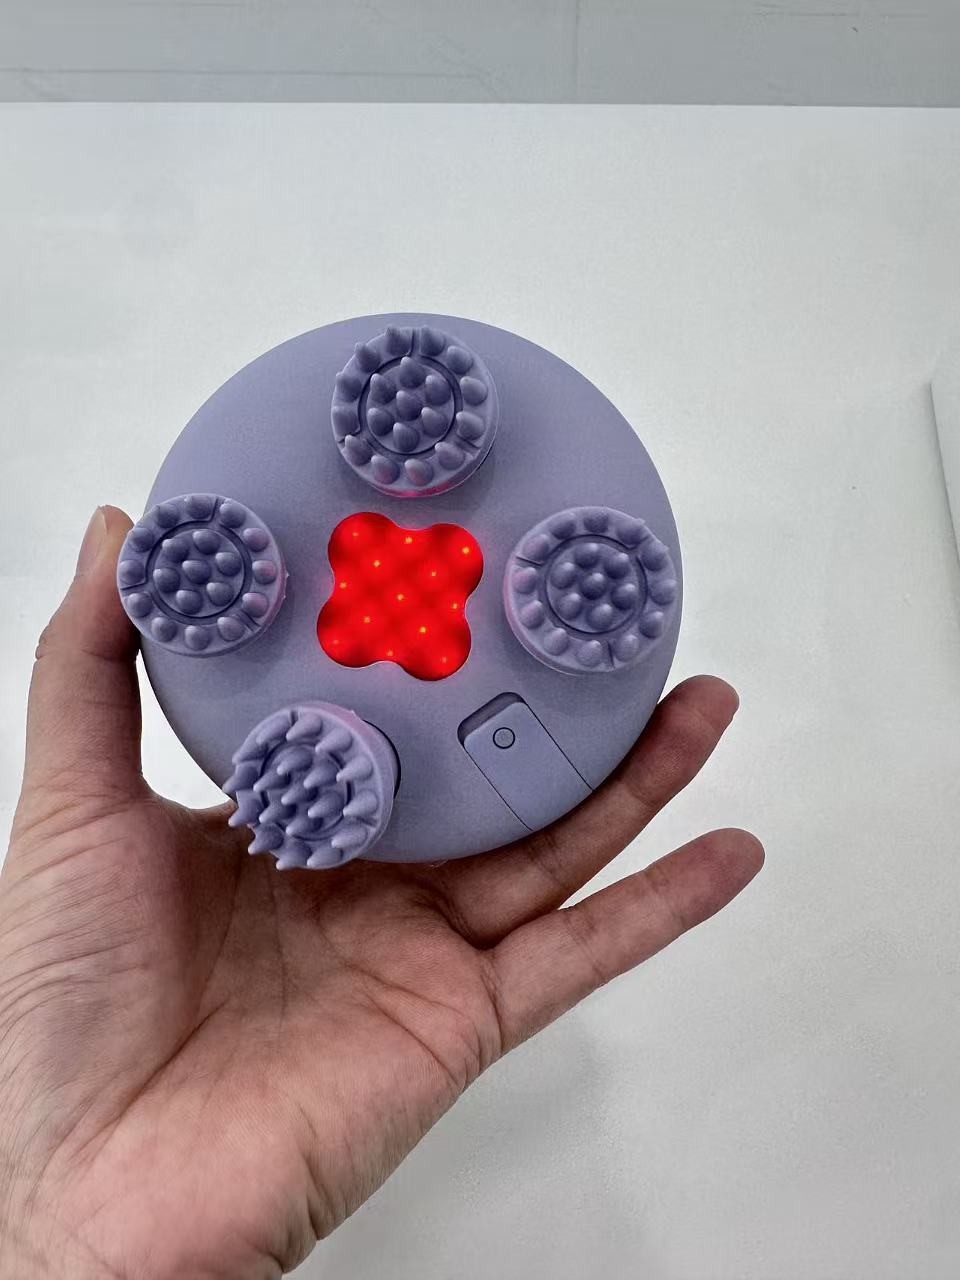
Use a straight underside view to show the number, shape and position of the contact-head groups on the photographed sample. Add a close-up with enough depth of field to keep all heads in focus. Photograph the control area, charging port and any removable part from angles that let a buyer locate them without guessing. A detail image should show the actual surface and assembly; it cannot establish material grade, water rating or operating performance by itself.
If a short video shows rotation, direction or modes, label the filmed sample and the sequence used. A still frame is not a substitute for a continuous operating demonstration. The related T1 sample evaluation plan sets out the matching product checks; use its result records to approve captions that go beyond what a photograph shows.
4. Show accessories and packaging as delivered
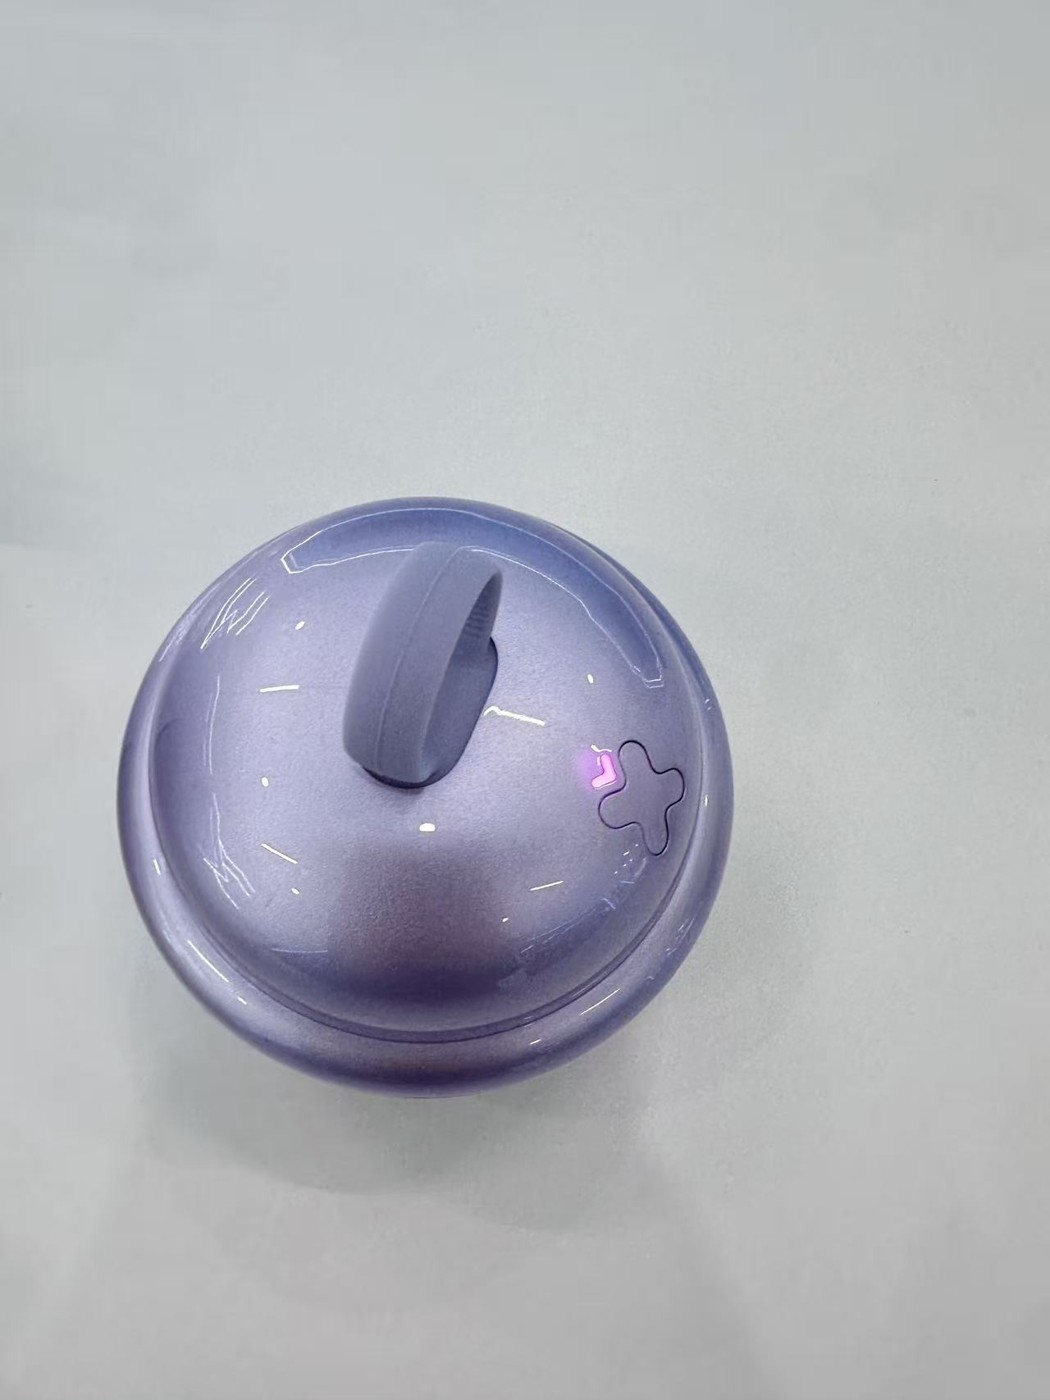
Lay out the quoted sales unit: device, cable, instructions and any other included item. Photograph the group once in its final packing order and once outside the box, with each item unobstructed. Caption the image with the exact quoted configuration. Do not add a pouch, spare head or charger merely to fill the composition if it is not included.
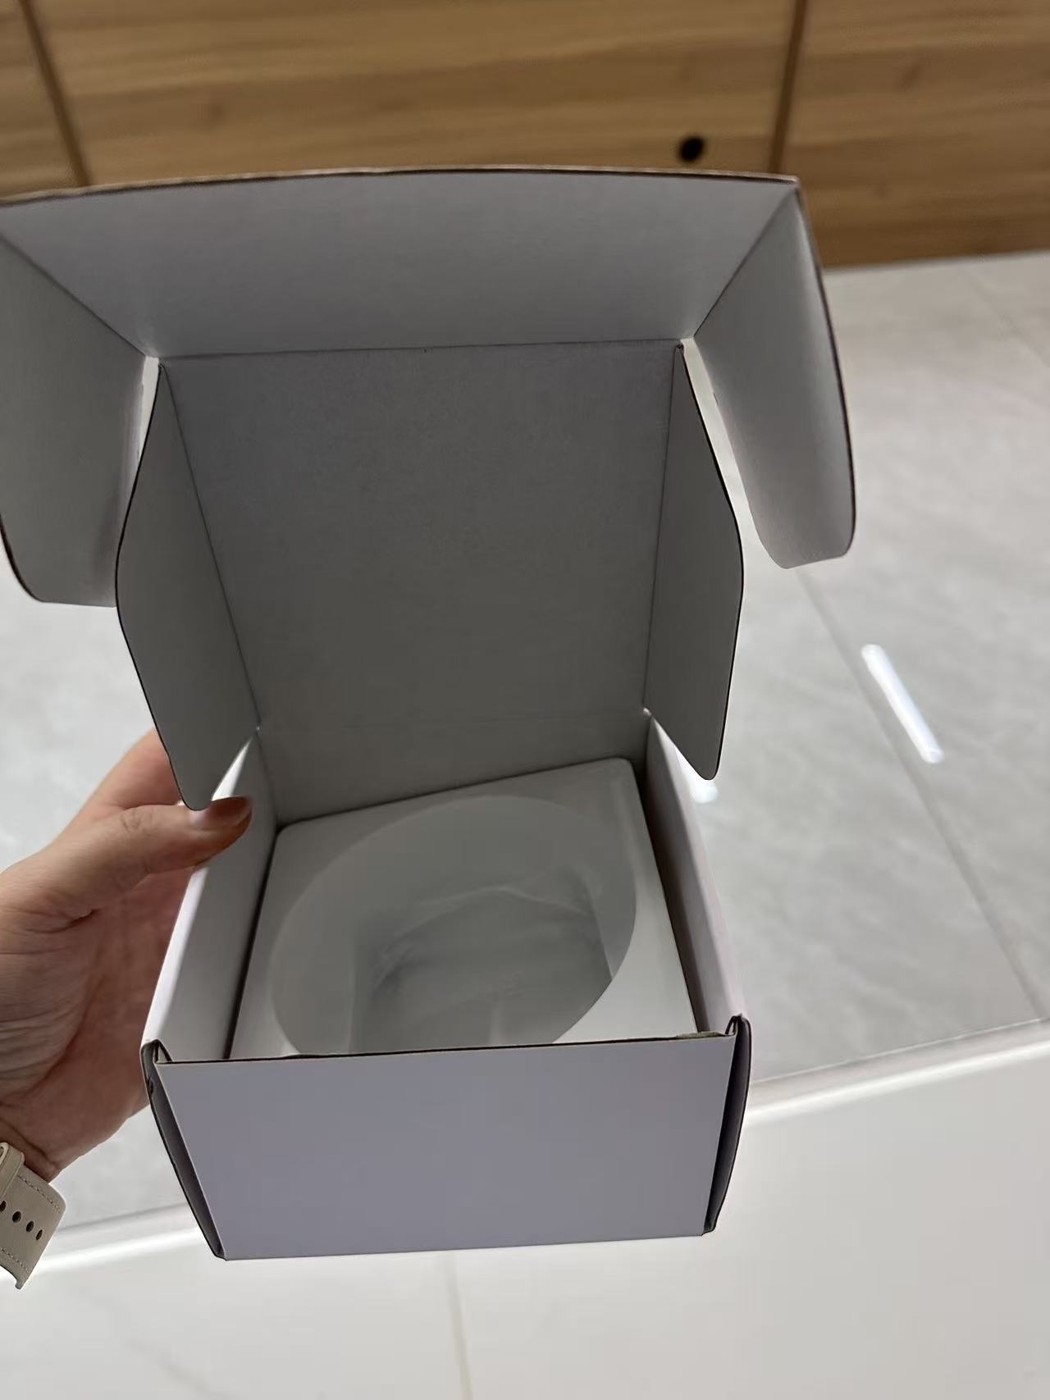
For the packaging frame, show the unopened box, opened box, insert and document position. Photograph the actual printed panels closely enough to review text and language, while treating printed claims as copy that still needs approval. The contact-head and replacement guide is useful when planning separate detail views of the parts a buyer may need to identify or replace.
5. Keep concept scenes separate from evidence
A styled bathroom, salon or studio scene can explain intended merchandising, but it should not masquerade as a product test. Label a concept image internally and check every visible device detail against the approved sample before it enters a product listing. Be especially careful with illuminated controls, water, wet hair, printed badges and apparent accessories: a generated or retouched scene can easily imply a feature or rating that has not been documented.
Use photographs of the actual sample for the main product and detail views. If you use a composite for mood, do not cite it as proof of head motion, wet-use suitability, material, temperature or a packaging test. For any wet-use description, follow the version-specific manual and supporting test documents rather than the styling of the image.
6. Build an approval sheet for every frame
Give each asset an ID and record its intended channel, sample version, shot angle, visible items, linked claim, source file and approval owner. Keep the untouched original beside the retouched export. Ask reviewers to compare the image with the sample and specification, then mark whether a reshoot, caption change or document check is needed. This makes a later colour, shell or accessory change visible across the listing set.
| Frame | What the image should answer | Approval check |
|---|---|---|
| Primary product view | Which device and colour will the buyer receive? | Match shell, heads and finish to quoted sample; follow channel background rules. |
| Hand-held and size view | How is it held, and what are its measured dimensions? | Keep grip visible; source dimensions from approved specification. |
| Contact-head and control details | Where are the working parts, button and port? | Show the photographed configuration; verify any functional caption separately. |
| Accessories and open pack | What is included, and how is it placed? | Match every visible item and printed panel to the current quotation and artwork. |
| Scene or video still | What use or merchandising context is shown? | Check version consistency; do not treat staging as test evidence. |
7. Deliver a listing-ready file set and request the next sample
Export a channel-compliant primary image, supporting detail images, a clear packaging view and any approved handling video. Keep originals, crop masters, alt text, captions and a record of which sample appears in each asset. Review small mobile crops as well as full-size images: the contact heads, controls and included items should remain recognizable where their captions refer to them.
Before publishing, compare image text, page copy, specification and packaging for the same model and version. Hold a frame if a visible feature cannot be matched to that version. Browse the head massager collection to define the product range, then send the selected model, sales channel and shot list to the Meilan team when requesting a T1 sample and current files.
Buyer FAQs
Which image should be the main listing image?
Use a clear view of the exact quoted device that meets the destination channel's current image rules. Keep dimensions, accessories and lifestyle context in supporting frames when the channel requires a plain primary image.
Can a hand-held photograph prove the product fits every user?
No. It shows one handling example. State verified dimensions separately and avoid universal comfort or fit claims.
Can a close-up prove the contact-head material?
No. Use the image to identify shape and placement, then confirm material wording against the version-specific specification or supplier record.
Should a package mock-up be used as the accessories photo?
Only if it matches the approved pack-out. A photograph of the quoted items laid out and packed is clearer for purchase approval.
Do styled water scenes establish wet-use suitability?
No. Wet-use wording needs the matching instructions and supporting test documentation. A staged scene is visual context, not a water-resistance record.

